

Do you want to build a car (Testable Architecture) that can run fast (less compile time), save petrol (repeated code) and can be easily learnt (readable) & driven (picked up) by any licensed driver? Then you have come to the right place. In this tutorial, I am going to take you on a journey to build your Swift-brand car, using Swift 4.2.

Building a Testable Architecture
As we advance to another level of our developer’s journey, we will come to a point where we want to write more testable & reusable code. Code that can be easily understood without writing comments, and can be easily picked up by another developer.
It is merely impossible to introduce one size fits all architecture. But here, I am going to introduce one way of developing your project, mainly for medium-to-large applications, that can get you started in achieving 80% of what I just mentioned. I do not guarantee that this is the best way of developing, but I can say that it helps us achieve what this tutorial is written for; which is to go deeper into writing testable code.
Frameworks
I am going to assume that you already have understanding of how to use Xcode, Cocoapods and develop code in Swift. I will introduce here all the frameworks that we will be using to learn and develop our app (I will state the version I use as they may not work as it is forever):
- Quick 1.3.2 & Nimble 7.3.1 – The Swift (and Objective-C) testing framework.
- Swinject 2.5.0 – A lightweight dependency injection framework for Swift.
- ObjectMapper 3.3.0 – A framework to easily map model objects from JSON.
- Alamofire 4.7.3 – A HTTP networking library written in Swift.
- AlamofireObjectMapper 5.1.0 – Works together with ObjectMapper & Alamofire
- RealmSwift 3.11.0 – Database built for Mobile.
You can grab a copy of the Podfile here as well as the Podfile.lock here to ease your trouble.
The Architecture
We have now come to the main ingredient of this tutorial, the body of the car, the engine, the wheels and the car seats which help build this archiecture.
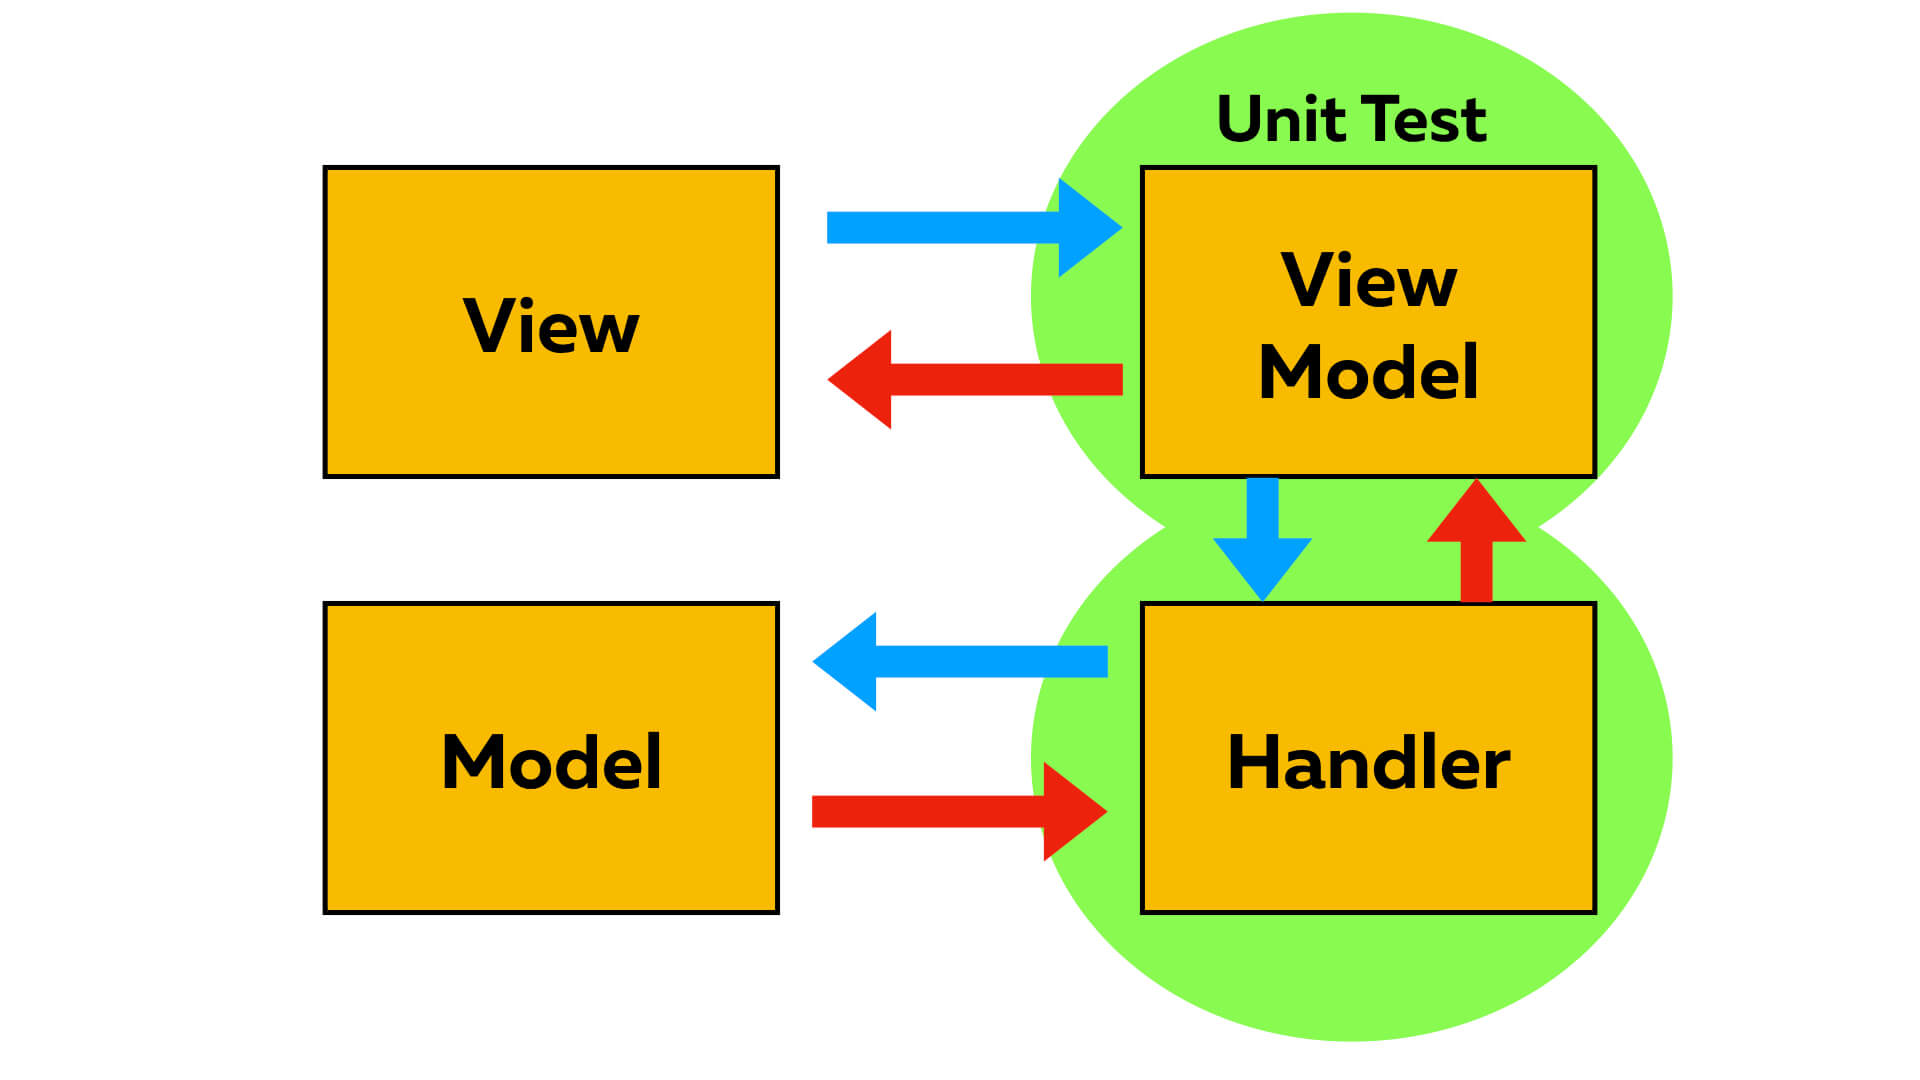
- MVVM (Model View ViewModel) Design Pattern: This will be the design pattern which we will be following. It is a trending iOS architecture that focuses on the separation of development of user interface from development of the business logic. The ViewModel acts like a glue to bind Model and View. The main component we will be performing our unit tests is the ViewModel.
- Protocol Oriented Programming: Swift language is powered by protocols. They provide developers with the freedom of creating blueprints of classes, exposing only the right capabilities for other classes to use. The biggest plus point here is that capabilities make the codebase readable if they are properly defined.
- Dependency Injection (DI): James Shore says that “Dependency injection means giving an object its instance variables. Really. That’s it.” Dependency injection is nothing more than injecting dependencies into an object instead of tasking the object with the responsibility of creating its dependencies. This gives us the flexibility of injecting objects to implement our test cases.
Pre-requisite
After understanding all these frameworks and terminologies that we will be using to go through this tutorial, it’s time to get started! Clone or download this Starter Project and we are ready to go! You will need:
- macOS 10.14 & above
- Xcode 10 & above
- Cocoapods 1.5.3 & above
Once you have got your starter project, run pod install to ensure all frameworks are properly installed.
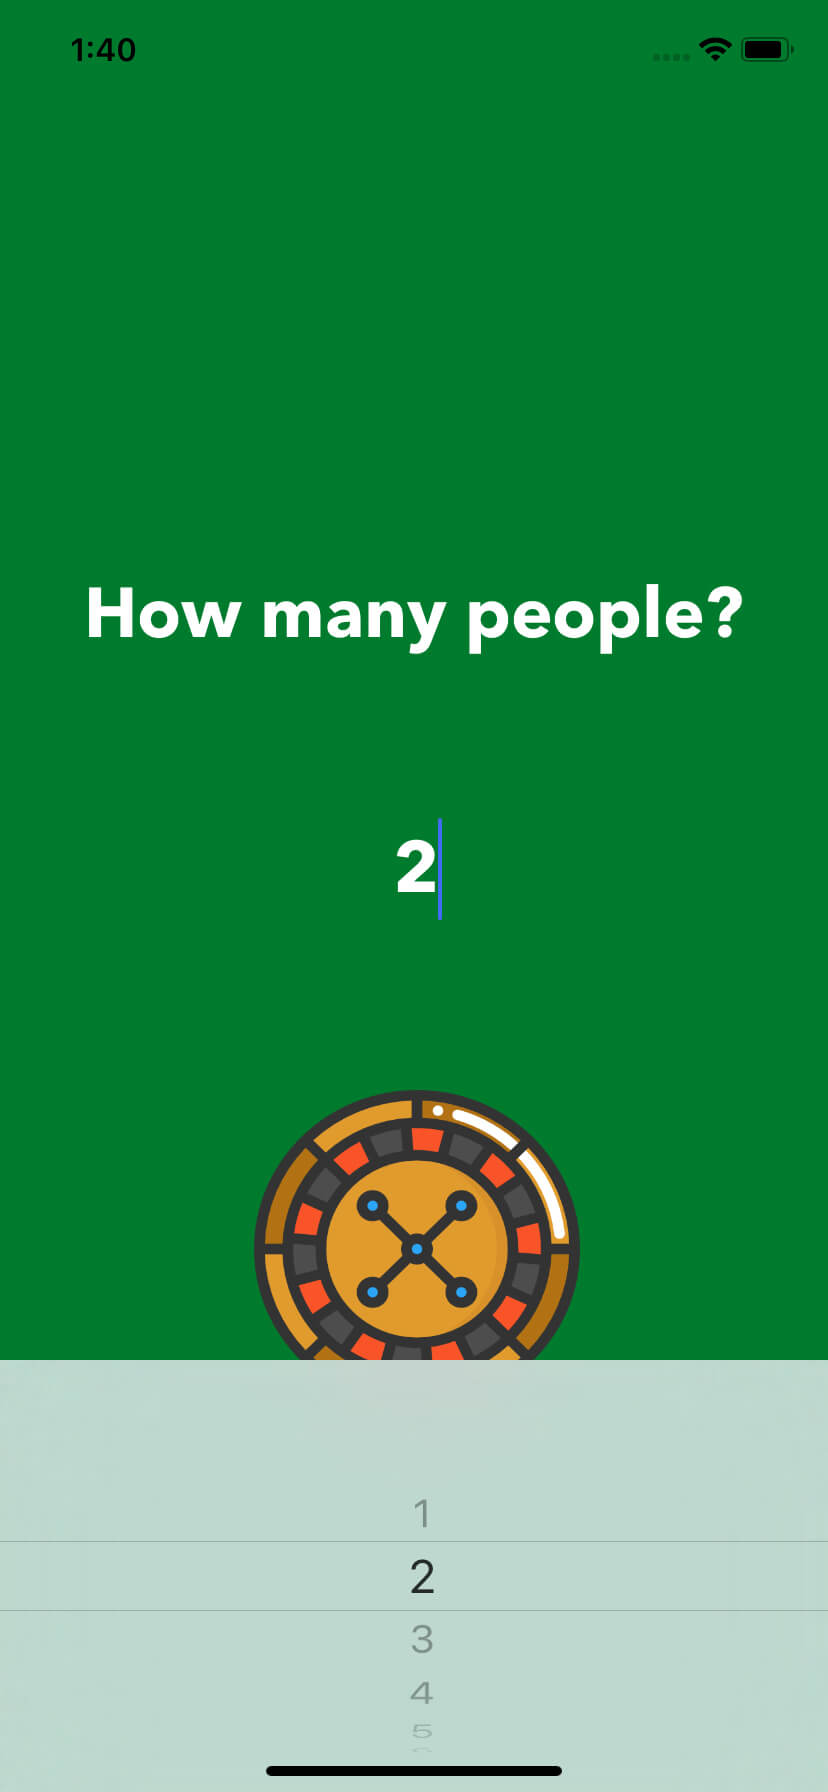
People Roulette
Today we will be building a very simple People Roulette App as we go through this tutorial. This app serves like a simple random generator to randomly select people. For example, when everyone is tired and resting in the hotel, but you need one guy to get some beer for a night party and no one wants to go, you could use this app to pick one unlucky guy. 😛
Project Skeleon
Open the project with Xcode and you should see a project structure as such:
- Model -> User
- Utilities
- DependencyAssembly.swift (Dependency Injections)
- Constants (Constant values)
- Handlers (RealmDB & Roulette functions)
- Network (API/Network relation functions)
- Services (Helper Functions)
- Extensions (Some extension of existing capabilities)
- Features (Components of the App)
- Resources (Storyboard, Assets, Info.plist)
This project structure helps us to find a specific file faster (i.e. when working on Roulette feature, just go to features and jump in to the related files).
Implementing UsersHandler (Building the Rolulette)
First and foremost, we will need a list of users. Instead of hardcoding them, we are going to get it from an open public API from here.
Let’s think MVVM
The View will notify its ViewModel to pull data using Handler. After the Handler receives data, it will update the Model. The Model will then eventually be retrieved and updated back to ViewModel and View, which will end the UI update.
For simplicity, the User Model class has already been completed for you. Let’s head over to UsersHandler class and start working from here. We have 2 protocols:
protocol UsersDownloading {
    func getUsers(completion: @escaping ([User]?, String?) -> Void)
}

protocol UsersRetrieving {
    func loadUsers() -> [User]?
}
UsersDownloadinghelps us to get users data from the server and save it into our RealmDB.UsersRetrievinghelps us to get users data from the RealmDB.
We will complete getUsers function by implementing this:
func getUsers(completion: @escaping ([User]?, String?) -> Void) {
        let request = APIRequest(url: URL.baseURL + EndPoint.users, method: .get)
        apiHandler.sendRequest(request) { success, data, errorMessage in
            guard success else {
                completion(nil, AlertMessage.requestFailure)
                return
            }

            guard let users = Mapper<User>().mapArray(JSONObject: data) else {
                completion(nil, AlertMessage.requestFailure)
                return
            }

            self.purgeUsers()
            self.saveUsers(users)

            completion(users, nil)
        }
    }
- First we created an
APIRequeststruct, give it aURLandmethod. - Then we pass it to
apiHandlerwhich leverage onAlamofireto make the HTTP call. - Once it gets response, the
guardstatements will handle any error response and theObjectMapperwill map JSON response data toUserModels. - We will then flush over any existing data in
RealmDB. - Then save the latest data.
- Since it’s an
@escapingcompletion block function, we will need to pass it some completion values to exist the function.
Now let’s complete the handler class by implementing the rest:
private func purgeUsers() {
        realmPurger.deleteObjects(for: User.self, cascade: true)
    }

    private func saveUsers(_ users: [User]) {
        realmSaver.saveObjects(users)
    }

    func loadUsers() -> [User]? {
        return realmRetriever.getObjects(for: User.self) as? [User]
    }
purgeUsersusesRealmDB‘sdeleteObjectsfunction to delete all users data.saveUsersusesRealmDB‘ssaveObjectsfunction to save all users data.loadUsersusesRealmDB‘sgetObjectsfunction to retreive all users data.
We will not talk more about RealmDB here. For more info, you could read their docs here.
Unit Testing – UsersHandler
Here, we are going to write our first test for making a network call to Get Users. Open UsersHandlerSpec.swift and we are going to start writing our test implementation in spec(). For more info about using Quick & Nimble, please go here.
Since it’s network related, there might be failed server or unstable network. We would not want to test the real network call. Therefore, we are going to leverage on the powerful method of Mock. By Mocking, we can control cases such that the:
- The network call always succeed/fail.
- The network call always returns the correct/incorrect data.
This way, we can write test cases around what happened in each case.
So go ahead and add this bunch of test code:
override func spec() {

        // 1
        let usersHandler = UsersHandler()
        usersHandler.realmPurger = MockUsersPurger()
        usersHandler.realmSaver = MockUsersSaver()

        // 2
        describe("Given a users list url") {
            beforeEach {
                usersHandler.apiHandler = MockAPIHandler(success: true, data: MockUsersJSON.data, errorMessage: .empty)
            }

            context("and a network call is established") {
                it("should get users list") {
                    // 3
                    usersHandler.getUsers(completion: { users, errorMessage in
                        expect(users!.count).to(equal(1))
                        expect(users!.first!.name).to(equal("Leanne Graham"))
                        expect(errorMessage).to(equal(String.empty))
                    })
                }
            }

            context("and a network call fails") {
                beforeEach {
                    usersHandler.apiHandler = MockAPIHandler(success: false, data: nil, errorMessage: AlertMessage.requestFailure)
                }

                it("should not get users list") {
                    usersHandler.getUsers(completion: { users, errorMessage in
                        expect(users).to(beNil())
                        expect(errorMessage).to(equal("Request Failure"))
                    })
                }
            }
        }
    }
- We first load in the appropriate mock classes from our
RealmHandlerbut we are not testing anything related to DB. This is essential as ourgetUsersmethod users their functions and test will crash if no object is mapped to them. - We then write 2 suite of test cases (success & failure).
- Here we call the same api function but we test against the function to ensure that it handles the response correctly.
Wow! That’s a huge amount of effort put in just to create a method for a network call! Yes, it does, but hard work will pay off. With components more loosely coupled, you can better split up the workload, do pair programming and write more robust code.
So we are now going to move up one level, to use UsersHandler in our PeopleRouletteViewModel.
Implementing PeopleRouletteViewModel
Remember that ViewModel retrieves data from Model and prepare them to be used in View. Go ahead and put in these code:
class PeopleRouletteViewModel {

    var usersDownloader: UsersDownloading!
    var usersRetriever: UsersRetrieving!

    // 1
    private var users: [User] {
        return usersRetriever.loadUsers() ?? []
    }

    // 2
    var maxCount: Int { return users.count }
    var minCount: Int { return 1 }

    var pickerData: [Int] {
        var tempData = [Int]()
        for number in minCount...maxCount {
            tempData.append(number)
        }
        return tempData
    }

    // 3
    func getUsers(completion: @escaping (Bool, String) -> Void) {
        usersDownloader.getUsers { users, errorMessage in
            guard let users = users, !users.isEmpty else {
                completion(false, errorMessage)
                return
            }

            completion(true, .empty)
        }
    }
}
- Using our
UsersRetrieverprotocol, weloadUsersfrom ourRealmDBaftergetUserssuccessfully retrieve users from the server. - Here we are using
maxCountandminCountto determine the lower and upper bound of ourUIPicker. - This function is similar to
UsersHandler, except that we no longer pass users toView, we only inform theViewif the call is successful.
Unit Testing – PeopleRouletteViewModel
Open up PeopleRouletteViewModelSpec.swift and implement these code:
class PeopleRouletteViewModelSpec: QuickSpec {
    override func spec() {
        let viewModel = PeopleRouletteViewModel()

        describe("Given a roulette") {
            // 1
            context("and downloading of users is successful") {
                beforeEach {
                    viewModel.usersDownloader = MockUsersDownloader(users: MockUsers.data, message: .empty)
                }

                it("should get the correct response") {
                    viewModel.getUsers(completion: { success, errorMessage in
                        expect(errorMessage).to(beNil())
                        expect(success).to(beTrue())
                    })
                }
            }

            // 2
            context("and downloading of users is unsuccessful") {
                beforeEach {
                    viewModel.usersDownloader = MockUsersDownloader(users: [], message: AlertMessage.requestFailure)
                }

                it("should get the correct response") {
                    viewModel.getUsers(completion: { success, errorMessage in
                        expect(errorMessage).to(equal(AlertMessage.requestFailure))
                        expect(success).to(beFalse())
                    })
                }
            }

            // 3
            context("and there are 3 available users") {
                beforeEach {
                    viewModel.usersRetriever = MockUsersRetriever()
                }

                it("should allow selection of minimum 1 person") {
                    expect(viewModel.minCount).to(equal(1))
                }

                it("should allow selection of maximum 3 people") {
                    expect(viewModel.maxCount).to(equal(3))
                }

                it("should populate picker data correctly") {
                    expect(viewModel.pickerData).to(equal([1, 2, 3]))
                }
            }
        }
    }
}

// 4
class MockUsersDownloader: UsersDownloading {
    var users: [User]?
    var message: String

    init(users: [User]?, message: String) {
        self.users = users
        self.message = message
    }

    func getUsers(completion: @escaping ([User]?, String) -> Void) {
        completion(users, message)
    }
}

// 5
class MockUsersRetriever: UsersRetrieving {
    func loadUsers() -> [User]? {
        return MockUsers.data
    }
}
- Here we are testing the scenario when
getUserssucceeds. - Here we are testing the scenario when
getUsersfails. - Here we are testing that the right data is prepared and accurate.
- Again, we are leveraging on the power of Mocking to simulate data from
API Call. - Again, we are leveraging on the power of Mocking to simulate data from
RealmDB.
Now run the test by using CMD+U or Product -> Test and you should see all your test cases passed!
Implementing PeopleRouletteViewController
Give yourself a big pat on your back! We are almost there, what we have just did is actually the most tedious part of the tutorial. I encourage you to repeat the previous steps by re-downloading the starter project and do it without checking this tutorial.
Now we are going to display the prepared data to users on the app. Add these missing code which we just implemented in the ViewModel layer to use it now in the View:
private func getUsers() {
        showLoadingSpinner()
        peopleRouletteViewModel.getUsers { [weak self] success, errorMessage in
            guard success else {
                self?.hideLoadingSpinner()
                self?.showErrorAlert(with: errorMessage)
                return
            }

            self?.hideLoadingSpinner()
        }
    }
When the network is making the network call, show spinner until it responded.
func pickerView(_ pickerView: UIPickerView, numberOfRowsInComponent component: Int) -> Int {
        return peopleRouletteViewModel.maxCount
    }

    func pickerView(_ pickerView: UIPickerView, titleForRow row: Int, forComponent component: Int) -> String? {
        return String(peopleRouletteViewModel.pickerData[row])
    }

    func pickerView(_ pickerView: UIPickerView, didSelectRow row: Int, inComponent component: Int) {
        numberOfPeople = peopleRouletteViewModel.pickerData[row]
        quantityTextField.text = String(numberOfPeople)
    }
Once the ViewModel has the result, we can use it to determine the number of rows, which is equivalent to the number of people. Transform each Int value to String to display it in our picker view. Then set in to our textField once it’s selected.
This power up our app to retrieve users list from server, and choose the number of people based on its data.
Now run the app and …. OOPS! Did the app just crash?
Yes it did, that’s because peopleRouletteViewModel is being forced unwrapped but it doesn’t point to any object yet. Here is where we will introduce Dependency Injection. Instead of initialising PeopleRouletteViewModel here, we will use Swinject to help us inject all our dependencies.
Head over to DependencyAssembly.swift and update these:
defaultContainer.storyboardInitCompleted(PeopleRouletteViewController.self)     { resolver, controller in
        controller.peopleRouletteViewModel = resolver.resolve(PeopleRouletteViewModel.self)
    }
and head over to registerViewModels to update PeopleRouletteViewModel with
defaultContainer.register(PeopleRouletteViewModel.self) { resolver in
        let viewModel = PeopleRouletteViewModel()
        viewModel.usersDownloader = resolver.resolve(UsersDownloading.self)
        viewModel.usersRetriever = resolver.resolve(UsersRetrieving.self)
        return viewModel
    }
Yeah! We are now good to go. Just like a car needing a key to start the engine, all these dependencies help us to kick start the car.
Run the app now and you can choose number of people!
Implementing RouletteHandler
I am going to go a little faster from here, as it will be the same ritual.
- Implement Handler (Capability)
- Implement View Model (Prepare Data with Capability)
- Implement View (Use Data)
- Implement Unit Tests
Open up RouletteHandler.swift and implement the following:
// 1
protocol PeopleRouletting {
    func getRouletteResults(for numberOfPeople: Int) -> [User]
}

class RouletteHandler: PeopleRouletting {

    var usersRetriever: UsersRetrieving!

    // 2
    func getRouletteResults(for numberOfPeople: Int) -> [User] {
        guard let users = usersRetriever.loadUsers() else {
            return []
        }

        return users.sample(UInt(numberOfPeople))
    }
}
- The capability of this class is to apply Roulette base on the users list and number of people selected.
- The logic here is to leverage on Darwin to generate unique random users.
That’s all, you are ready to use your roulette! But before we jump right in, let’s unit test this handler so as to “lock down” its logic.
Unit Testing – RouletteHandler
Head over to RouletteHandlerSpec.swift and implement these:
class RouletteHandlerSpec: QuickSpec {
    override func spec() {
        let handler = RouletteHandler()
        handler.usersRetriever = MockUsersRetriever()

        describe("Given a roulette") {
            var randomUsers = [User]()

            // 1
            context("when getting a random user") {
                beforeEach {
                    randomUsers = handler.getRouletteResults(for: 1)
                }

                it("should return one user") {
                    expect(randomUsers.count).to(equal(1))
                }
            }

            // 2
            context("when getting more than 1 random user") {
                beforeEach {
                    randomUsers = handler.getRouletteResults(for: 2)
                }

                it("should return 2 users") {
                    expect(randomUsers.count).to(equal(2))
                }
            }

            // 3
            context("when getting all users") {
                beforeEach {
                    randomUsers = handler.getRouletteResults(for: 3)
                }

                it("should all 3 unique users") {
                    let firstUserExist = !randomUsers.filter({ $0.name == "User 1" }).isEmpty
                    let secondUserExist = !randomUsers.filter({ $0.name == "User 2" }).isEmpty
                    let thirdUserExist = !randomUsers.filter({ $0.name == "User 3" }).isEmpty
                    expect(firstUserExist).to(beTrue())
                    expect(secondUserExist).to(beTrue())
                    expect(thirdUserExist).to(beTrue())
                }
            }
        }
    }
}
- We need to test that our handler supports generating one random user.
- We need to test that it also supports more than 1 user.
- We need to test that all values are unique by testing against getting all users.
Implementing Navigation
Before we go on to use our PeopleRouletting, we need to navigate user to the next screen where the Roulette and the list of lucky winners displayed.
Let’s head back to PeopleRouletteViewController and add this line:
var peopleRouletteViewModel: PeopleRouletteViewModel!
var viewControllerInjector: ViewControllerInjecting!
ViewControllerInjector is already existed in the codebase. Its main job is to do all the heavy work of injecting viewControllers for you. Don’t forget to head over to Dependency Assembly and inject in controller.viewControllerInjector = resolver.resolve(ViewControllerInjecting.self) too.
Head back to the viewController and add UsersListViewController just above numberOfPeople declaration:
lazy var usersListViewController: UsersListViewController = {
        let viewController = viewControllerInjector.inject(viewController: ViewIdentifier.usersListViewController, in: Storyboard.main) as? UsersListViewController ?? UsersListViewController()
        return viewController
    }()
We perform a lazy load of the viewController here to ensure injection only happens once. In such case, viewDidLoad will only be called once as well.
Now implement our roulette action:
@IBAction func roulette(_ sender: UIButton) {
        usersListViewController.usersListViewModel.setup(with: numberOfPeople)
        navigationController?.pushViewController(usersListViewController, animated: true)
    }
Are you ready to navigate? Run Test and then run the app to ensure everything is in tact before moving on!
You should be able to select number of people, click on the Roulette Wheel and navigate to next screen. But nothing is showing yet.
Implementing UsersListViewModel
This is where we will use PeopleRoulette to populate our list view.
Inject PeopleRouletting in. Once you are done, use it in setup like this:
func setup(with numberOfPeople: Int) {
        selectedPeople = peopleRoulette.getRouletteResults(for: numberOfPeople)

        cellViewModels.removeAll()

        for person in selectedPeople {
            cellViewModels.append(UsersListItemCellViewModel(user: person))
        }
    }
Very simply, we randomly pick out the selectedPeople objects, and then prepare one cellViewModel per object.
Unit Testing – UsersListViewModel
Head over to UsersListViewModelSpec and fill them up:
class UsersListViewModelSpec: QuickSpec {
    override func spec() {
        let viewModel = UsersListViewModel()
        viewModel.peopleRoulette = MockPeopleRoulette()

        describe("Given Roulette results") {
            beforeEach {
                viewModel.setup(with: 3)
            }

            it("should show the correct number of selected people in the list") {
                expect(viewModel.numberOfRows).to(equal(3))
            }

            it("should show the correct person in each row") {
                expect(viewModel.getUser(for: 0).name).to(equal("User 1"))
                expect(viewModel.getUser(for: 0).company?.name).to(equal("Company 1"))
            }
        }
    }
}

class MockPeopleRoulette: PeopleRouletting {
    func getRouletteResults(for numberOfPeople: Int) -> [User] {
        return MockUsers.data
    }
}
Here we provide the PeopleRoulette object with some data, then test that with data available, it should:
- Calculate the correct number of rows.
- Get the correct user data from each row.
Implementing UsersListItemCellViewModel
Head over to UsersListItemCellViewModel to implement our code:
// 1
protocol UsersListItemRepresenting {
    var name: String { get }
    var company: String { get }
}

// 2
class UsersListItemCellViewModel: UsersListItemRepresenting {

    var name = String.empty
    var company = String.empty

    init(user: User) {
        name = user.name
        company = user.company?.name ?? .empty
    }
}
In cellViewModel, we only want neccessary data to be shown to user. Therefore, we should not load the entire model.
Unit Testing – UsersListItemCellViewModel
class UsersListItemCellViewModelSpec: QuickSpec {
    override func spec() {
        let cellViewModel = UsersListItemCellViewModel(user: MockUsers.data.first!)

        describe("Given a user list item") {
            it("should display user's name") {
                expect(cellViewModel.name).to(equal("User 1"))
            }

            it("should display user's company") {
                expect(cellViewModel.company).to(equal("Company 1"))
            }
        }
    }
}
Given a cellViewModel, test that it populates the right data.
Implementing UsersListViewController
Now fill up the tableView methods in the viewController:
// 1
override func tableView(_ tableView: UITableView, numberOfRowsInSection section: Int) -> Int {
    return usersListViewModel.numberOfRows
}

// 2
override func tableView(_ tableView: UITableView, cellForRowAt indexPath: IndexPath) -> UITableViewCell {
    let cellViewModel = usersListViewModel.getCellViewModel(for: indexPath.row)
    return populateUsersListItemCell(with: cellViewModel, at: indexPath) ?? UITableViewCell()
}

// 3
private func populateUsersListItemCell(with viewModel: UsersListItemRepresenting, at indexPath: IndexPath) -> UsersListItemCell? {
    if let cell = tableView.dequeueReusableCell(withIdentifier: "UsersListItemCell", for: indexPath) as? UsersListItemCell {
        let cellViewModel = usersListViewModel.getCellViewModel(for: indexPath.row)
        cell.configure(with: cellViewModel.name, and: cellViewModel.company)
        return cell
    }

    return nil
}
- First, we use the viewModel to render the correct number of rows.
- Then, we get the cellViewModel of the row, and render its cell.
- Cell creation is happening here, where the cellViewModel is used to map data to cell.
Running the app now will crash the app as it seems like a DI is missing. Can you resolve it?
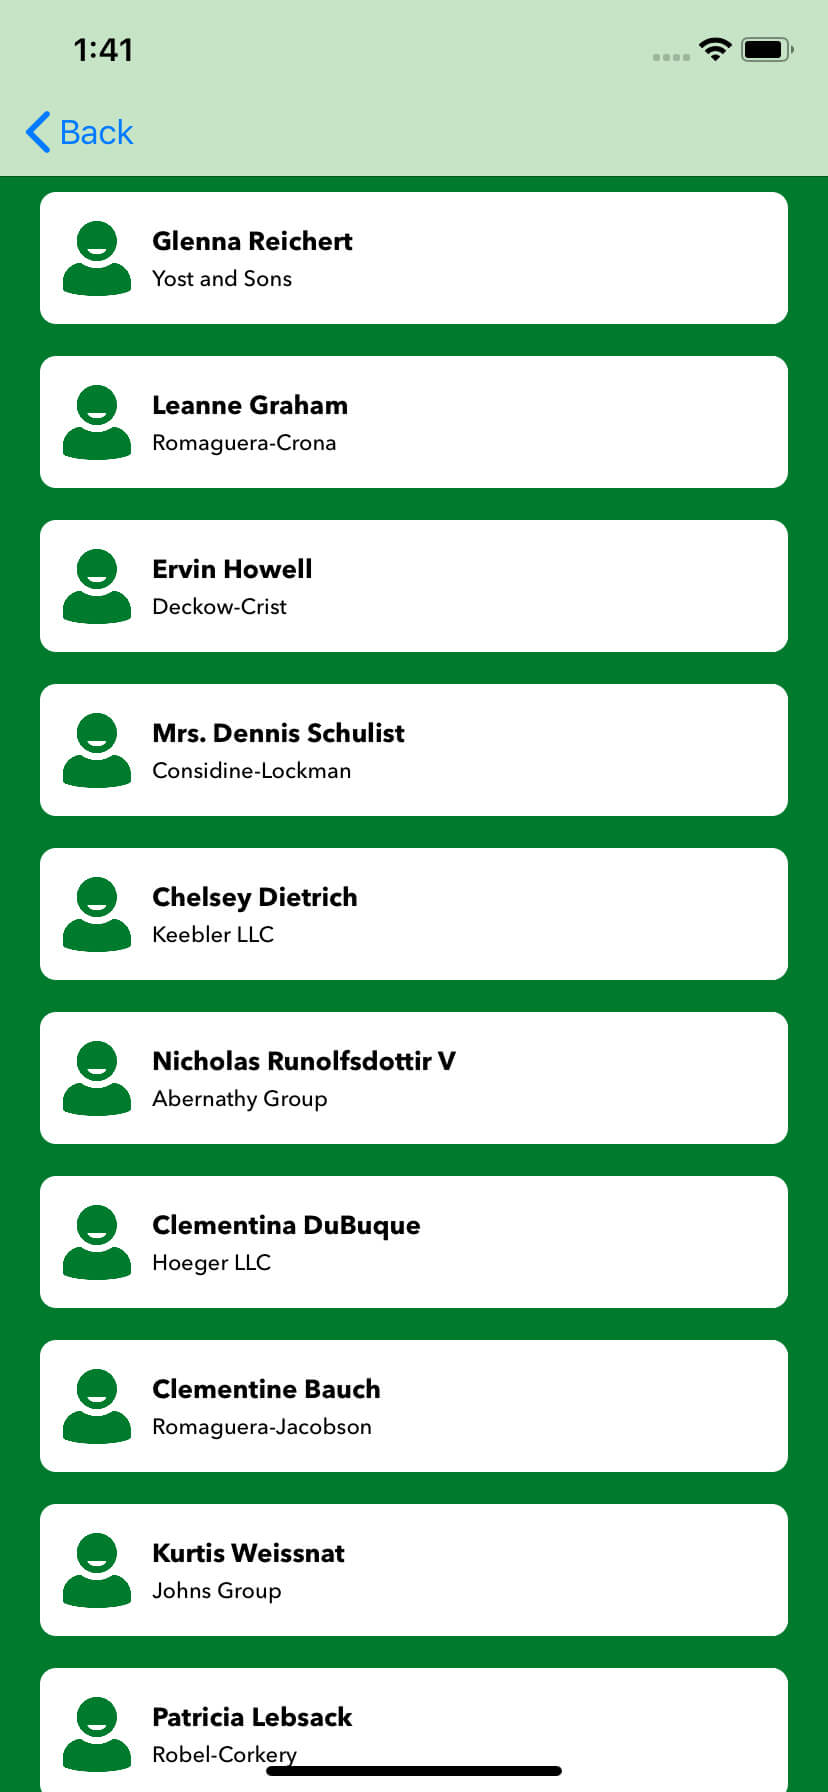
Now run the test and the app, choose people and you should see a list of selected unique people! Hurray!
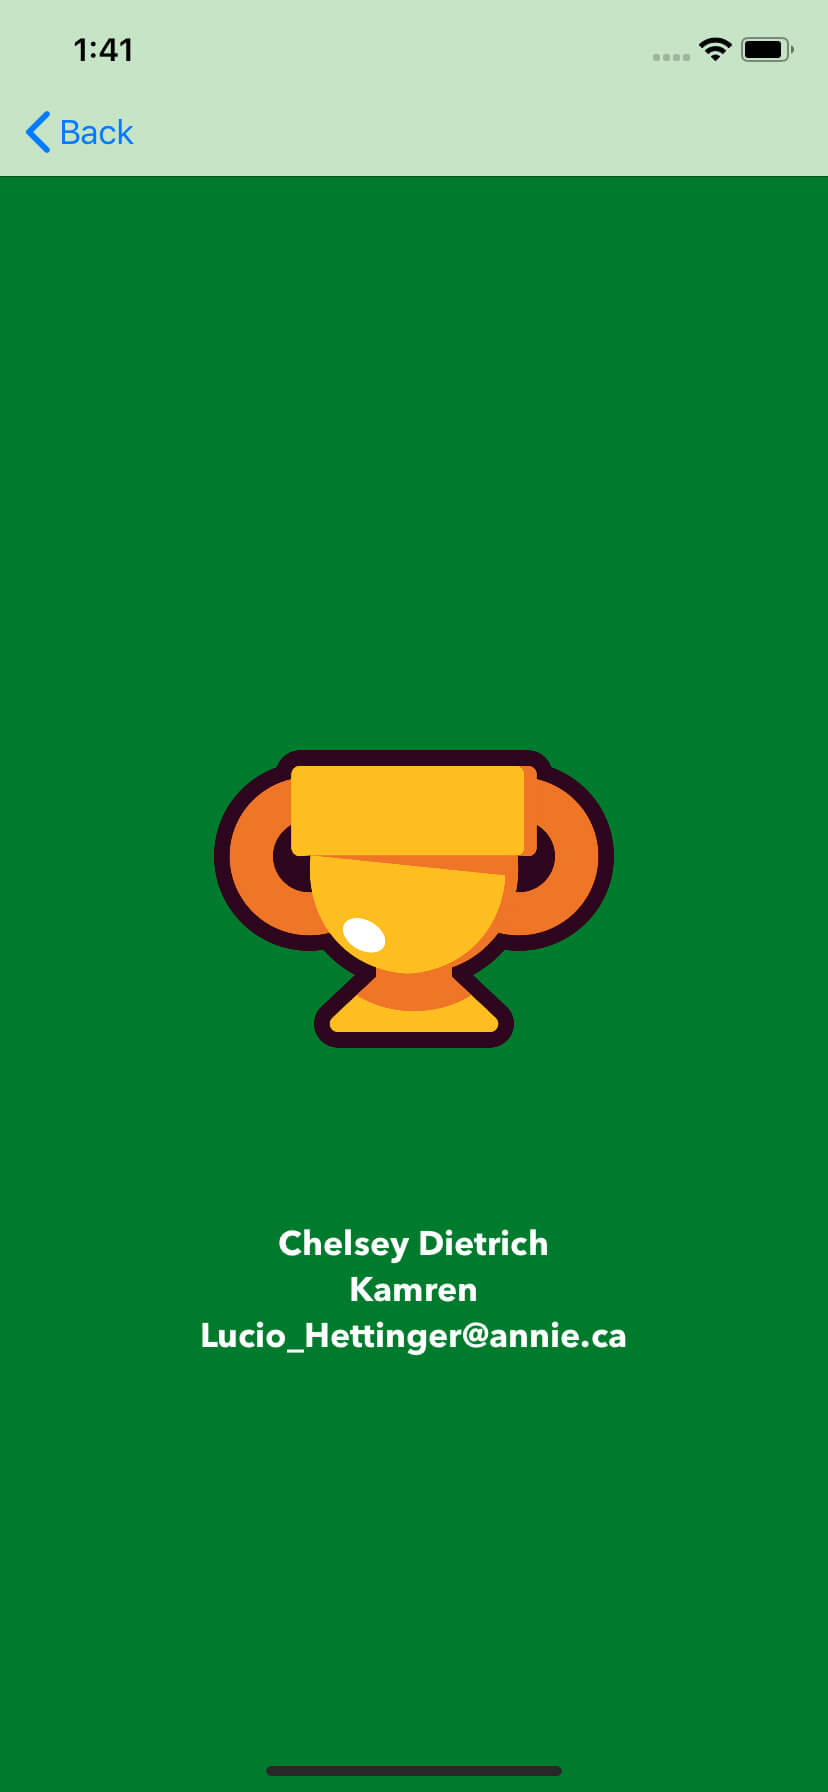
Implementing UserDetailsViewModel
The last step is to allow user to tap on each person’s details to view them. Go ahead and implement this view model:
private var selectedUser: User!

var userInfo: String {
    return "\(selectedUser.name)\n\(selectedUser.username)\n\(selectedUser.email)"
}

func setupUserInfo(_ user: User) {
    self.selectedUser = user
}
Unit Testing – UserDetailsViewModel
In UserDetailsViewModelSpec:
class UserDetailsViewModelSpec: QuickSpec {
    override func spec() {
        let viewModel = UserDetailsViewModel()

        describe("Given user details") {
            beforeEach {
                viewModel.setupUserInfo(MockUsers.data.first!)
            }

            it("should display user info") {
                expect(viewModel.userInfo).to(equal("User 1\nUsername 1\nEmail 1"))
            }
        }
    }
}
We are testing if the details of the user are displayed correctly and in the right format here.
Implementing Navigation
Challenge yourself now. Add in viewControllerInjector and inject in UserDetailsViewController using lazy loading. Then, implement this in tableView delegate to navigate to the details page:
override func tableView(_ tableView: UITableView, didSelectRowAt indexPath: IndexPath) {
    let user = usersListViewModel.getUser(for: indexPath.row)
    userDetailsViewController.userDetailsViewModel.setupUserInfo(user)
    navigationController?.pushViewController(userDetailsViewController, animated: true)
}
Implementing UserDetailsViewController
Populate setupUserInfo function and we are almost there!
private func setupUserInfo() {
    userDetailsLabel.text = userDetailsViewModel.userInfo
}
Again, the app crashes because of missing dependencies. Go ahead and solve them! Now run the test & the app and you should be able to view user details with 18 test cases passed!
You are a Champion!
This is one of the toughest tutorials I have ever written and please provide your feedback so I can be better at it. I have mainly touched on the advanced methods of coding in swift.
- Using MVVM Design Pattern
- Using Dependency Injection
- Using Protocol Oriented Programming
- Unit Testing
In the real world, it is not ideal to test every single code though we always try our best to achieve 100% test coverage. However, we can always pick out the core components of the app to test (i.e. Server & Roulette in our case) so as to ensure that we have “Locked Down” its features. When it comes to code review and KT (Knowledge Transfer), test cases (if written well, i.e. BDD way) can help in understanding the codebase faster.
For coming this far and understanding these concepts, you deserve a cookie!
You can download the complete project here.


