Have you ever wondered how to make your app’s features accessible from the built-in Shortcuts app on iOS? That’s what the App Intents framework is designed for. Introduced in iOS 16 and macOS Ventura, the framework has been around for over two years. It provides developers with a powerful way to define actions that users can trigger through Shortcuts. With App Intents, your app can integrate seamlessly with the Shortcuts app, Siri, and even system-wide Spotlight search.
In this tutorial, we’ll explore how to use the App Intents framework to bring your app’s functionality into Shortcuts by creating an App Shortcut. Using the Ask Me Anything app as our example, we’ll walk through the process of letting users ask questions right from Shortcuts.
This tutorial assumes you're familiar with the Ask Me Anything app from our Foundation Models tutorial. If you haven't read it yet, please review that tutorial first.

Using App Intents
The Ask Me Anything app allows users to ask questions and then it provides answers using the on-device LLM. What we are going to do is to expose this feature to the Shortcuts app. To do that, all you need to do is to create a new Struct and adopt the App Intents framework.
Let’s create a new file named AskQuestionIntent in the AskMeAnything project and update its content like below:
import SwiftUI
import AppIntents

struct AskQuestionIntent: AppIntent {
    static var title: LocalizedStringResource = "Ask Question"
    static var description = IntentDescription("Ask a question to get an AI-powered answer")

    static let supportedModes: IntentModes = .foreground

    @Parameter(title: "Question", description: "The question you want to ask")
    var question: String

    @AppStorage("incomingQuestion") var storedQuestion: String = ""

    init() {}

    init(question: String) {
        self.question = question
    }

    func perform() async throws -> some IntentResult {
        storedQuestion = question

        return .result()
    }
}
The code above defines a struct called AskQuestionIntent, which is an App Intent using the AppIntents framework. An App Intent is basically a way for your app to “talk” to the Shortcuts app, Siri, or Spotlight. Here, the intent’s job is to let a user ask a question and get an AI-powered answer.
At the top, we have two static properties: title and description. These are what the Shortcuts app or Siri will show the user when they look at this intent.
The supportedModes property specifies that this intent can only run in the foreground, meaning the app will open when the shortcut is executed.
The @Parameter property wrapper defines the input the user needs to give. In this case, it's a question string. When someone uses this shortcut, they'll be prompted to type or say this question.
The @AppStorage("incomingQuestion") property is a convenient way to persist the provided question in UserDefaults, making it accessible to other parts of the app.
Finally, the perform() function is where the intent actually does its work. In this example, it just takes the question from the parameter and saves it into storedQuestion. Then it returns a .result() to tell the system it’s done. You’re not doing the AI call directly here — just passing the question into your app so it can handle it however it wants.
Handling the Shortcut
Now that the shortcut is ready, executing the “Ask Question” shortcut will automatically launch the app. To handle this behavior, we need to make a small update to ContentView.
First, declare a variable to retrieve the question provided by the shortcut like this:
@AppStorage("incomingQuestion") private var incomingQuestion: String = ""Next, attach the onChange modifier to the scroll view:
ScrollView {

...


}
.onChange(of: incomingQuestion) { _, newQuestion in
    if !newQuestion.isEmpty {
        question = newQuestion
        incomingQuestion = ""

        Task {
            await generateAnswer()
        }
    }
}
In the code above, we attach an .onChange modifier to the ScrollView so the view can respond whenever the incomingQuestionvalue is updated. Inside the closure, we check whether a new question has been received from the shortcut. If so, we trigger the generateAnswer() method, which sends the question to the on-device LLM for processing and returns an AI-generated answer.
Adding a Preconfigured Shortcut
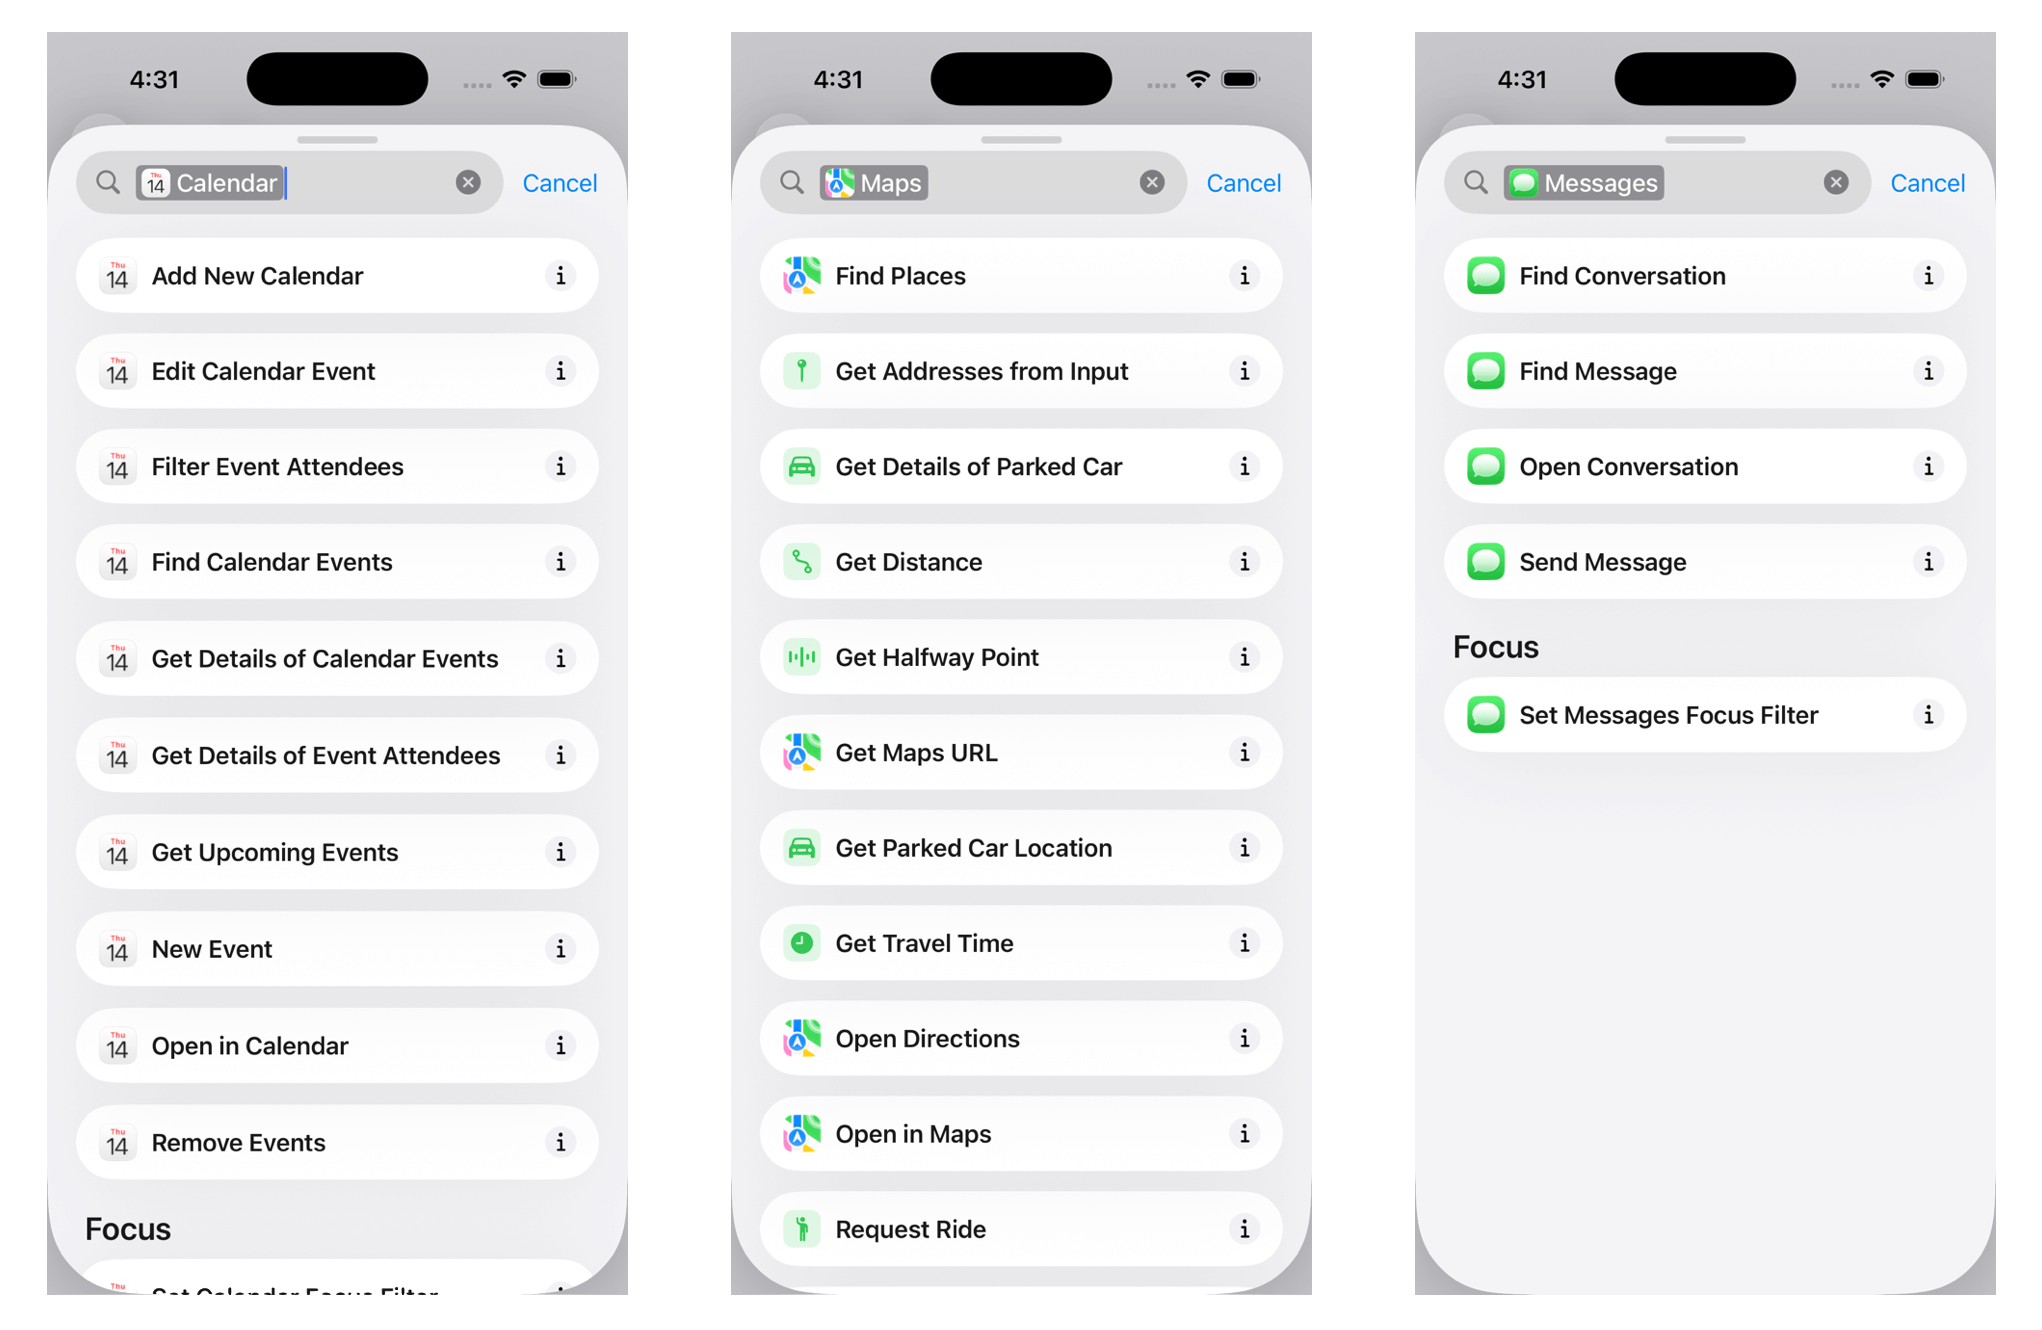
In essence, this is how you create a shortcut that connects directly to your app. If you’ve explored the Shortcuts app before, you’ve probably noticed that many apps already provide preconfigured shortcuts. For instance, the Calendar app includes ready-made shortcuts for creating and managing events.

With the App Intents framework, adding these preconfigured shortcuts to your own app is straightforward. They can be used right away in the Shortcuts app or triggered hands-free with Siri. Building on the AskQuestionIntent we defined earlier, we can now create a corresponding shortcut so users can trigger it more easily. For example, here’s how we could define an “Ask Question” shortcut:
struct AskQuestionShortcut: AppShortcutsProvider {
    static var appShortcuts: [AppShortcut] {
        AppShortcut(
            intent: AskQuestionIntent(),
            phrases: [
                "Ask \(.applicationName) a question",
                "Ask \(.applicationName) about \(.applicationName)",
                "Get answer from \(.applicationName)",
                "Use \(.applicationName)"
            ],
            shortTitle: "Ask Question",
            systemImageName: "questionmark.bubble"
        )
    }
}
The AskQuestionShortcut adopts the AppShortcutsProvider protocol, which is how we tell the system what shortcuts our app supports. Inside, we define a single shortcut called “Ask Question,” which is tied to our AskQuestionIntent. We also provide a set of example phrases that users might say to Siri, such as “Ask [App Name] a question” or “Get answer from [App Name].”
Finally, we give the shortcut a short title and a system image name so it’s visually recognizable inside the Shortcuts app. Once this code is in place, the system automatically registers it, and users will see the shortcut ready to use—no extra setup required.
Testing the Shortcut

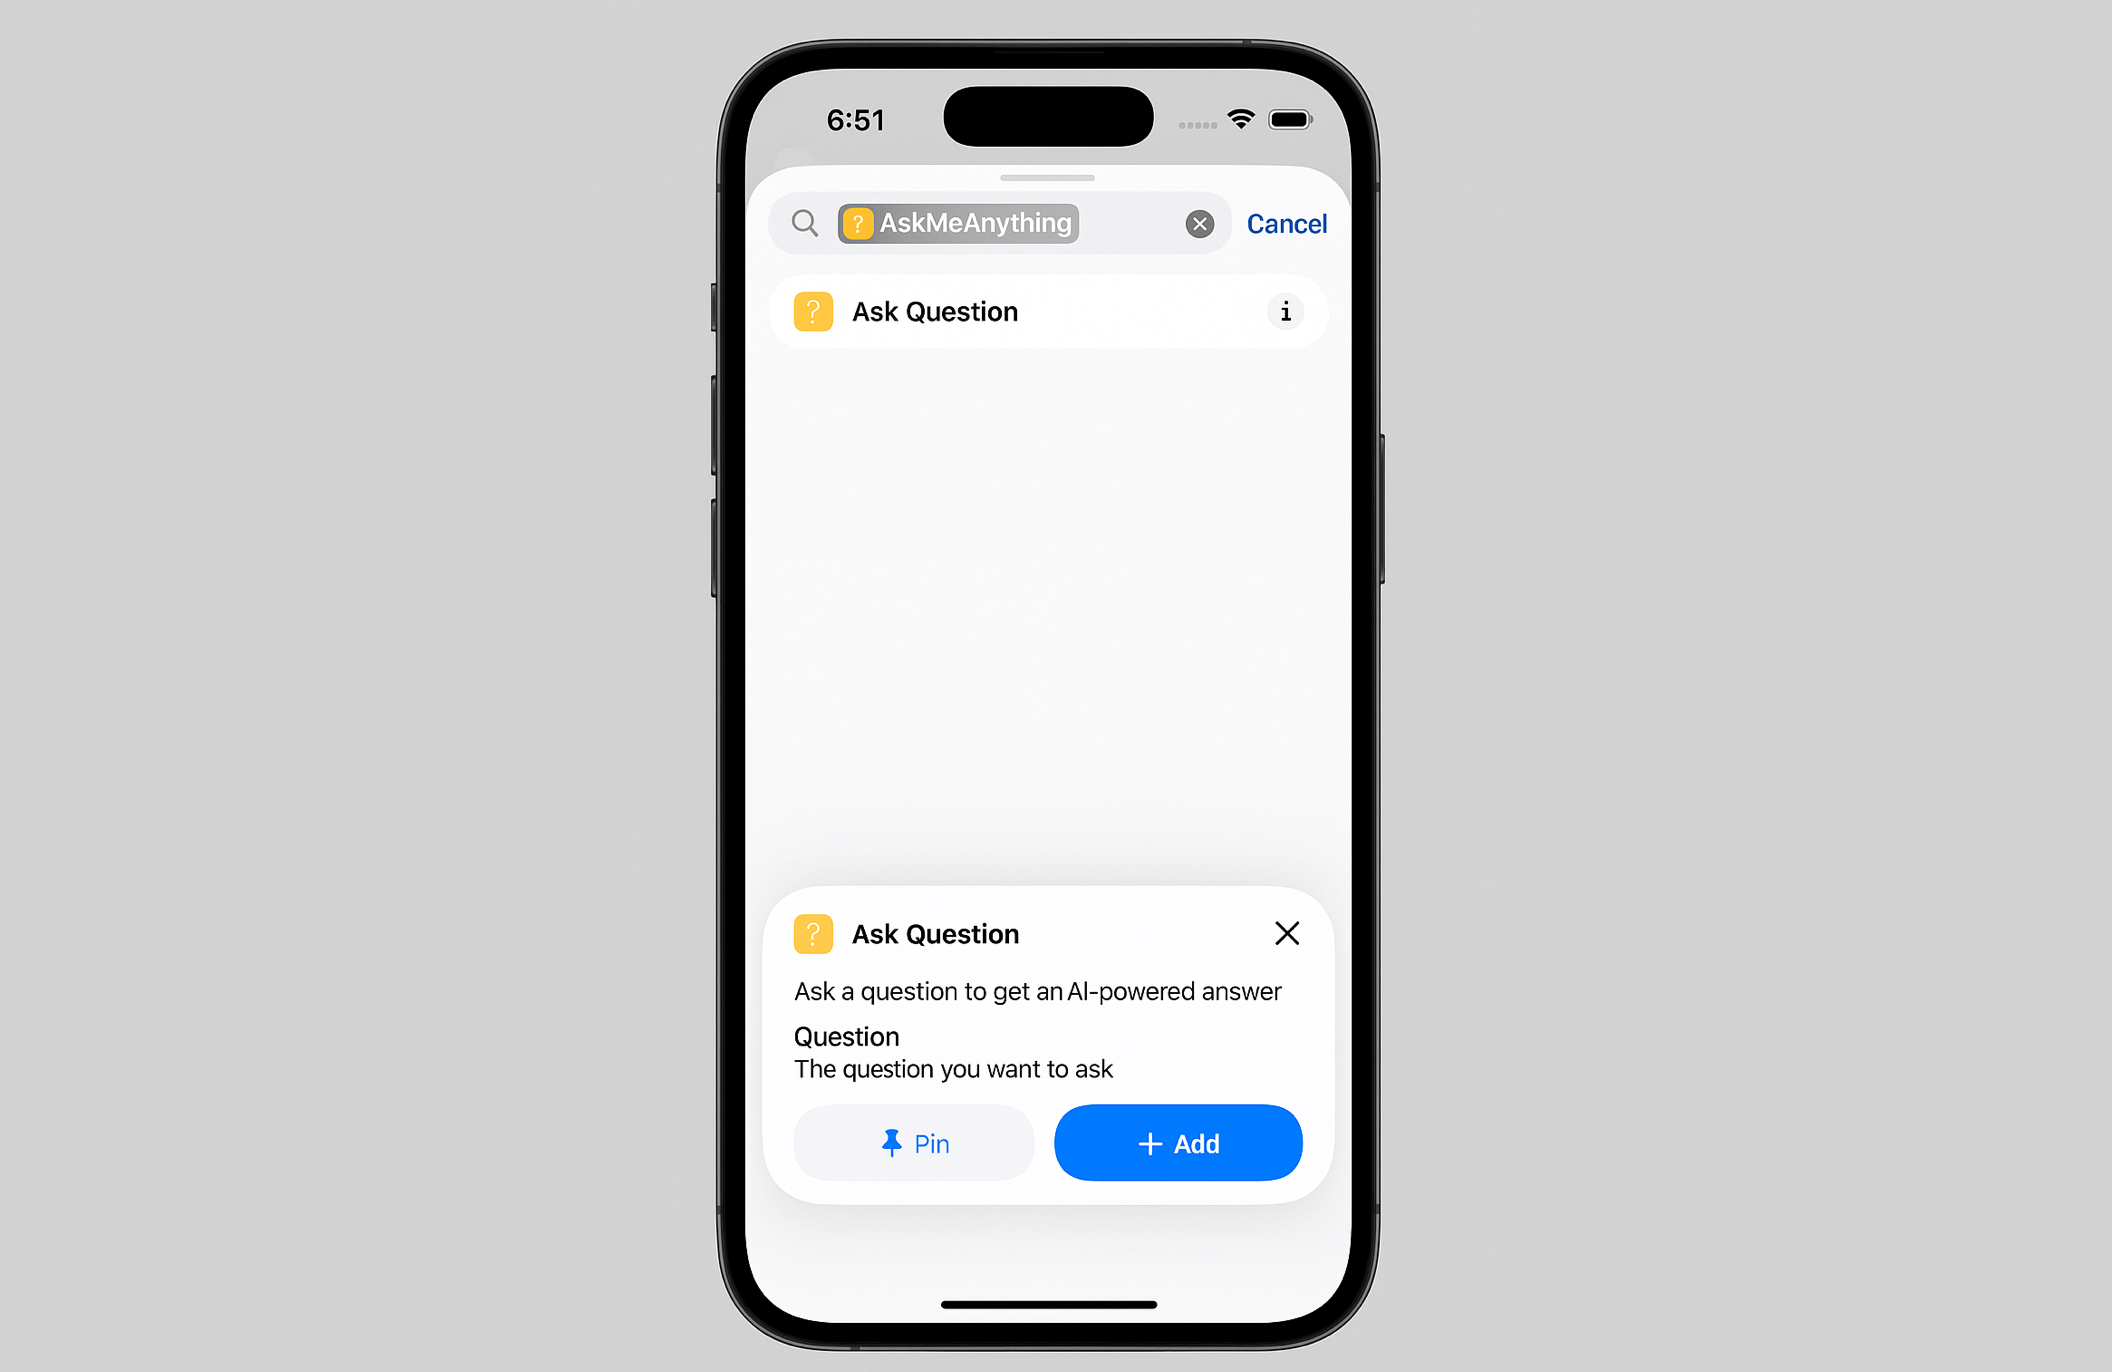
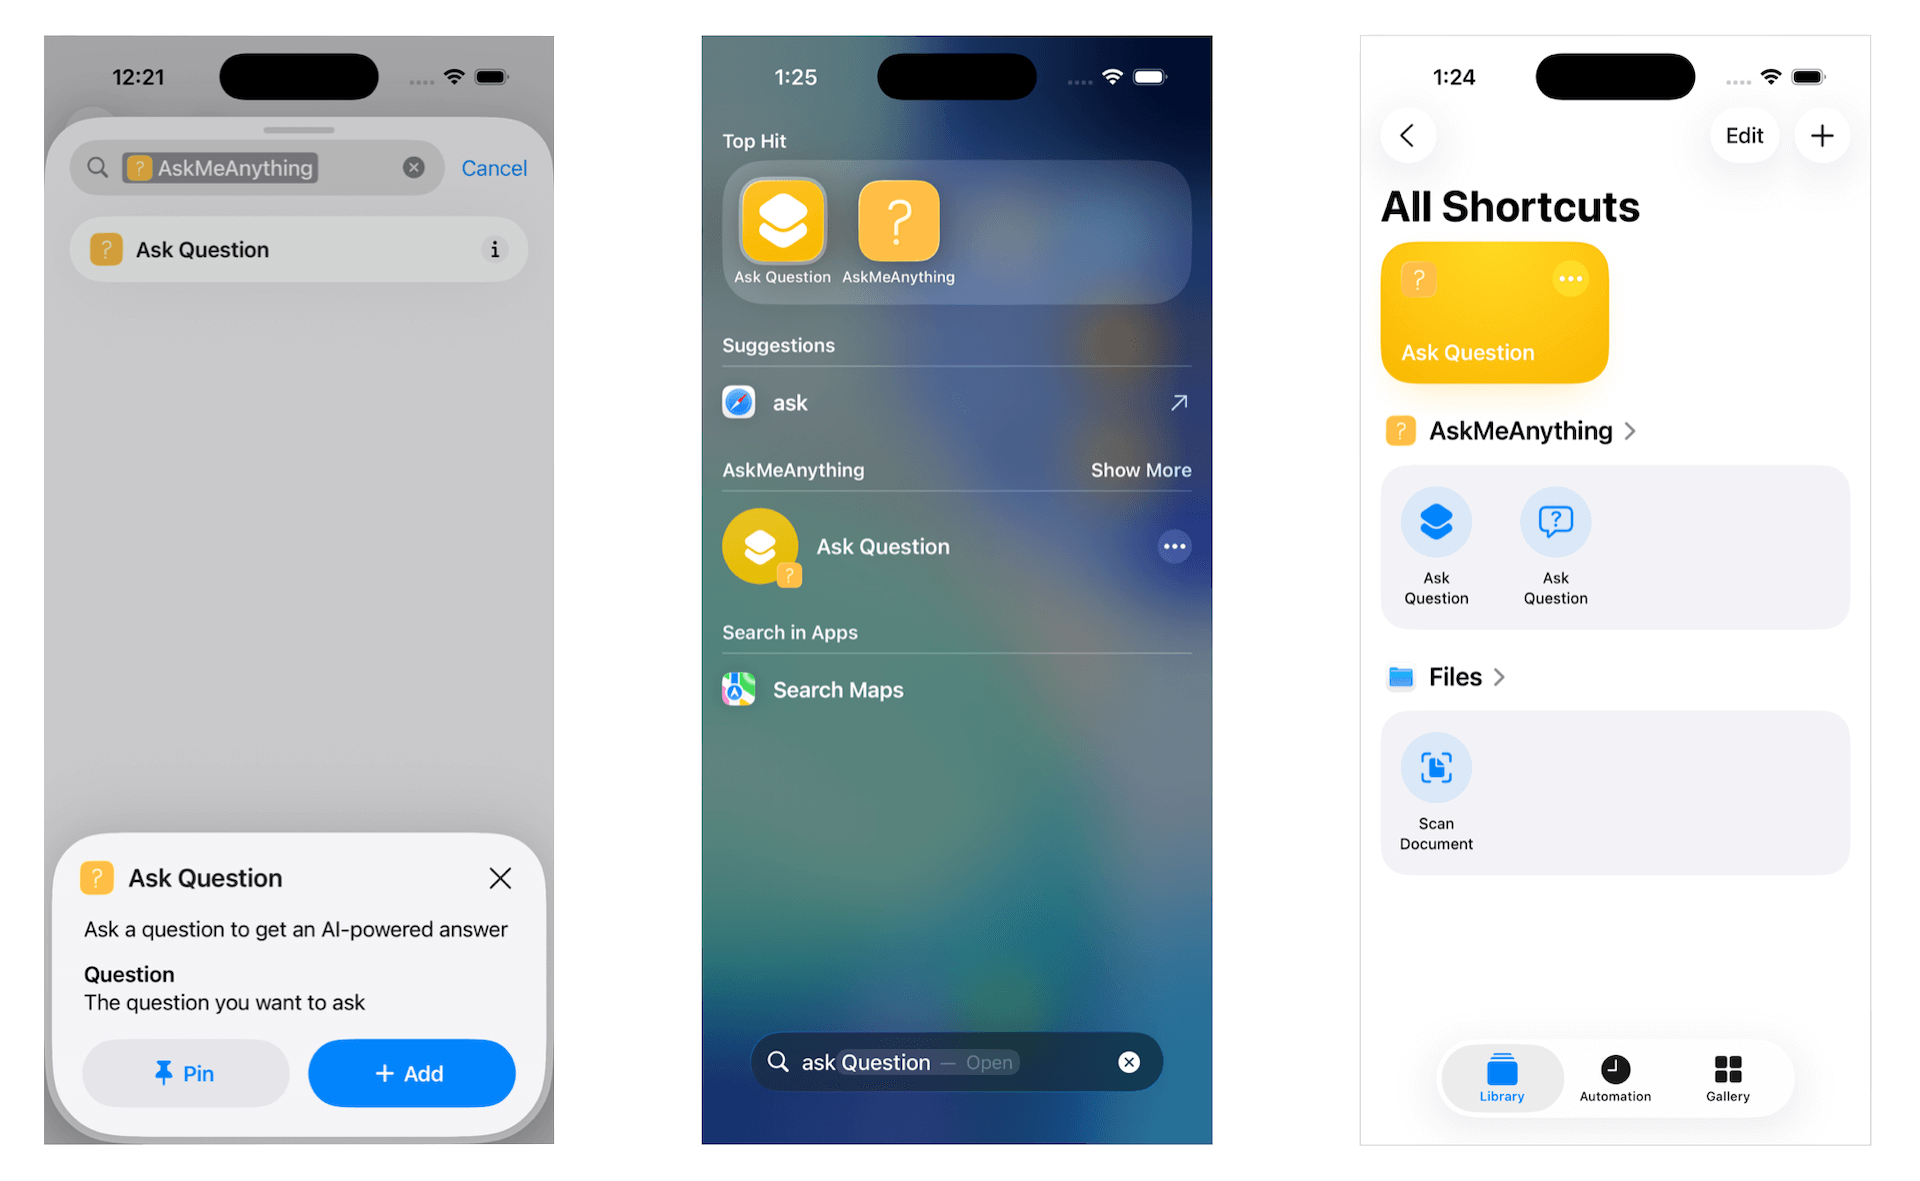
To give the shortcut a try, build and run the app on either the simulator or a physical iOS device. Once the app has launched at least once, return to the Home Screen and open the Shortcuts app. You should now find the “Ask Question” shortcut we just created, ready for you to use.
The new shortcut not only appears in the Shortcuts app but is also available in Spotlight search.
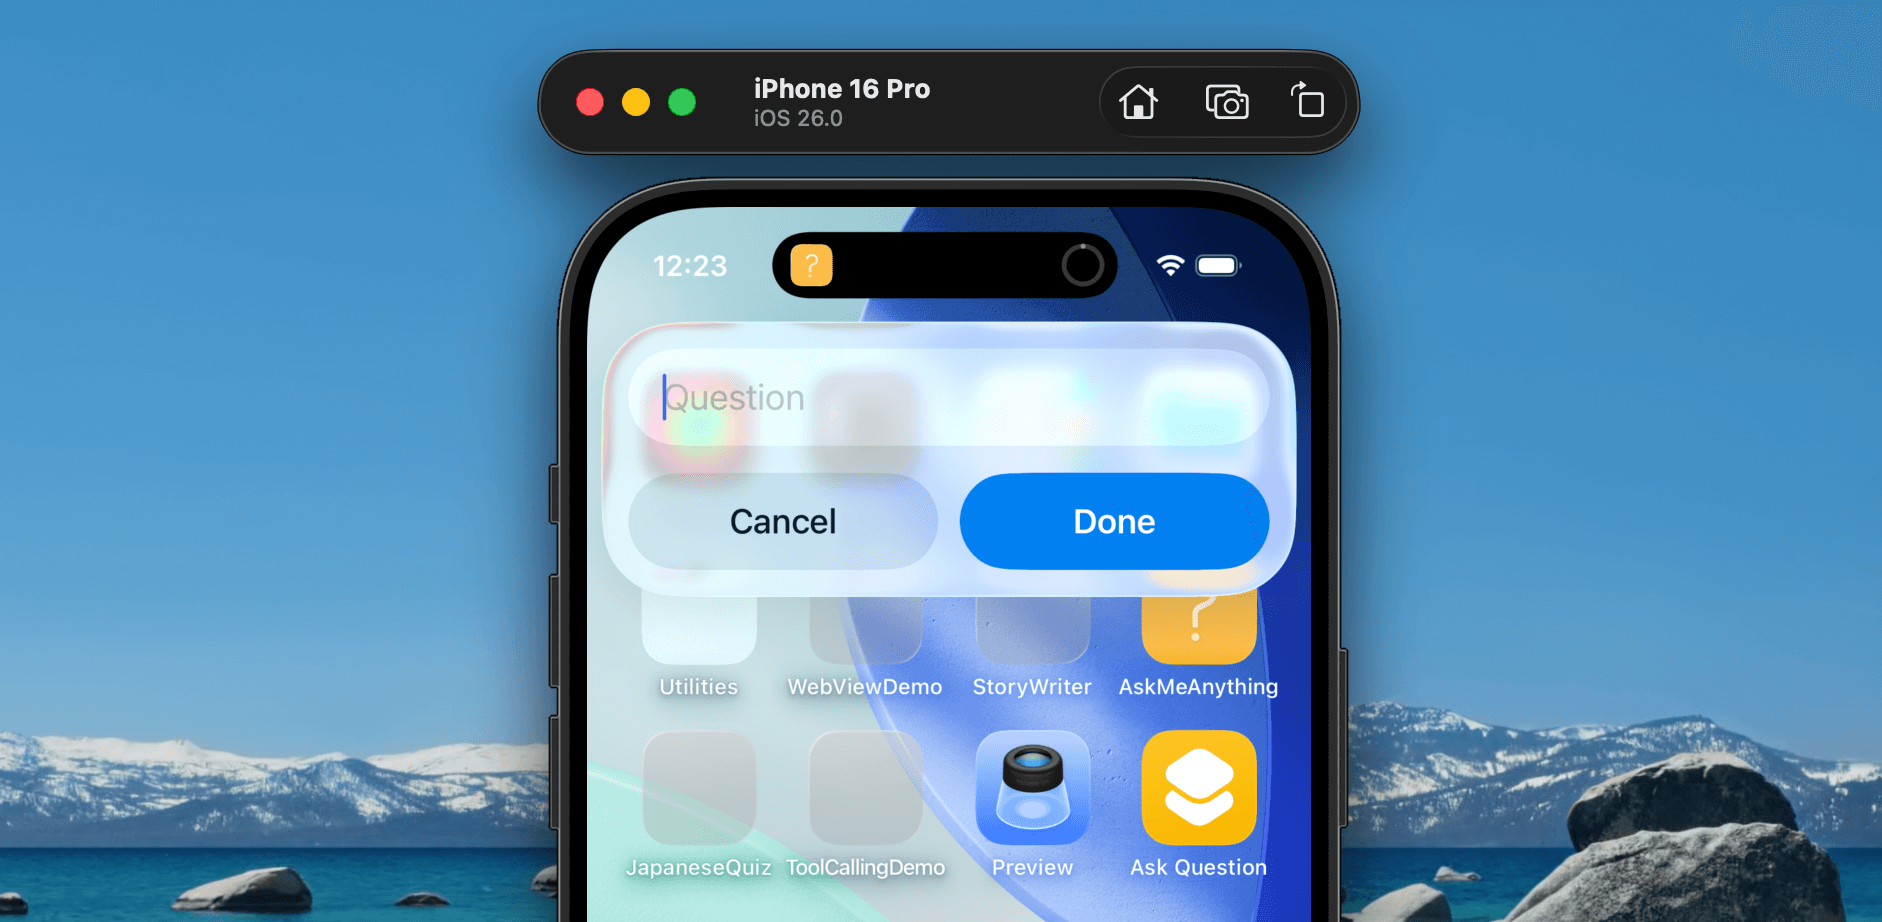
When you run the “Ask Question” shortcut, it should automatically prompt you for question. Once you type your question and tap Done, it brings up the app and show you the answer.

Summary
In this tutorial, we explored how to use the App Intents framework to expose your app’s functionality to the Shortcuts app and Siri. We walked through creating an AppIntent to handle user input, defining a preconfigured shortcut, and testing it right inside the Shortcuts app. With this setup, users can now ask questions to the Ask Me Anything app directly from Shortcuts or via Siri, making the experience faster and more convenient.
In the next tutorial, we’ll take it a step further by showing you how to display the AI’s answer in a Live Activity. This will let users see their responses in real time, right on the Lock Screen or in the Dynamic Island—without even opening the app.


