In WWDC 2021, Apple announced tons of new features for the SwiftUI framework to make developers’ life easier. AsyncImage is definitely one of the new views, introduced in iOS 15, that is worth a mention. If your app needs to retrieve and display images from remote servers, this new view should save you from writing your own code to handle asynchronous download.
AsyncImage is a built-in view for loading and displaying remote images asynchronously. All you need is to tell it what the image URL is. AsyncImage then does the heavy lifting to grab the remote image and show it on screen.
In this tutorial, I will show you how to work with AsyncImage in SwiftUI projects. To follow the tutorial, please make sure you use Xcode 13 and iOS 15.
The Basic Usage of AsyncImage
The simplest way to use AsyncImage is by specifying the image URL like this:
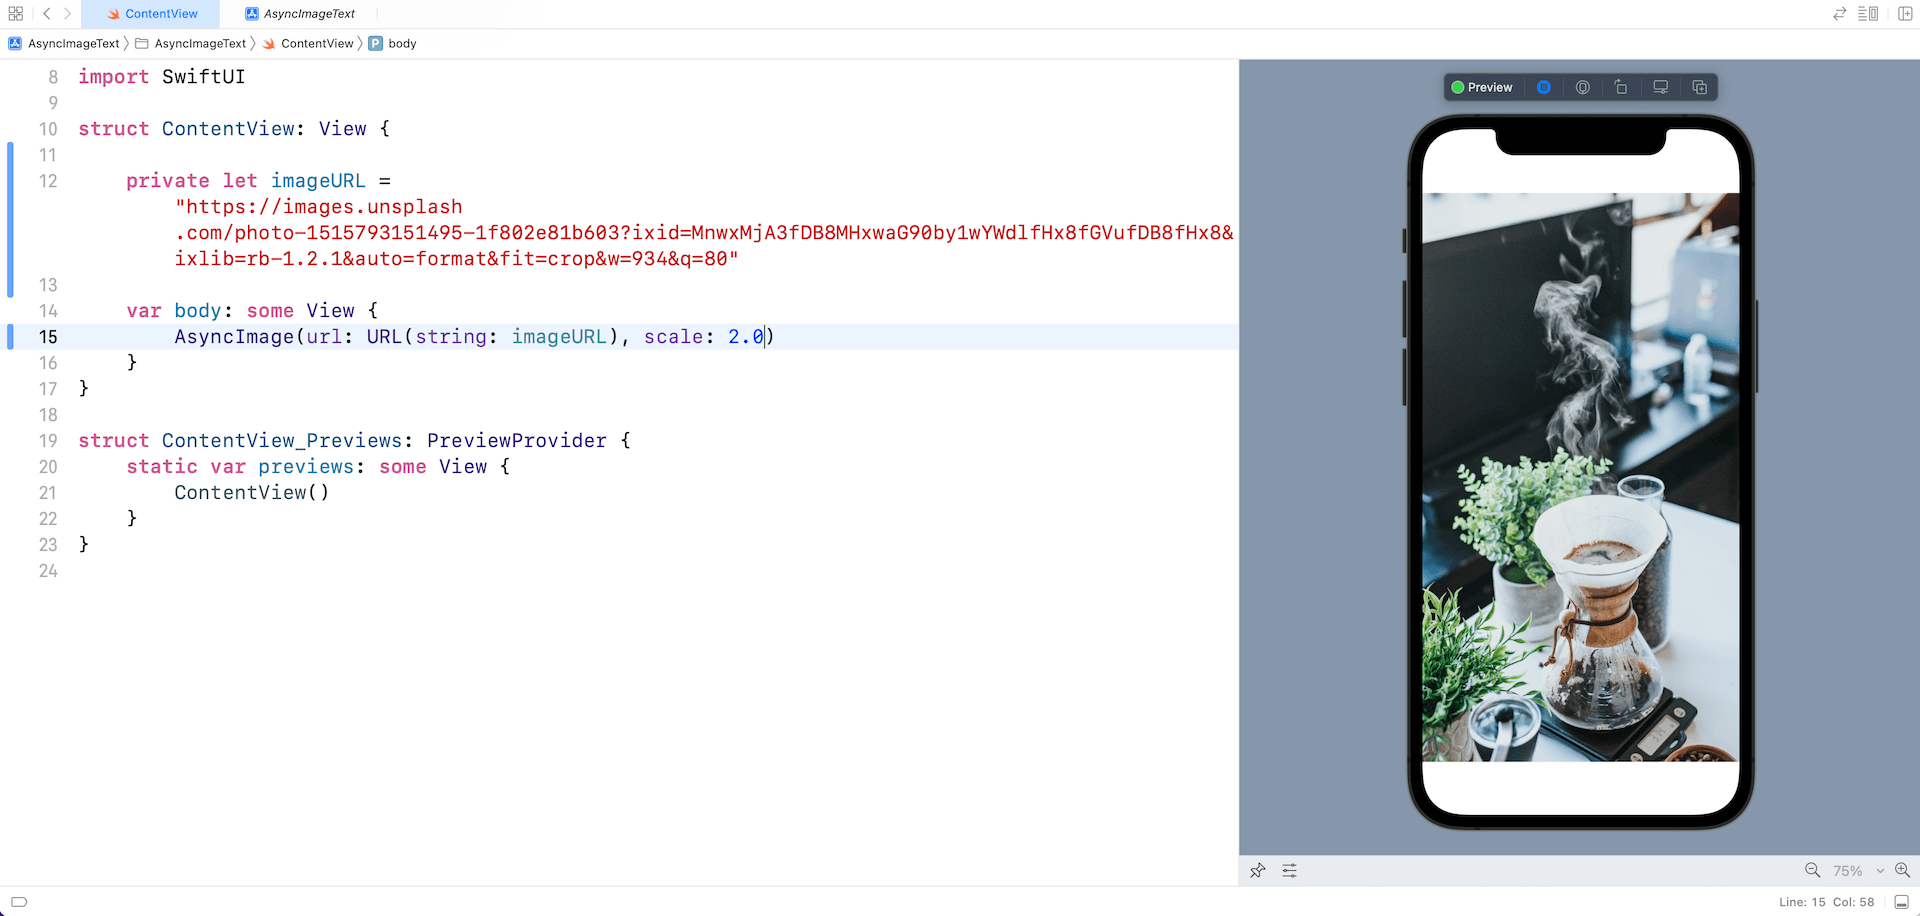
AsyncImage(url: URL(string: imageURL))AsyncImage then connects to the given URL and download the remote image asynchronously. It also automatically renders a placeholder in gray while the image is not yet ready for display. Once the image is completely downloaded, AsyncImage displays the image in its intrinsic size.

If you want to make the image smaller or larger, you can pass a scaling value to the scale parameter like this:
AsyncImage(url: URL(string: imageURL), scale: 2.0)A value greater than 1.0 will scale down the image. Conversely, a value less than 1 will make the image bigger.

Customizing the Image Size and PlaceHolder
AsyncImage provides another constructor for developers if you need further customization:
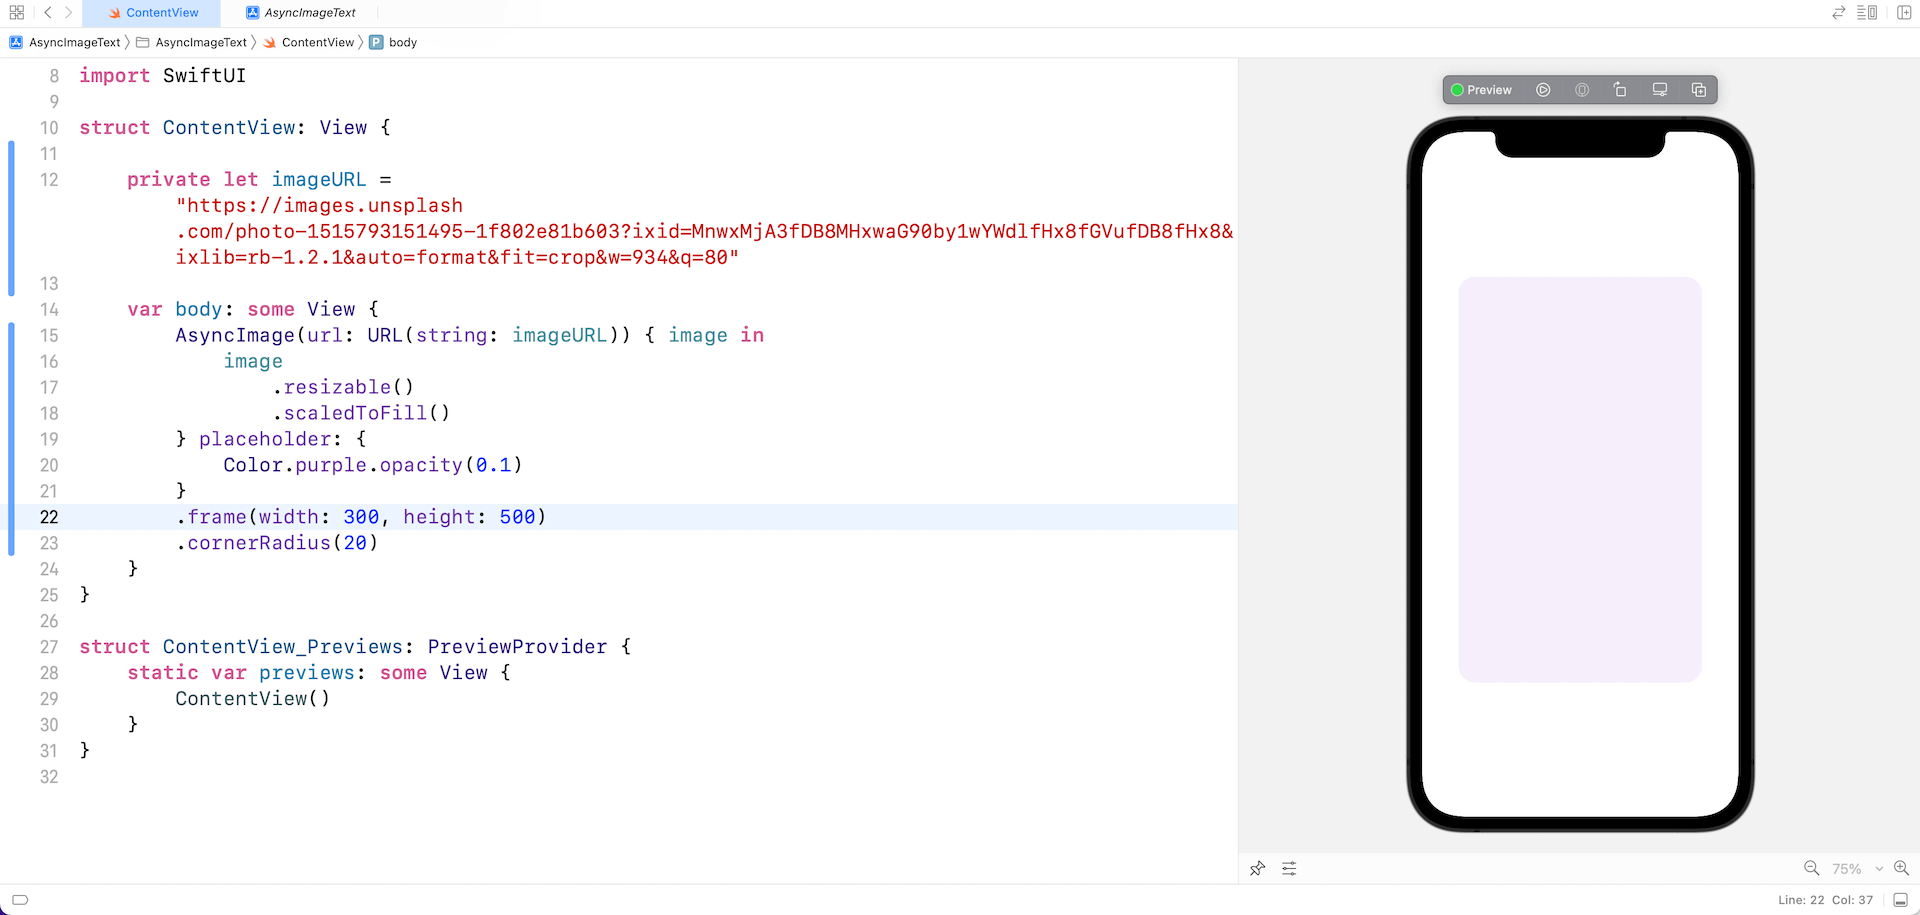
init<I, P>(url: URL?, scale: CGFloat, content: (Image) -> I, placeholder: () -> P)By initializing AsyncImage using the init above, we can resize and scale the downloaded image to the preferred size. On top of that, we can provide our own implementation for the placeholder. Here is a sample code snippet:
AsyncImage(url: URL(string: imageURL)) { image in
    image
        .resizable()
        .scaledToFill()
} placeholder: {
    Color.purple.opacity(0.1)
}
.frame(width: 300, height: 500)
.cornerRadius(20)
In the code above, AsyncImage provides the resulting image for manipulation. We then apply the resizable() and scaledToFill() modifier to resize the image. For the AsyncImage view, we limit its size to 300×500 points.
The placeholder parameter allows us to create our own placeholder instead of using the default one. Here, we display a placeholder in light purple.

Handling Different Phases of the Asynchronous Operation
The AsyncImage view provides another constructor if you need to provide a better control for the asynchronous download operation:
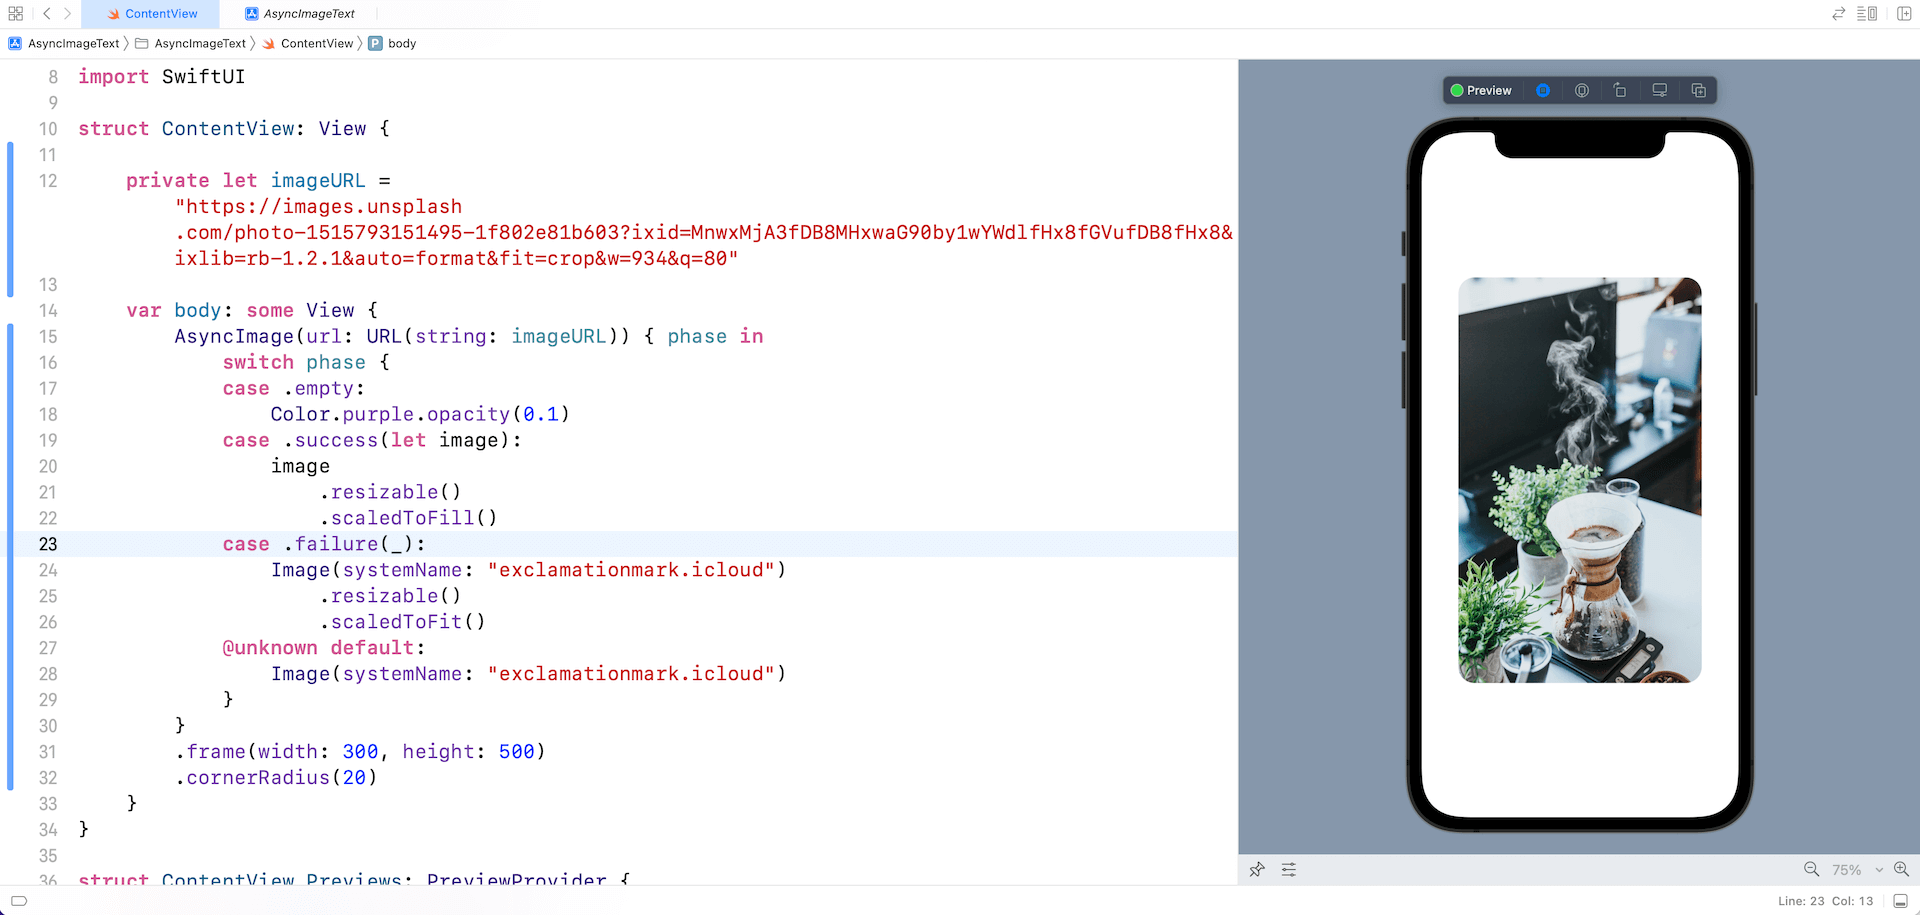
init(url: URL?, scale: CGFloat, transaction: Transaction, content: (AsyncImagePhase) -> Content)AsyncImagePhase is an enum that keeps track of the current phase of the download operation. You can provide detailed implementation for each of the phases including empty, failure, and success.
Here is a sample code snippet:
AsyncImage(url: URL(string: imageURL)) { phase in
    switch phase {
    case .empty:
        Color.purple.opacity(0.1)
    case .success(let image):
        image
            .resizable()
            .scaledToFill()
    case .failure(_):
        Image(systemName: "exclamationmark.icloud")
            .resizable()
            .scaledToFit()
    @unknown default:
        Image(systemName: "exclamationmark.icloud")
    }
}
.frame(width: 300, height: 300)
.cornerRadius(20)
The empty state indicates that the image is not loaded. In this case, we display a placeholder. For the success state, we apply a couple of modifiers and display it on screen. The failure state allows you to provide an alternate view if there is any errors. In the code above, we simply display a system image.

Adding Animation with Transaction
The same init lets you specify an optional transaction when the phase changes. For example, the following code snippet specifies to use a spring animation in the transaction parameter:
AsyncImage(url: URL(string: imageURL), transaction: Transaction(animation: .spring())) { phase in
    switch phase {
    case .empty:
        Color.purple.opacity(0.1)

    case .success(let image):
        image
            .resizable()
            .scaledToFill()

    case .failure(_):
        Image(systemName: "exclamationmark.icloud")
            .resizable()
            .scaledToFit()

    @unknown default:
        Image(systemName: "exclamationmark.icloud")
    }
}
.frame(width: 300, height: 500)
.cornerRadius(20)
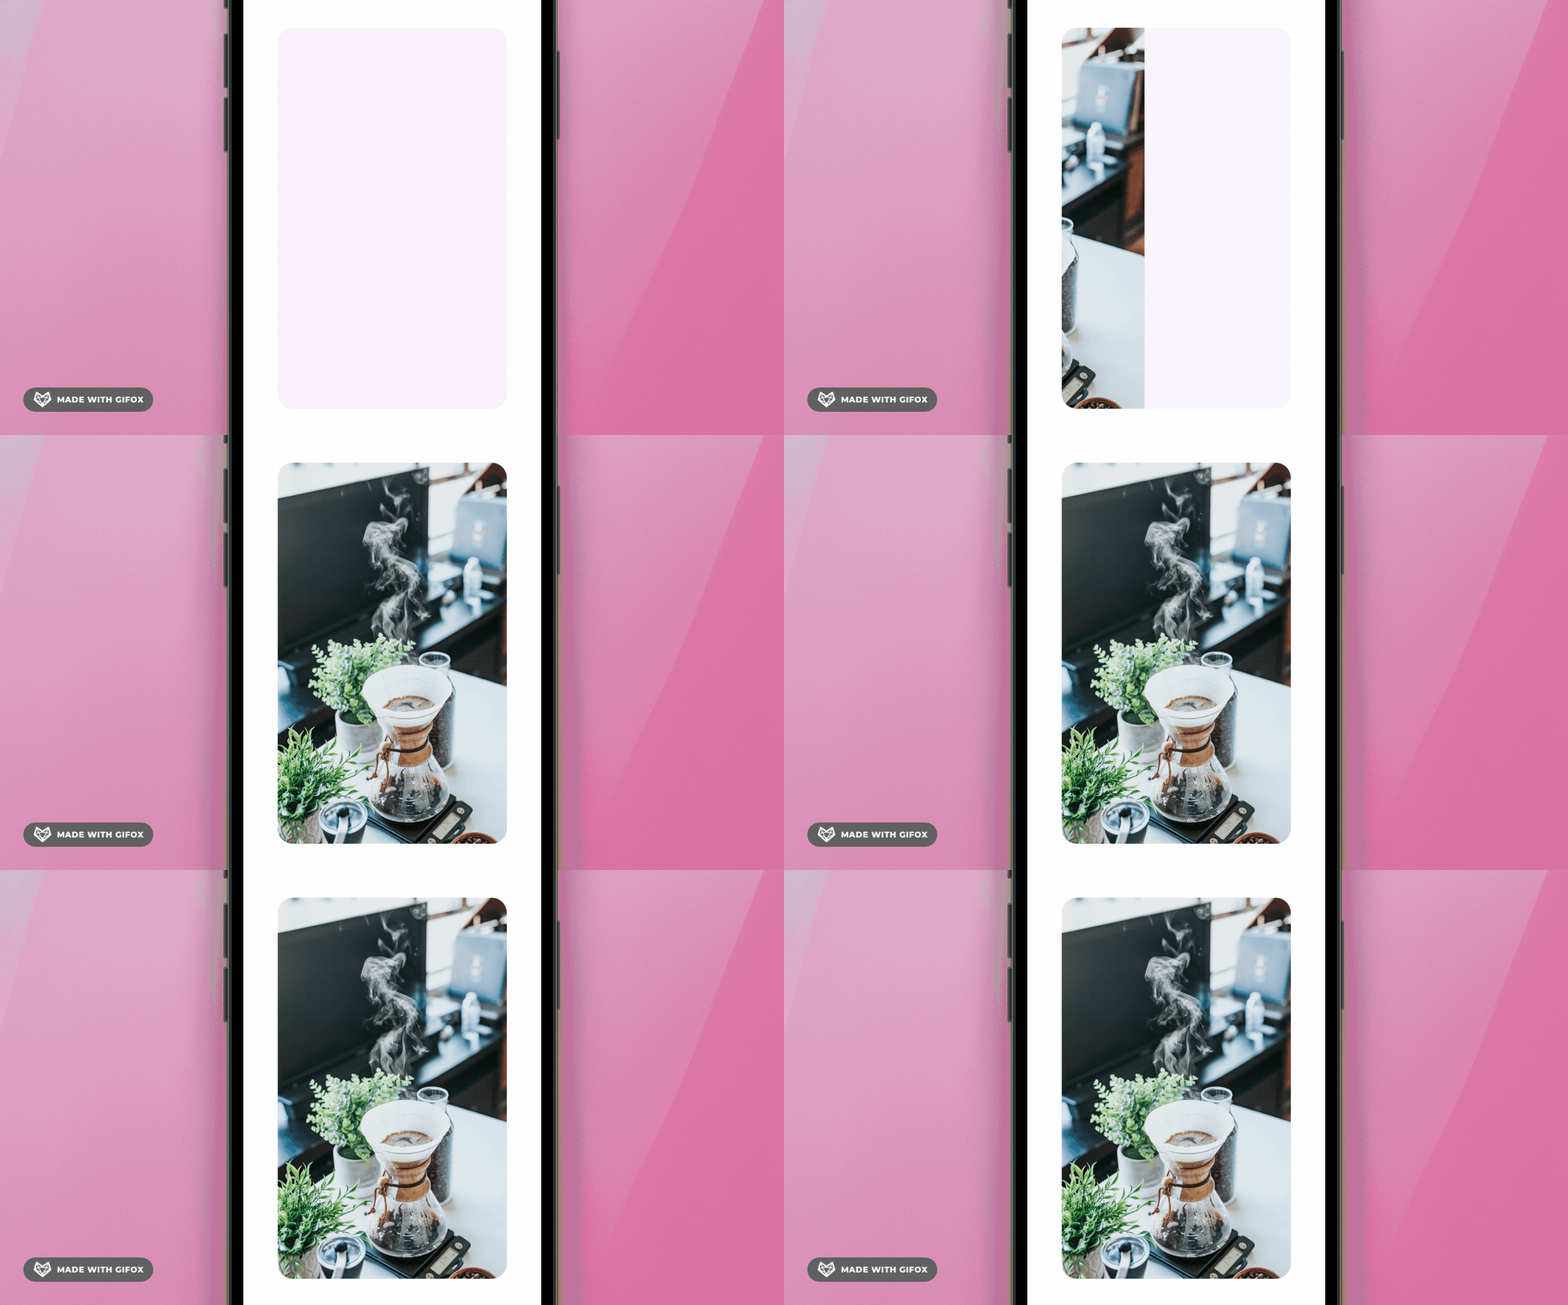
By doing so, you will see a fade-in animation when the image is downloaded. If you test the code in the preview pane, it won’t work. Please make sure you test the code in a simulator to see the animation.
You can also attach the transition modifier to the image view like this:
case .success(let image):
    image
        .resizable()
        .scaledToFill()
        .transition(.slide)
This creates a slide-in animation when displaying the resulting image.


