

Core Image is a very powerful framework that’s included in iOS and OS X. As the name suggests, it allows developers to filter images in their apps. On iOS, which is the focus of this article, Core Image supplies 90+ filters. Along with powerful image filtering capabilities, Core Image includes APIs for face detection, automatic image enhancements, and custom effects through “chained” filters.
This tutorial will introduce you to the basics of Core Image, and then show you some best practices and simple tricks you can use to improve performance.
Demo App
In this tutorial, we’ll be creating a simple app that lets you apply image filters to an image. Before starting, find an image of your choice, and keep it in a folder.
To get started, create a new iOS application in Xcode using the Single View Application Template:
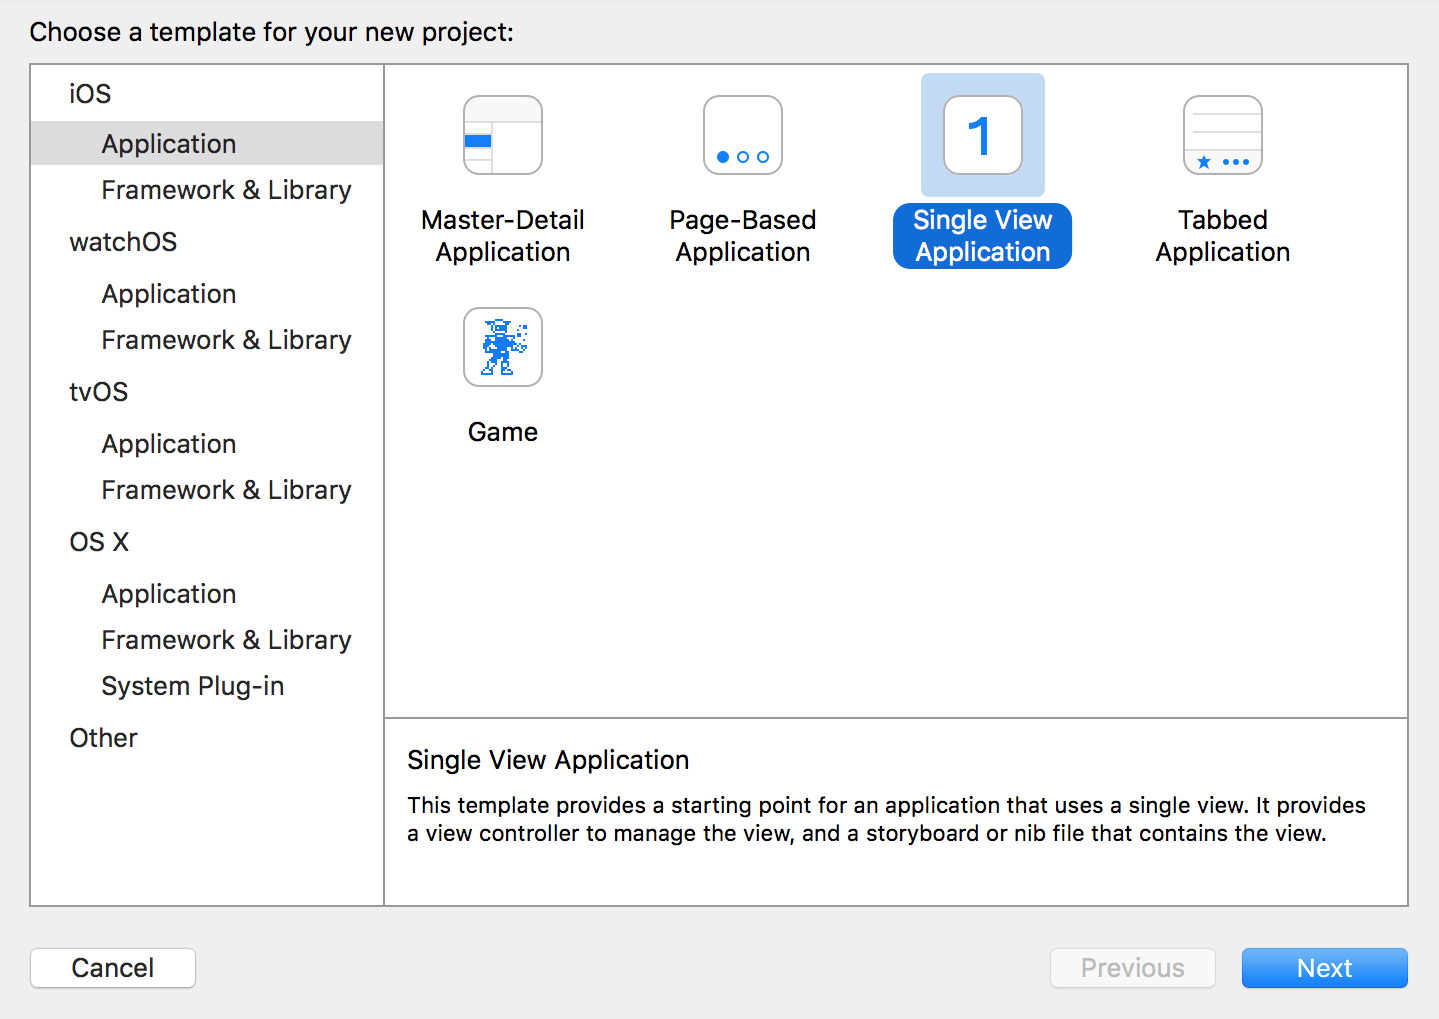
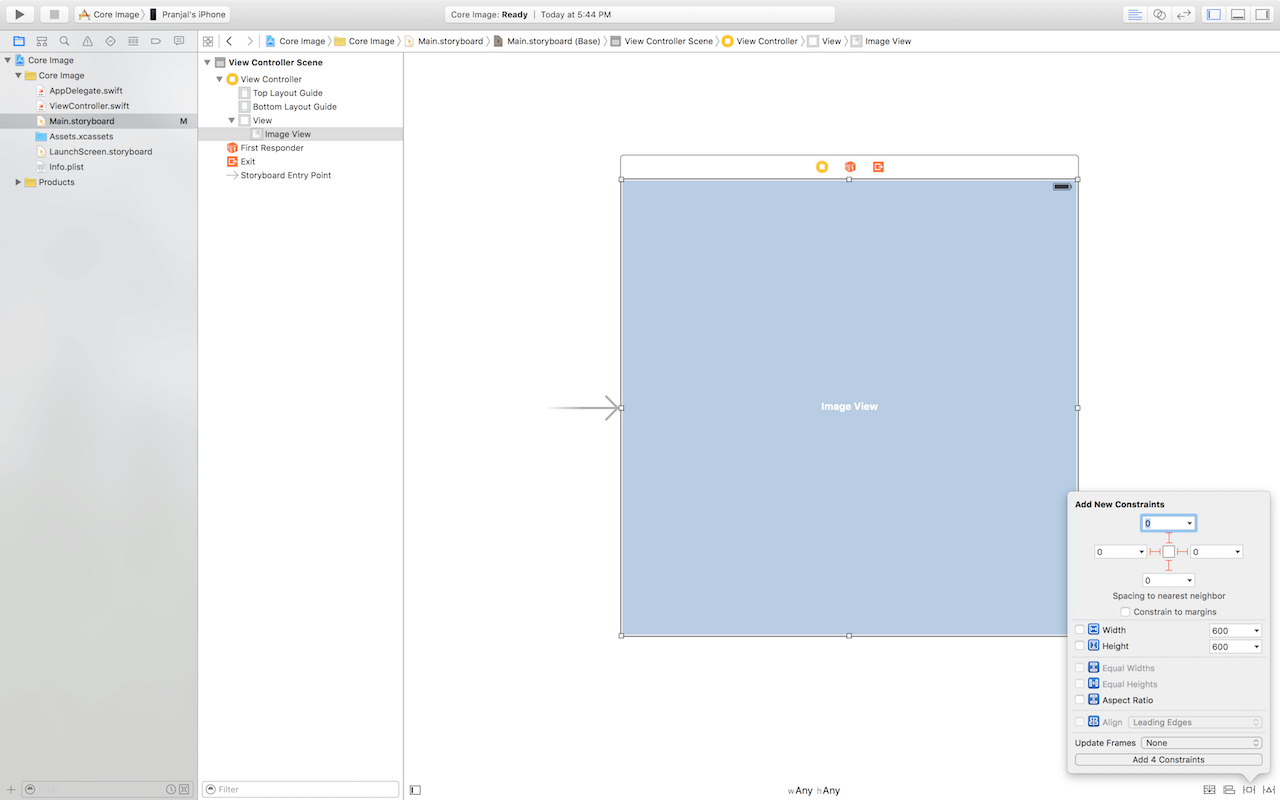
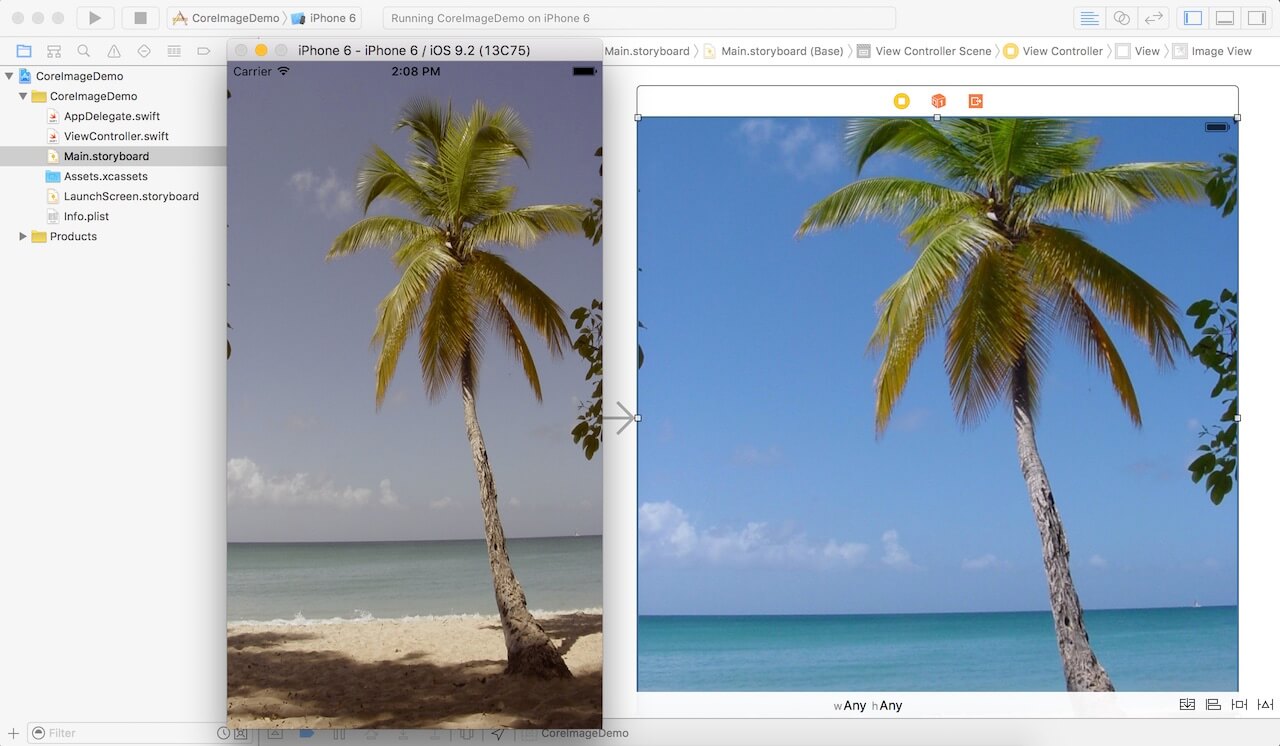
Let’s name the project Core Image, and set the language to Swift. Next, head over to Main.storyboard and add a UIImageView. Next, add Auto Layout constraints to it so it automatically fills the screen:
To display something in the image view, add an image of your choice to the project’s asset catalog (i.e. Assets.xcassets).

After that, open ViewController.swift, and update it like this:
import UIKit
import CoreImage

class ViewController: UIViewController {
    @IBOutlet var imageView: UIImageView?

    override func viewDidLoad() {
        //TODO: filter the image
    }
}
To use CoreImage, it is mandatory to import the framework (import CoreImage), so that all of its classes are available for our use in ViewController.swift. In the above code, we also create a UIImageView outlet to connect with the image view added earlier.
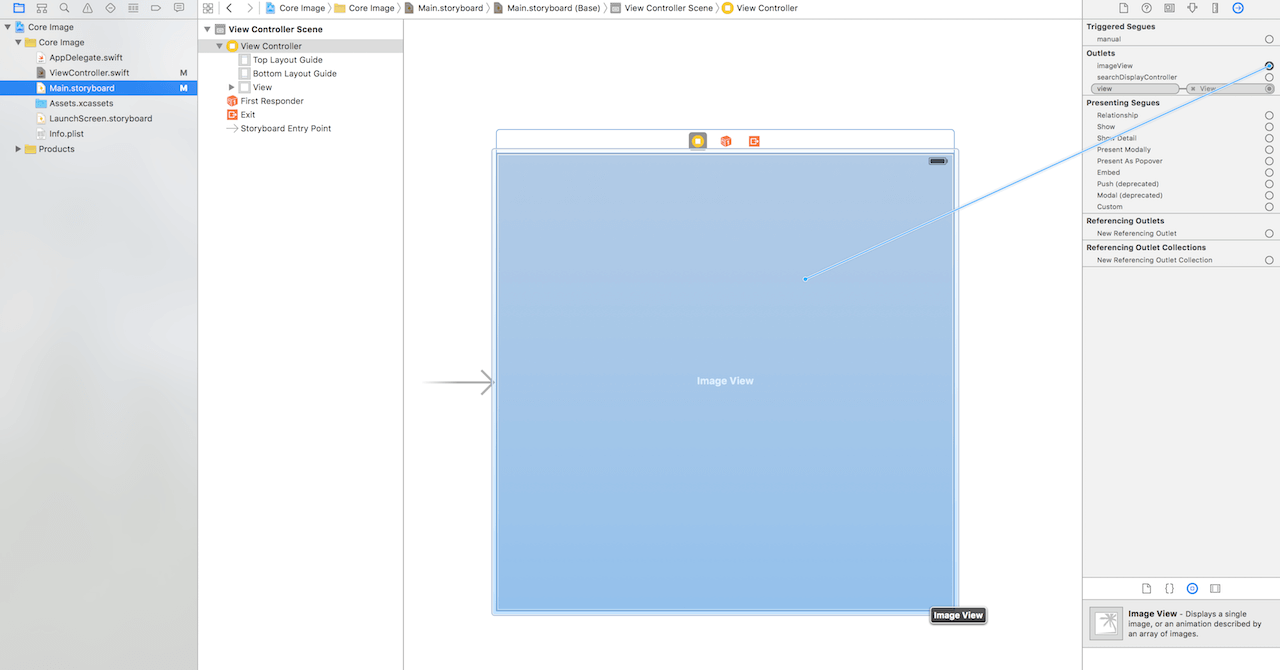
Now go back to Main.storyboard and connect the outlet we created to the image view.
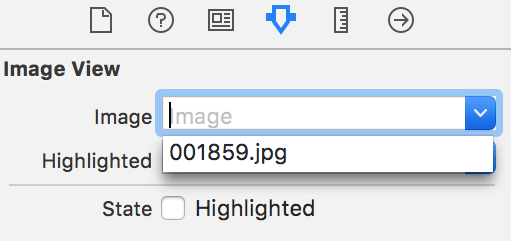
Finally, select the image view and go up to the Attributes inspector. Set the image attribute to the image you added to the project earlier.
That’s it for the project configuration. We’re ready to go!
Diving into Core Image
Core Image has three classes that support image processing on iOS. One of them is the CIFilter class, which provides a premade filter that can be applied to an image.
Let’s go ahead and add some image filtering to our app. Update viewDidLoad() to the following:
override func viewDidLoad() {
    guard let image = imageView?.image, cgimg = image.CGImage else {
        print("imageView doesn't have an image!")
        return
    }

    let coreImage = CIImage(CGImage: cgimg)

    let filter = CIFilter(name: "CISepiaTone")
    filter?.setValue(coreImage, forKey: kCIInputImageKey)
    filter?.setValue(0.5, forKey: kCIInputIntensityKey)

    if let output = filter?.valueForKey(kCIOutputImageKey) as? CIImage {
        let filteredImage = UIImage(CIImage: output)
        imageView?.image = filteredImage
    }

    else {
        print("image filtering failed")
    }
}
Let’s go through the code line by line:
Line #2: The first guard ensures that imageView’s image is not nil. The second guard converts imageView’s image (if it exists) to a CGImage (more on that below).
Line #7: This creates a new variable called coreImage. Core Image operates on CIImage, instead of UIImage. To accomodate this, all UIImage objects need to be converted to CIImage before they can be filtered.
Line #9: Core Image comes with dozens of built-in filters ready to support image processing in your app. This line makes a new CIFilter, with the name CISepiaTone. All the filter names are predefined, you can find them in the documentation.
Line #10: This line sets the image as the filter’s input image.
Line #11: This line specifies that we want a 50% intensity to be used when the image is filtered.
Line #13: This line makes a call to Core Image to filter the image, and then safely unwraps and casts the result. If the image was created properly, the code inside the if statement will run.
Line #14: This line converts the image back to UIImage, so we can display it with our UIImageView.
Line #15: This line sets imageView’s image to our new UIImage.
Line #19: This line is executed if the filter doesn’t work properly.
And there you have it, your first Core Image experience. It’s not very difficult to apply a special filter to an image if you’re familiar with basic Swift concepts. One process which may be confusing to newcomers is the conversion of an image between UIImage and CIImage.
Some may notice that UIImage comes with CIImage property. Why did we bother to do the conversion? One point to note is that the property is nil for this case. As explained by Matt on StackOverflow, UIImage’s CIImage is not nil only if the UIImage is backed by a CIImage already (e.g. it is generated by imageWithCIImage:).
Therefore, to workaround the issue, we first convert the UIImage object to CGImage. Then, we convert the CGImage object to CIImage so we can use it with Core Image APIs. After we apply the filter, we convert the resulting CIImage back to UIImage so we can display it in UIImageView.
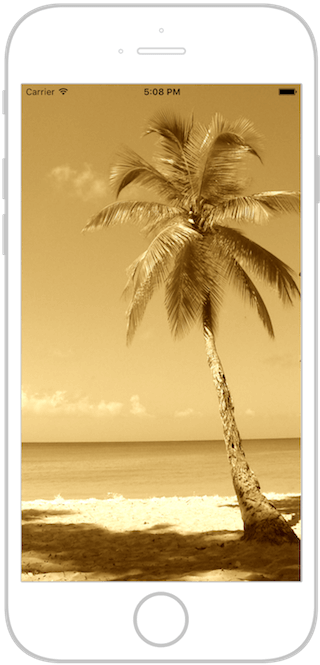
Go ahead and build and run the app (command + R) and observe how the image you set gains a sepia tone. Try adjusting the input value and see what happens!
Boosting the Image Processing Performance
So far, the code does a great job of filtering a relatively small image. However, we can improve the code to make the app even better and suitable for large images. Delivering a lightning fast mobile experience is crucial for your users. The code we’ve just written falls short in this area.
The demo app works pretty well if you use a small image. In reality, however, this code will block the main thread of the device if you apply the filter on a large image. Blocking the main thread is something we should avoid, since it’ll make your app less responsive. Let’s take a look at how to fix this.
The simplest and one of the most effective solutions to this problem is the device’s GPU. Every iPhone comes with a CPU and a GPU. The GPU is much better at handling complicated graphics tasks, such as image processing. Currently, our code runs almost entirely on the CPU. Let’s change that.
The first step to optimising the code is through CIContext. By using the CIContext class, it allows us to specify the code to be run on the GPU instead of the CPU. Here is a sample usage:
let openGLContext = EAGLContext(API: .OpenGLES3)
let context = CIContext(EAGLContext: openGLContext)
However, simply creating a context isn’t enough. We need to tell Core Image to use it, and this is where things get a little complicated. Let’s change our code a bit:
override func viewDidLoad() {
    guard let image = imageView?.image, cgimg = image.CGImage else {
        print("imageView doesn't have an image!")
        return
    }

    let openGLContext = EAGLContext(API: .OpenGLES2)
    let context = CIContext(EAGLContext: openGLContext)

    let coreImage = CIImage(CGImage: cgimg)

    let filter = CIFilter(name: "CISepiaTone")
    filter?.setValue(coreImage, forKey: kCIInputImageKey)
    filter?.setValue(1, forKey: kCIInputIntensityKey)

    if let output = filter?.valueForKey(kCIOutputImageKey) as? CIImage {
        let cgimgresult = context.createCGImage(output, fromRect: output.extent)
        let result = UIImage(CGImage: cgimgresult)
        imageView?.image = result
    }
}
Not too complicated, right? I have highlighted the change in yellow. Here’s the explanation:
Line #7: This line of code creates a new OpenGL ES context. OpenGL ES is a high speed graphics API which renders directly on the GPU. We want to use the GPU for its superb graphics performance. So, here we create a new context with OpenGL ES 2. Most iOS devices (and simulators) should support this version. If you’re running the app on a newer device that supports OpenGL ES 3, you may replace the value with .OpenGLES3.
Line #8: Since we can’t use the OpenGL ES context to filter images directly, we make a new CIContext with the new OpenGL ES context. This allows us to use the GPU and get better performance.
Line #17: Once we create the CIContext object, the filtering process of an image is slightly different. First, we create the CGImage image with the context. The fromRect parameter is used to specify the size of the image. In our code, we just use extent (a fancy word for size) of the original image, since we want our output to be the same size.
That’s it! Now your app filters an image with the GPU instead of the CPU. While you may not notice the performance increase immediately, you’ll see at some point that this method is much faster than using the CPU. One suggestion is to rotate your device to landscape. You’ll find that the performance of image rendering is much better than the previous version.
Using Multiple Filters
Core Image has a huge number of filters available already. But sometimes, we want to achieve an effect which just isn’t possible with Core Image’s built-in filters. One method of achieving this is by creating a custom Core Image kernel, which is out of the scope of this tutorial. But I will show you how to combine multiple filters together. With the right combination, we can get almost any result.
Let’s look at an example where we combine a sepia filter with a brightening filter to create a brightened sepia image:
override func viewDidLoad() {
    guard let image = imageView?.image, cgimg = image.CGImage else {
        print("imageView doesn't have an image!")
        return
    }

    let openGLContext = EAGLContext(API: .OpenGLES2)
    let context = CIContext(EAGLContext: openGLContext!)

    let coreImage = CIImage(CGImage: cgimg)

    let sepiaFilter = CIFilter(name: "CISepiaTone")
    sepiaFilter?.setValue(coreImage, forKey: kCIInputImageKey)
    sepiaFilter?.setValue(1, forKey: kCIInputIntensityKey)

    if let sepiaOutput = sepiaFilter?.valueForKey(kCIOutputImageKey) as? CIImage {
        let exposureFilter = CIFilter(name: "CIExposureAdjust")
        exposureFilter?.setValue(sepiaOutput, forKey: kCIInputImageKey)
        exposureFilter?.setValue(1, forKey: kCIInputEVKey)

        if let exposureOutput = exposureFilter?.valueForKey(kCIOutputImageKey) as? CIImage {
            let output = context.createCGImage(exposureOutput, fromRect: exposureOutput.extent)
            let result = UIImage(CGImage: output)
            imageView?.image = result
        }
    }
}
As you can see, the process for chaining Core Image filters is rather intuitive. We just use the output of one filter as the input of another, and do everything else normally. We need to use kCIInputEVKey instead of kCIInputIntensityKey because this particular filter doesn’t accept an intensity parameter. Instead, it takes an EV parameter. Remember that you can always refer the documentation for more information.
Now run the demo app again. Your resulting image should look like this:
Summary
In this tutorial, you learned what Core Image is, and how to use some of its very powerful features to add advanced image filtering to your apps while preserving performance. It is a just a quick introduction of Core Image. There are a lot of Core Images APIs I haven’t covered, but at least it’s a good start. Happy filtering!
For reference, you can download the complete Xcode project from GitHub.


