

If you have some experience with iOS app development, you should be very familiar with the data source protocols such as UICollectionViewDataSource and UITableViewDataSource. Traditionally, to populate data in a collection view, you have to adopt the UICollectionViewDataSource protocol and implement two required methods:
func collectionView(_ collectionView: UICollectionView, numberOfItemsInSection section: Int) -> Intfunc collectionView(_ collectionView: UICollectionView, cellForItemAt indexPath: IndexPath) -> UICollectionViewCell
Since the release of iOS 13, Apple introduced a new approach known as Diffable Data Sources to manage data for a collection view. This approach replaces the old approach which uses the UICollectionViewDataSource protocol. You no longer need to deal with all the methods mentioned above. Instead, you have to create a UICollectionViewDiffableDataSource object to configure the collection view cell. And, you need to provide a NSDiffableDataSourceSnapshot object to tell the collection what data to display.
To fill a collection view with data using the new approach, here are the procedures:
- Connect a diffable data source to your collection view.
- Implement a cell provider to configure the cell of your collection view.
- Generate the current state of the data
- Display the data in the UI
In this tutorial, we will walk you through the usage of UICollectionViewDiffableDataSource and see how you can apply this new approach to manage a collection view’s data.
The Demo Project
Before you begin, please download this starter project. I have already prepared the images and the storyboard for you. In Main.storyboard, you should find a UICollectionViewController with a prototype cell that contains an image view and a label.
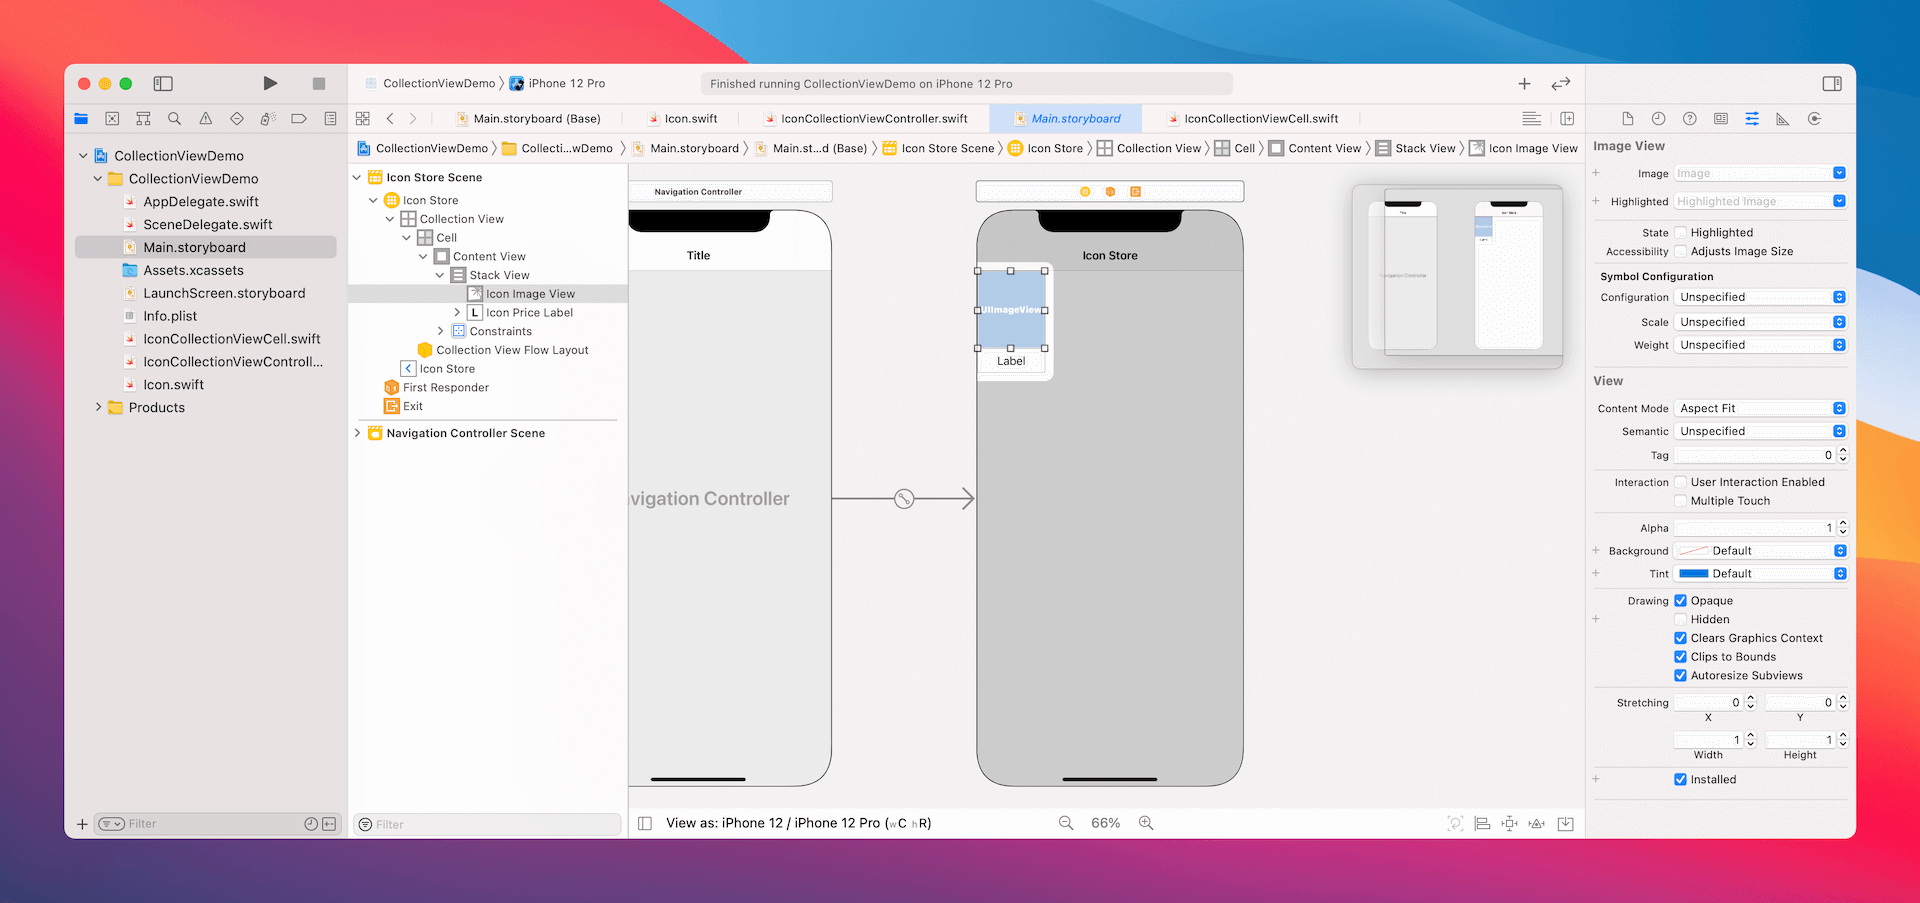
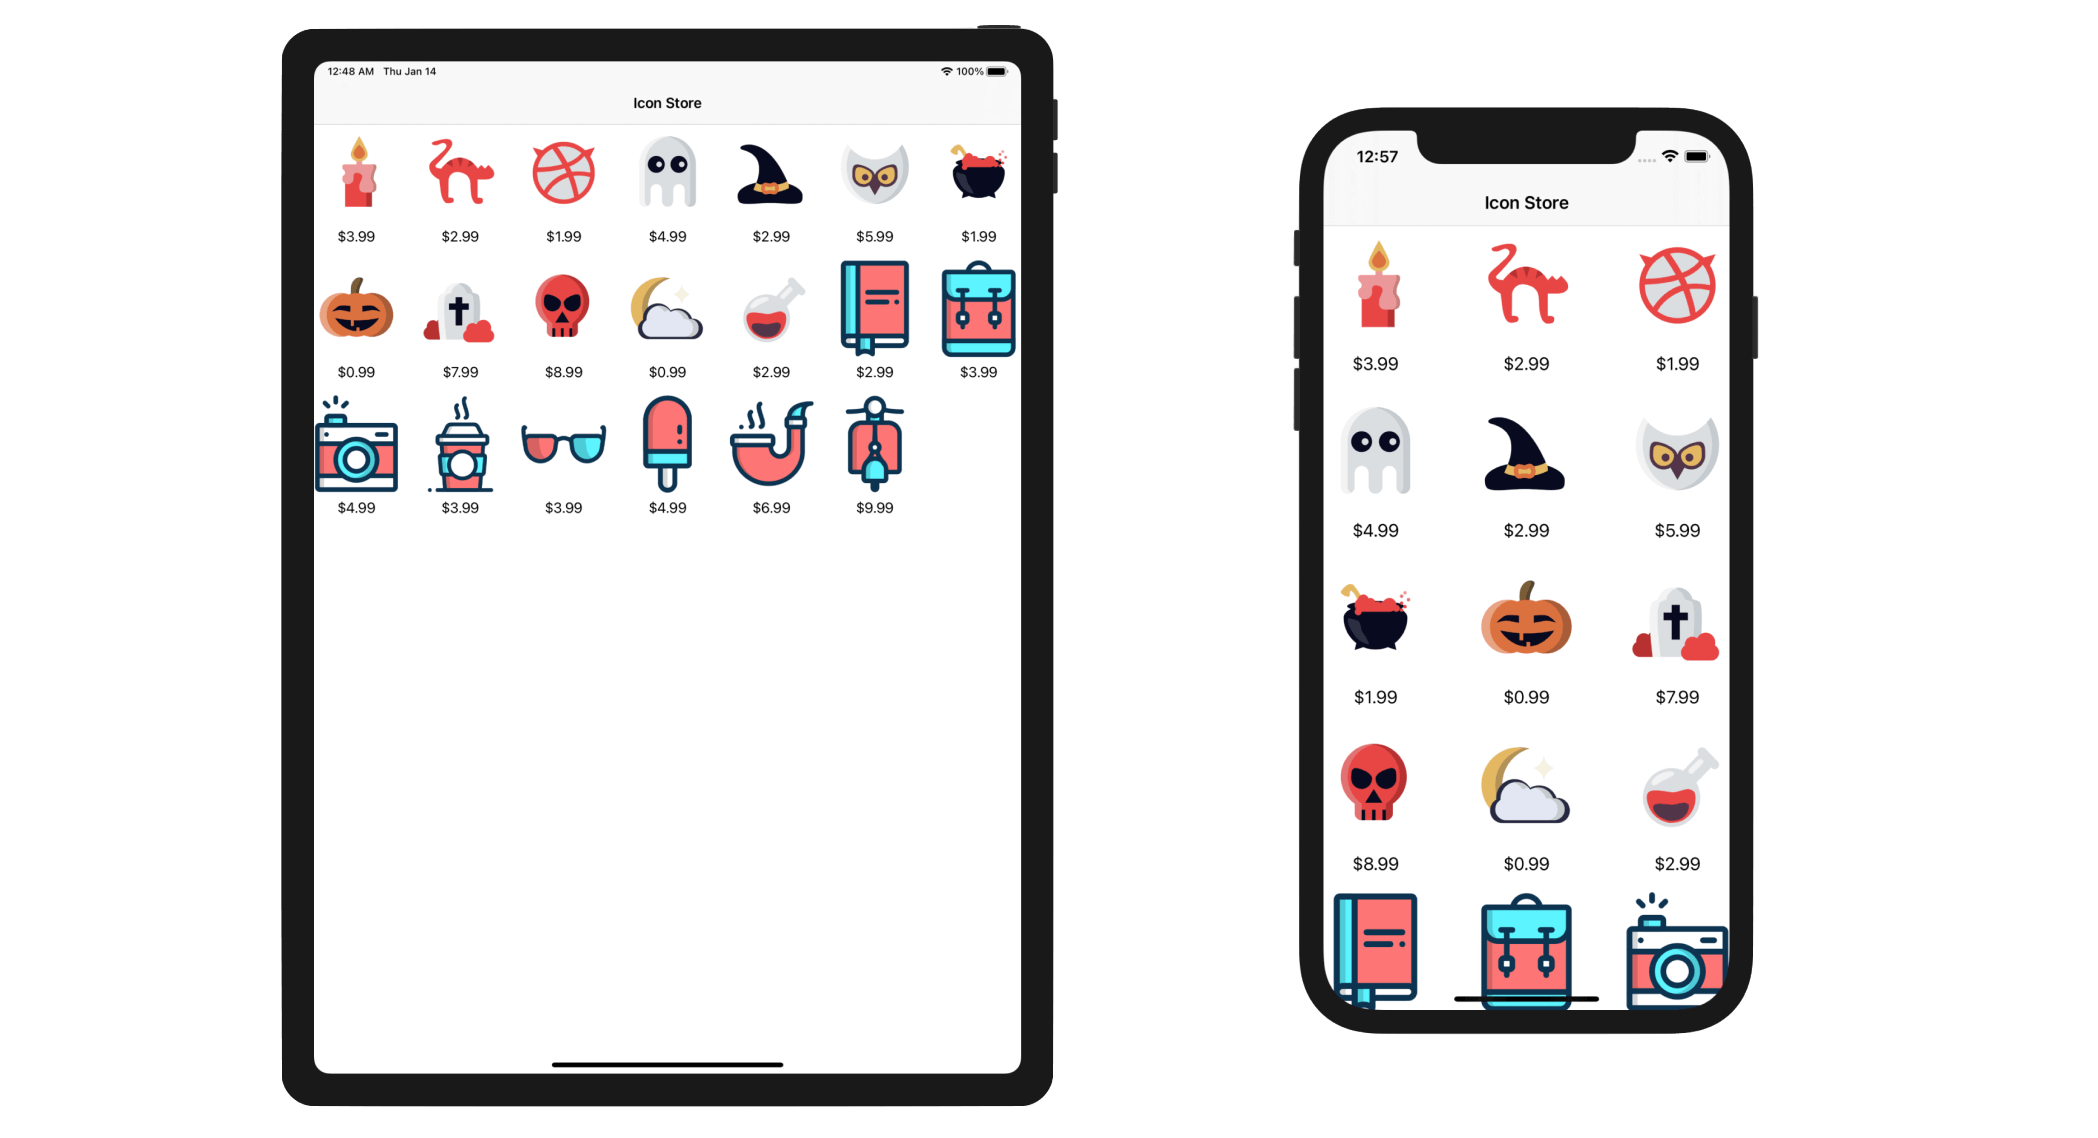
The cell is associated with IconCollectionViewCell. In the IconCollectionViewController.swift file, you will find the iconSet variable, which stores the demo data. What we are going to do is to fill the collection view with images and create a grid UI using diffable data source. The figure below shows the final deliverable.
Using Diffable Data Source
To use the UICollectionDiffableDataSource object, we need to specify the number of sections and the cell configuration of each section. For this demo app, we only have a single section. Let’s declare an enum variable in the IconCollectionViewController class like this:
enum Section {
    case all
}
We use enum to define a new Section type. In the enumeration, it only has one case because the table has a single section. I name the case all, which means all records. But you can actually name it to whatever name you like. Anyway, let’s keep it to all.
Now that we have defined the section, the next step is to create an instance of UICollectionViewDiffableDataSource. We will write a new function called configureDataSource() for this purpose. Insert the following code in the class:
func configureDataSource() -> UICollectionViewDiffableDataSource<Section, Icon> {

    let dataSource = UICollectionViewDiffableDataSource<Section, Icon>(collectionView: collectionView) { (collectionView, indexPath, icon) -> UICollectionViewCell? in

        let cell = collectionView.dequeueReusableCell(withReuseIdentifier: reuseIdentifier, for: indexPath) as! IconCollectionViewCell
        cell.iconImageView.image = UIImage(named: icon.name)
        cell.iconPriceLabel.text = "$\(icon.price)"

        return cell
    }

    return dataSource
}
In the code above, the function returns an instance of UICollectionViewDiffableDataSource<Section, Icon>, which comes with a closure that creates and configures each of the cells for the collection view. This closure is referred as the cell provider.
What’s Section and Icon here?
UICollectionViewDiffableDataSource is a generic object which is capable to handle different types of section and item of a collection view. The type Section and Icon inside the angle bracket indicated that we use the Section type for the section. Since we are going to display the data stored in iconSet, the Icon type is used for the cell data.
Meanwhile, you should notice an error indicating that the type Icon doesn’t conform to protocol Hashable. To use UICollectionViewDiffableDataSource, the type of the item (i.e. Icon) is required to conform the Hashable protocol. Switch over to Icon.swift and declare the conformance like this:
struct Icon: Hashable {
  .
  .
  .
}
Now that we have created the function for configuring the data source, declare the following variable in IconCollectionViewController to use it:
lazy var dataSource = configureDataSource()Furthermore, we need to connect this data source with the collection view. Insert the following code in the viewDidLoad() method:
collectionView.dataSource = dataSourceYou may wonder why we add a modifier lazy before the variable declaration. If you try to omit the lazy keyword, Xcode will show you the following message:
“Cannot use instance member ‘configureDataSource’ within property initializer; property initializers run before ‘self’ is available”
In this case, you must declare the variable with the lazy modifier because its initial value cannot be retrieved until after the instance initialization completes.
We still have one more step to implement before the data shows up in the collection view. Create a new method called updateSnapshot like this:
func updateSnapshot(animatingChange: Bool = false) {

    // Create a snapshot and populate the data
    var snapshot = NSDiffableDataSourceSnapshot<Section, Icon>()
    snapshot.appendSections([.all])
    snapshot.appendItems(iconSet, toSection: .all)

    dataSource.apply(snapshot, animatingDifferences: false)
}
To display the data in the collection view, the final step is to create a snapshot of the data. The snapshot is an instance of NSDiffableDataSourceSnapshot. In the code above, we created an empty snapshot using the section identifier type Section and item identifier type Icon.
With the empty snapshot, we call appendSections to add a section to the snapshot. Then we call appendItems to add all items in the iconSet array to the .all section. Lastly, we apply the snapshot to the data source.
Don’t forget to insert the following line of code in the viewDidLoad() method to make the call:
updateSnapshot()Now compile and run the app using the iPhone 12/12 Pro simulator. You should have a grid-based Icon Store app like this.
Summary
That’s it! You’ve successfully built a collection view using Diffable Data Source. As you can see, the API is very simple to use and make it easier to manage data update. This is the preferred way to work with data in both collection views and table views. If you are building a new app that makes use of table view/collection view, try to use diffable data source to build the views.
Do you use diffable data source to work with table view or collection view? Or do you still stick with the UICollectionViewDataSource and UITableViewDataSource protocol? Please feel free to leave us comment.


