

One of the changes in iOS 7 is that it favors the use of circular image over square image. You can find circular icons or images in stock apps such as Contacts and Phone. In this short post, we’ll explore the CALayer class and see how you can apply it to create circular image or image with rounded corner.
You may not heard of the CALayer class. But you should have used it in some ways if you’ve built an app. Every view in the UIKit (e.g. UIView, UIImageView) is backed by an instance of the CALayer class (i.e. layer object). The layer object is designed to manage the backing store for the view and handles view-related animations.
The layer object provides various attributes that can be set to control the visual content of the view such as:
- Background color
- Border and border width
- Shadow color, width, etc
- Opacity
- Corner radius
The corner radius is the attribute that we’ll use to draw rounded corner and circular image.
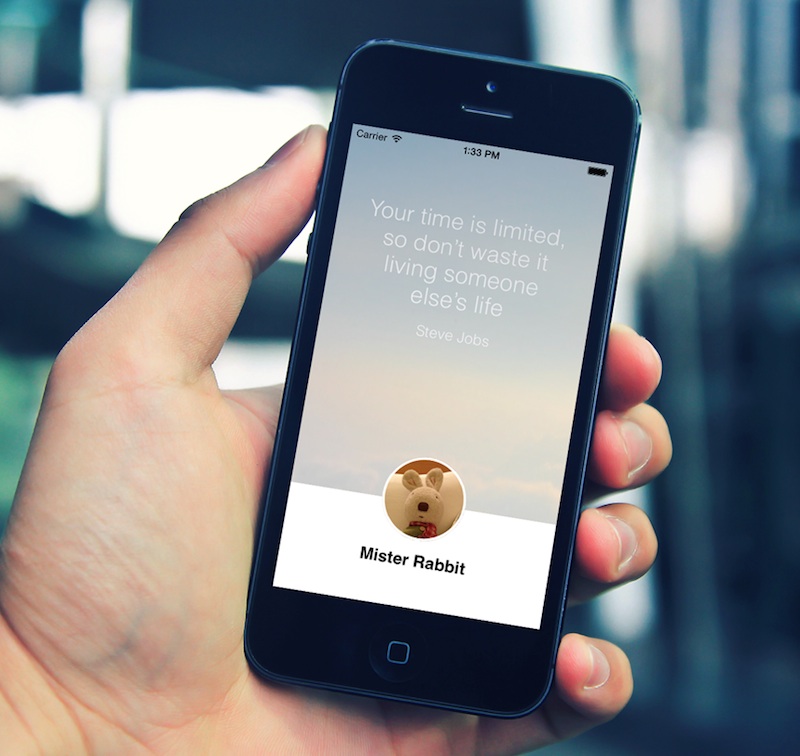
As always, the best way to understand how CALayer works is to use it. We’ll create a simple profile view with a circular profile photo.
A Glance at the demo Project
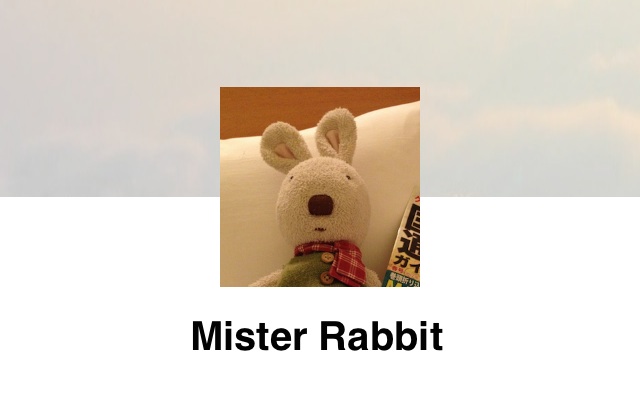
First, download this project template to start with. It already pre-built the profile view for you but the profile image is in squared form when you compile and run the app. The demo project is very simple. The only class you need to know is the ProfileViewController that is associated with the view in the storyboard.
We also link up the profile image (UIImageView) with the profileImageView property in the ProfileViewController.h.
Creating a Circular Profile Image
Okay, let’s see how we can change the corner radius and turn the profile image into a circular image.
Open the ProfileViewController.m and add the following lines of code in the viewDidLoad: method:
self.profileImageView.layer.cornerRadius = self.profileImageView.frame.size.width / 2;
self.profileImageView.clipsToBounds = YES;
For every view, there is a bundled layer property. So the first line of the above is to set the corner radius of the layer object (i.e. an instance of CALayer class). To make a circular image from a squared image, the radius is set to the half of the width of UIImageView. For instance, if the width of squared image is 100 pixels. The radius is set to 50 pixels. Secondly, you have to set the clipsToBounds property to YES in order to make the layer works.
If you compile and run the app now, you’ll have a profile photo in circular form.
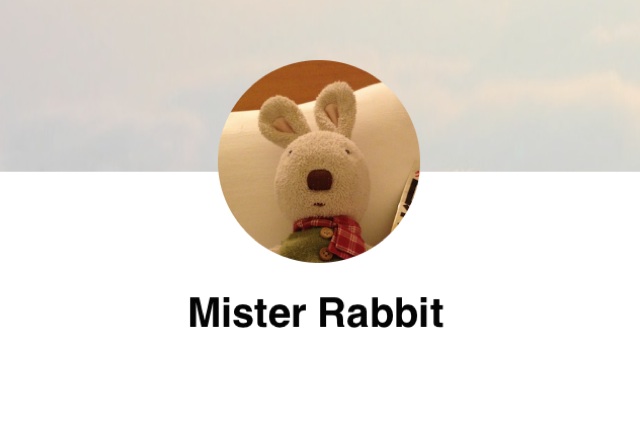
Easy, right? With just two lines of code, the image is changed from a squared image to a circular image. No Photoshop is required.
Adding Border
Next, let’s make the profile looks even better by applying a border. Again, it only takes two more lines. In the viewDidLoad: method, add these two lines of code after setting the corner radius:
self.profileImageView.layer.borderWidth = 3.0f;
self.profileImageView.layer.borderColor = [UIColor whiteColor].CGColor;
The above code is very straightforward. We simply set the border width and the border color. Compile and run the app again. You should now see a white border around the profile photo.
Creating Rounded Corner Image
You can apply the same technique to create rounded corner image. The trick is to change the corner radius and set it to other values. Say set the radius to 10,
self.profileImageView.layer.cornerRadius = 10.0f;
The profile image should now be displayed in rounded corner.

For your reference, download the complete Xcode project from here.
What do you think about this tutorial? Leave me comment to share your thought.
This is a sample chapter of the upcoming mini guide, which is included in the starter/complete package of Learn iOS 7 Programming from Scratch.


