

Good UI animations can greatly improve user experience of a mobile app if it is done precisely. It is usually one of the factors that differentiates a great app from a mediocre one. Designing a meaningful and functional animation is hard. The same goes for implementation. In particular, if the animation or view transition is extremely complex, it is a hard task for iOS developers to implement it in the app.
Assuming you are not an indie developer, you are probably working in a team of developers and UI/UX designers. How many times have you come across this situation? Your designer shows you a nice and cool animation, and asks you to incorporate it in the app. You think the animation looks really cool, but it’s utterly hard and a lengthy process to implement it.
Now with Lottie, created by Airbnb, developers can easily render animations without the need of writing lines and lines of code. You can take animations from Adobe After Effects and use them directly in your Xcode project. It is really cool and saves you tons of time from implementing the animations.
In this tutorial, I will show you a few things:
- What is Lottie?
- Where can you get Lottie animation files?
- How do you use it in your iOS projects?
What is Lottie?
First things first, what is Lottie? Developed by Airbnb, Lottie is an iOS, macOS, Android, and React Native library that renders After Effects animations in any native app. Animations are exported as JSON files through an open-source After Effects extension called Bodymovin. Lottie loads the animation data in JSON format, and renders the animation in real time.
In other words, you can drop the JSON files, passed by your designer, right into your Xcode project and let Lottie load the animation for you. Don’t get me wrong. You still need to write some code to create the animation, but as you will see later, Lottie saves you an immense amount of time from coding the animation.
Lottie is now open source and available on GitHub. It also comes with a sample project and a set of sample animations. Take a look below for some sample animations that you can create in iOS apps with Lottie.

Lottie Animation Files
Before using Lottie, the first thing you need is the animation data exported as JSON files. If you already have an After Effects animation, use the extension called Bodymovin to create the JSON file.
What if you do not use After Effects? How can you prepare the animation?
You can either hire a designer to create the animation for you, or you learn how to use After Effects.
Luckily, there is one more option: Lottie Files
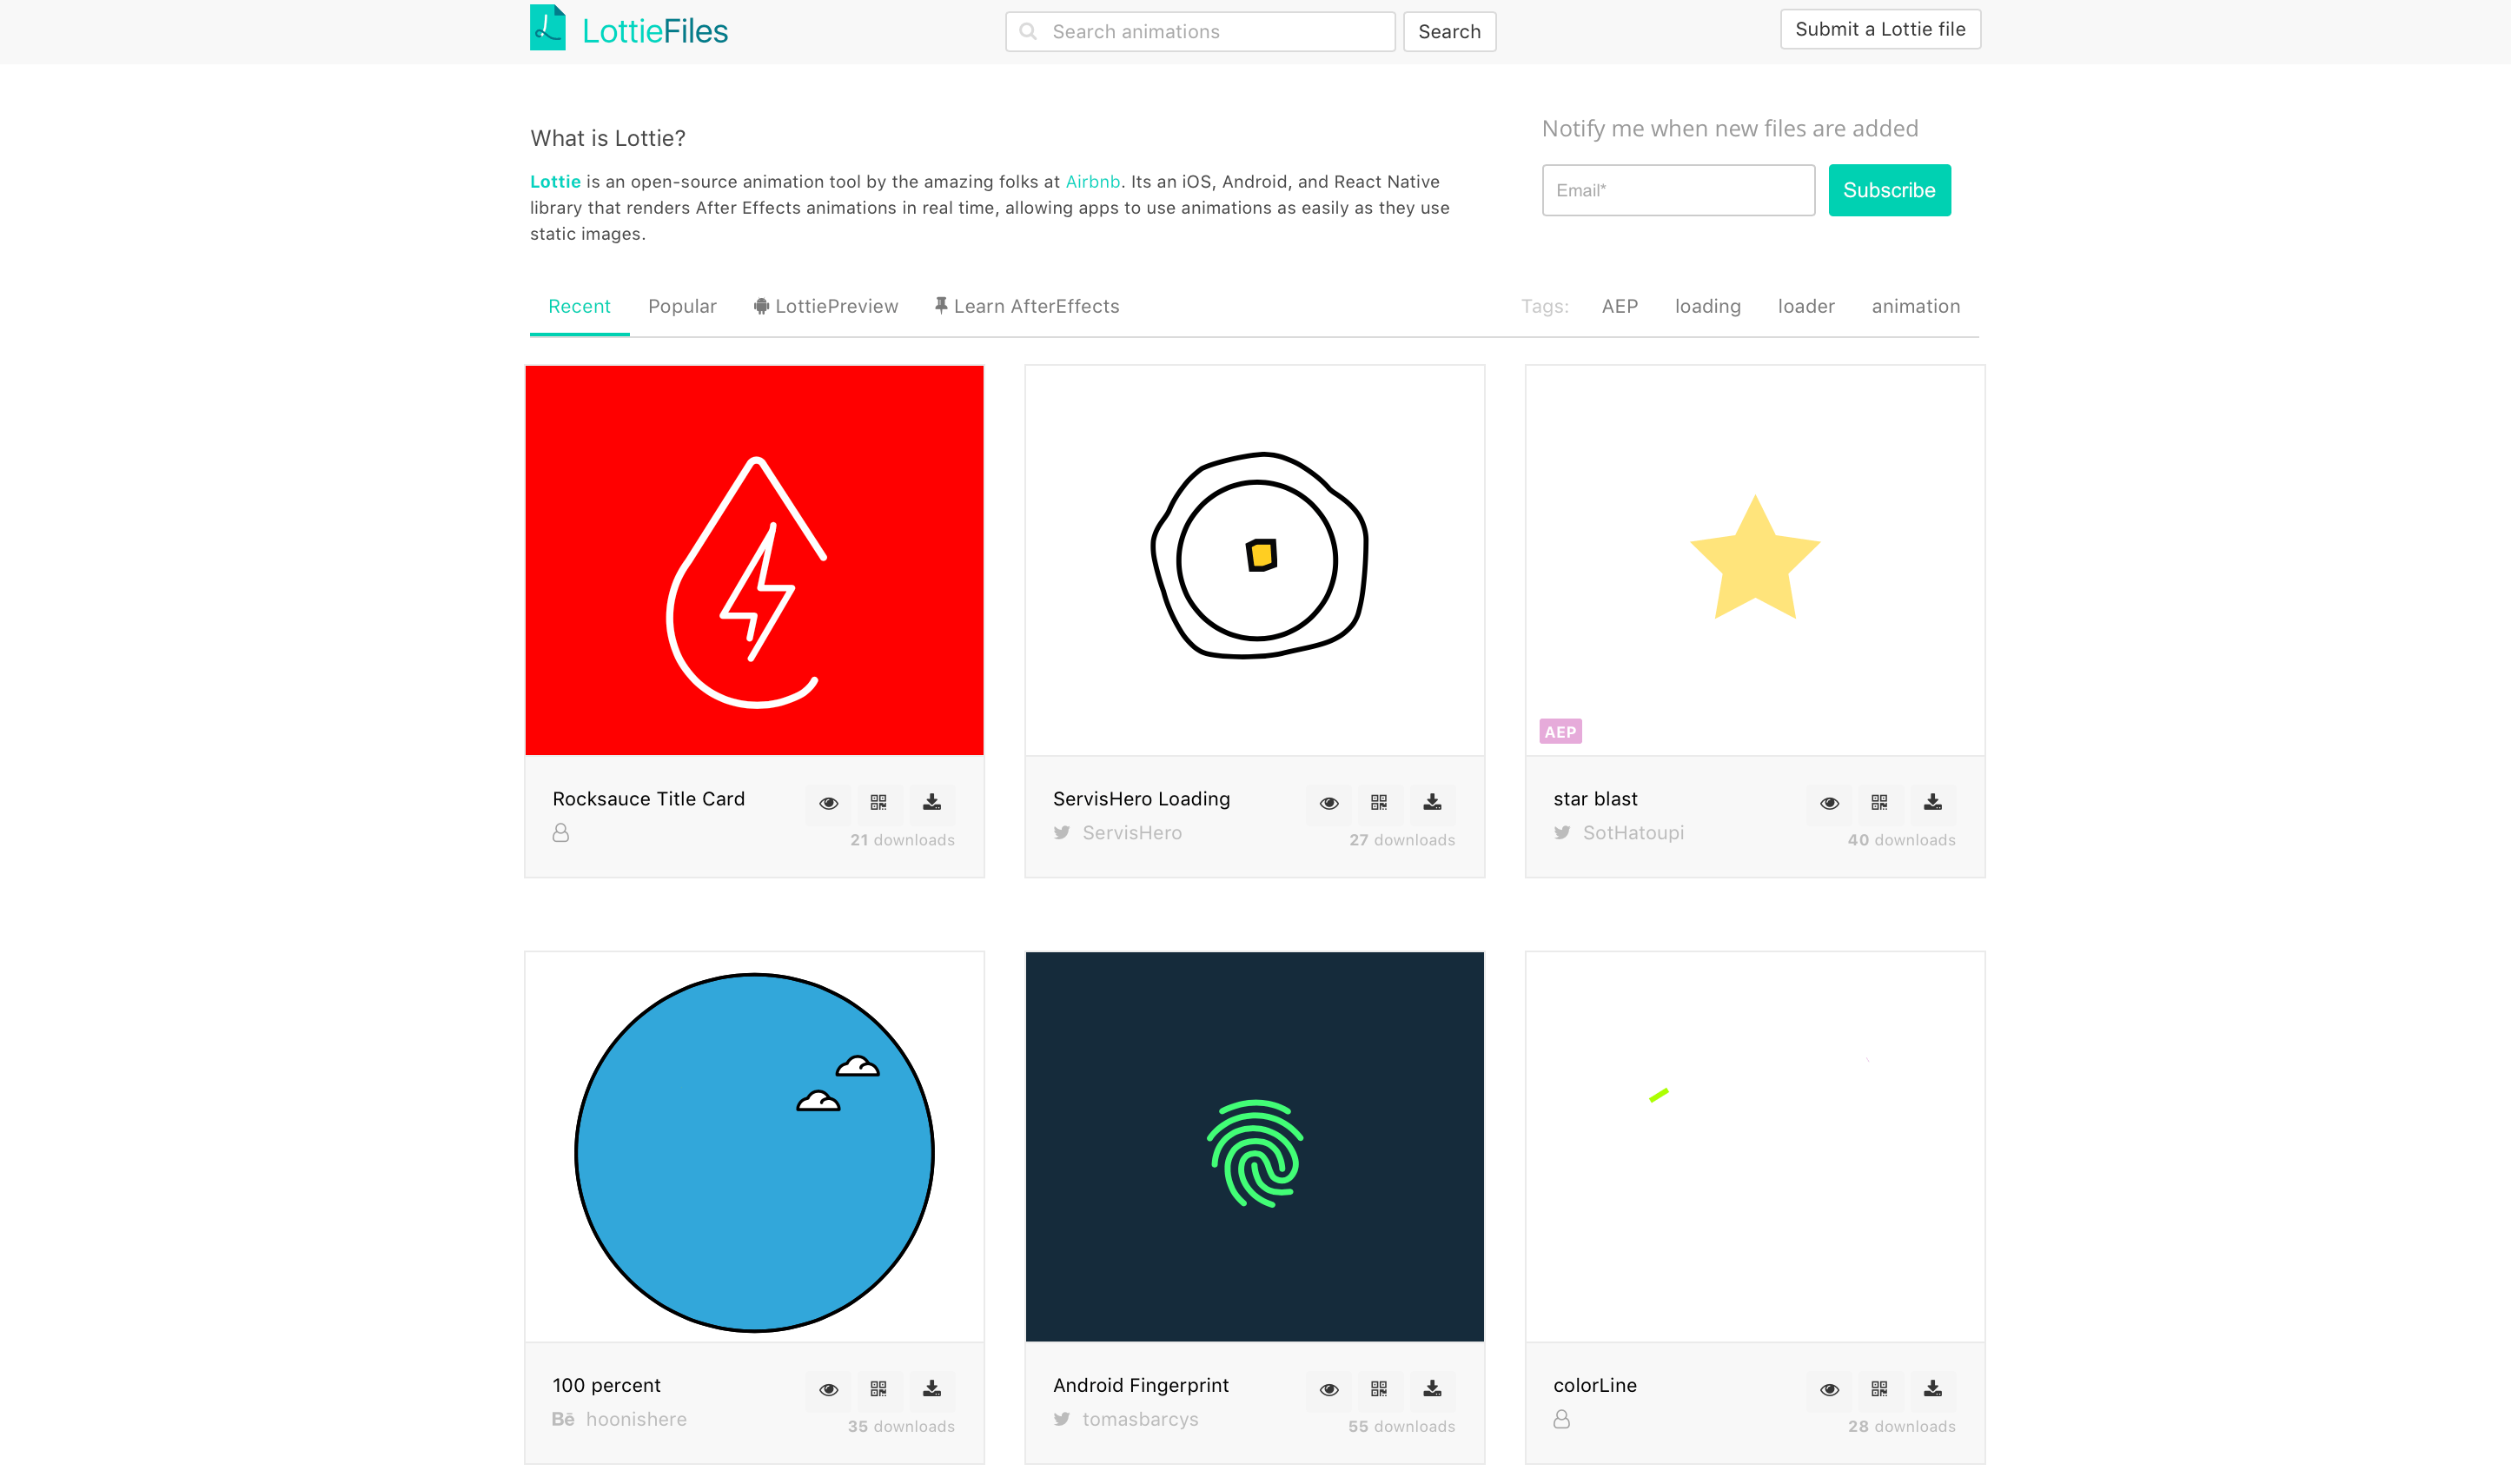
Lottie Files is a website that has a collection of high quality animations available in Lottie’s file format. It also lets designers share and showcase their animations. All the animation files are free for download. Like me, if you do not have any experience with After Effects, you will definitely find the library amazing.
Using Lottie in Xcode
Assuming you have an animation file, the next thing is to prepare your Xcode project. Similar to other iOS libraries, the easiest way to incorporate Lottie in your Xcode project is by using CocoaPods.
Let’s build a quick demo to see how you work with Lottie.
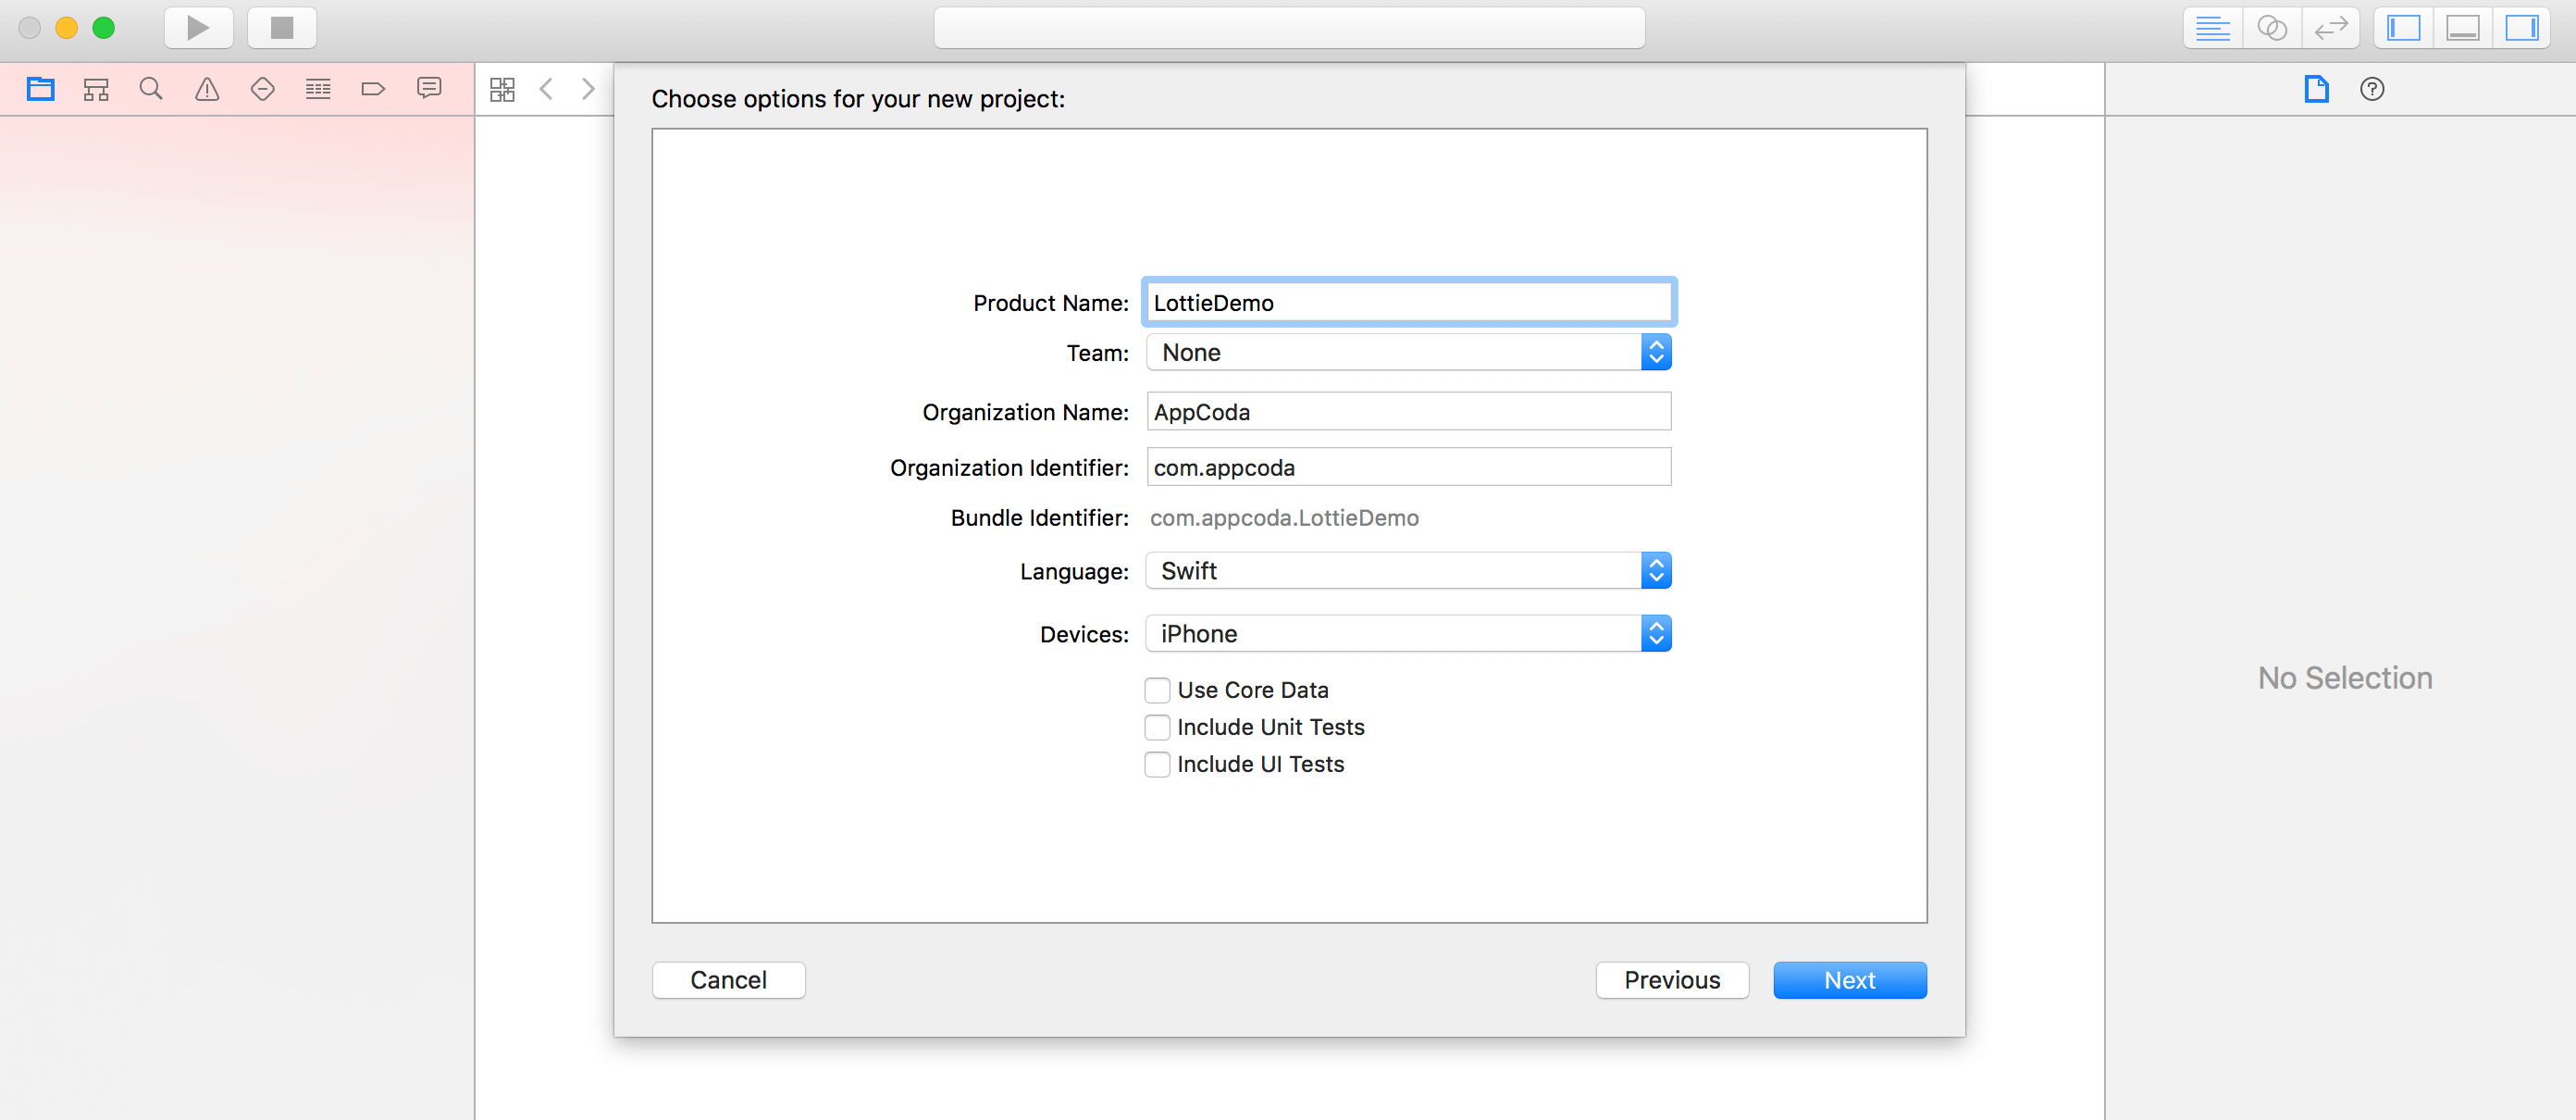
First, fire up Xcode and create a new project using the Single View Application template. Name the project LottieDemo (or whatever name you prefer) and save it.
Installing the Lottie Library Using CocoaPods
Once you create the project, quit Xcode and then open Terminal. We are going to create a Podfile for the installation of Lottie library. I assume you have some experience with CocoaPods, and have it installed on your Mac.
In terminal, run the following command to create a Podfile:
pod init
Then open and edit the Podfile like this:
target 'LottieDemo' do
  # Comment the next line if you're not using Swift and don't want to use dynamic frameworks
  use_frameworks!

  # Pods for LottieDemo
  pod 'lottie-ios'
end
We simply add a line pod 'lottie-ios' to indicate the pod we need for this project. Now go back to Terminal and run the command below:
pod install
CocoaPods will then download the Lottie library and bundle it in your Xcode project. When the process completes, you will find a new project file named LottieDemo.xcworkspace. Open this file using Xcode and start coding.
Adding the Animation JSON Files
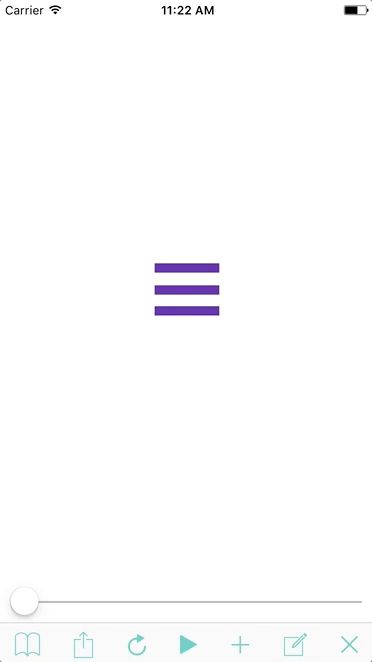
It would be great if you have your own animation file for testing Lottie. But if you don’t have one, download this free animation in the form of JSON file from lottiefiles.com. We will use that for the quick demo.
Now drag the JSON file (servishero_loading.json) into the project navigator of your Xcode project. Put it under the LottieDemo group.
Creating LOTAnimationView
It now comes to the fun part. In less than 10 lines of code, you will be able to implement the sample animation.
Open ViewController.swift and add a line of code to import the Lottie library:
import Lottie
Next, update the viewDidLoad() method like this:
override func viewDidLoad() {
    super.viewDidLoad()

    if let animationView = LOTAnimationView(name: "servishero_loading") {
        animationView.frame = CGRect(x: 0, y: 0, width: 400, height: 400)
        animationView.center = self.view.center
        animationView.contentMode = .scaleAspectFill

        view.addSubview(animationView)

        animationView.play()
    }

}
That’s the code snippet you need to render the animation. Lottie has a class named LOTAnimationView that loads the animation data from the JSON file. To display the animation, you have to create a LOTAnimationView object with the JSON file that you downloaded earlier.
LOTAnimationView is a subclass of UIView, so you just implement it like any other views. We define the frame size, centre it, and set its content mode to Aspect Fill. We then call addSubview to add the animation view to the main view. Lastly, we call the play() method of the animation view to start the animation.
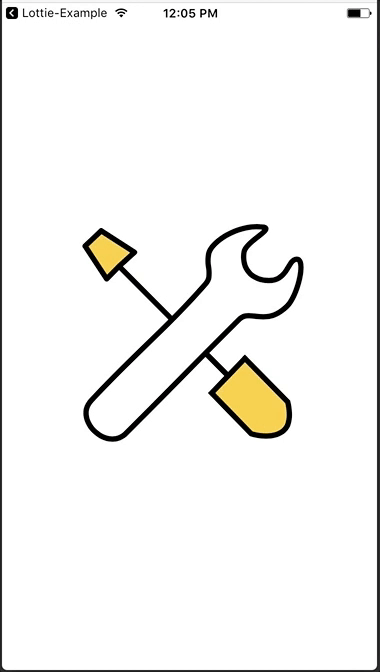
Now run the project and see how the app looks. As soon as the app launches, it renders the animation in real time.
Looping the Animation
By default, the animation only plays once. If you want to loop the animation, you can set the loopAnimation property to true like this:
animationView.loopAnimation = true
The LOTAnimationView class also provides a number of properties to customize the animation. Say, if you want to slow down the animation, you can simply change the animationSpeed property like below:
animationView.animationSpeed = 0.5
Loading the Animation JSON File from a Remote Server
Not only can you store the JSON file locally, you can put your animation data on a remote server. Lottie already comes with APIs for developers to load the JSON file from a remote URL. Try to replace the initialization of animationView with the code below, and see what animation you will get.
let animationView = LOTAnimationView(contentsOf: URL(string: "https://github.com/airbnb/lottie-ios/raw/master/Example/Assets/PinJump.json")!)
Applying Transform to the Animation View
Like UIView, LOTAnimationView supports different types of transform. You can rotate, resize and reposition the animation by setting an appropriate transform to the transform property. Here is a sample transform, which rotates the animation by 45 degrees clockwise:
let rotateTransform = CGAffineTransform(rotationAngle: 45.0)
animationView.transform = rotateTransform
Similarly, you can apply UIView animation over the animation just like other standard UIView object. Let’s create a resize animation on top of the current animation. Replace the viewDidLoad() method with this code snippet:
override func viewDidLoad() {
    super.viewDidLoad()

    if let animationView = LOTAnimationView(name: "servishero_loading") {
        animationView.frame = CGRect(x: 0, y: 0, width: 400, height: 400)
        animationView.center = self.view.center

        animationView.loopAnimation = true
        animationView.contentMode = .scaleAspectFill
        animationView.animationSpeed = 0.5

        // Applying UIView animation
        let minimizeTransform = CGAffineTransform(scaleX: 0.1, y: 0.1)
        animationView.transform = minimizeTransform
        UIView.animate(withDuration: 3.0, delay: 0.0, options: [.repeat, .autoreverse], animations: {
            animationView.transform = CGAffineTransform.identity
        }, completion: nil)

        view.addSubview(animationView)

        animationView.play()
    }

}
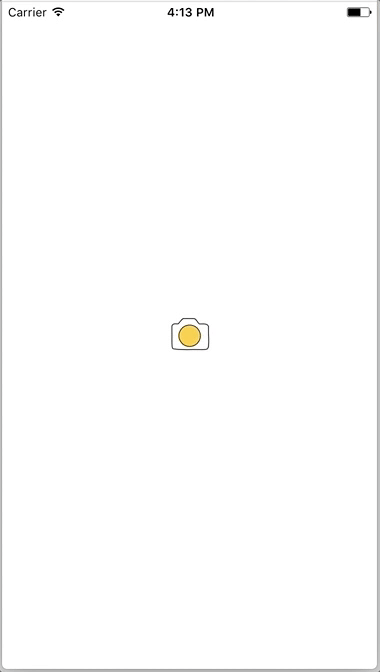
Run the app and you will get something like this. Interesting, right?
What’s Next?
Great UI animations can take your iOS app to the next level, and provide your users with an engaging experience. Before the introduction of Lottie, it is really hard and time consuming to transform an animation built with After Effects to a real implementation. Now this powerful animation library just makes the implementation effortless.
In this tutorial, you should have learned how to use Lottie for iOS projects. Here I just cover the basics of Lotties. You can further check out the documentation of Lottie on GitHub. Furthermore, we will look into something more advanced in the next tutorial by building an amazing onboarding animation.
Stay tuned. If you love this tutorial, please leave me a comment and share it with your friends.
For reference, you can download the sample Xcode project on GitHub.


