You may have heard that Facebook’s Parse.com, the popular Backend-as-a-Service (BaaS) is shutting down and all features will be permanently shuttered on January 28, 2017. Parse hosts approximately 600,000 apps, so this may come as a suprise to some. Unfortunately, many apps have relied solely on Parse for much (if not all) of their backend infastructure.
While not a prerequisite, you are encouraged to read my Alamofire tutorial which explained in depth some of the technologies we will be interacting with in this tutorial.
Luckily, Parse has provided detailed information regarding the migration process and how to move our app from their serviers to a seperately hosted mongoDB instance and cloud company. Parse suggests the migration be made in two steps:
- The database is migrated to a service like MongoLab or ObjectRocket.
- The server be migrated to a cloud hosting company like AWS, Google App Engine, or Heroku.
Parse has also put suggested deadlines in place: they suggest that by April 28, 2016 the database be migrated and by July 28, 2016, the server be migrated properly. This will give you ample time to work out any bugs and ensure your app functions properly with no downtime!
A lot of people have asked me recently about why there are two steps to this migration. A Backend-as-a-Service like parse.com coupled two aspects of what’s known as a backend into one: the server and database. The server, which manipulates the database, performs queries, fetches information, and other work-intensive tasks, interacts with the database. The two work hand-in-hand to form a backend. With Parse going away, we must deal with the server and database seperately.
Fortunately, one of the most beloved features of parse — the dashboard — is a work in progress. Additionally, most of the features parse users have come to know and love are built into the parse-server, making the migration as seamless as possible (that being said, there are several changes we will address in this and a follow-up article).
Parse has also provided detailed instructions on how the entire migration will take place (as seen below).

Today, we’re solely going to focus on the first phase: the database migration to get you ready for the suggested April deadline. We’ll tackle the server migration in a follow-up article in the coming weeks.
If you read my Alamofire article back in November, we discussed using a database service called MongoLab. In this tutorial, we’ll use MongoLab because of its ease-of-use. Keep in mind that you can host your own MongoDB instance on AWS, Google App Engine, Joyent, or Heroku. MongoDB is a popular no-SQL database parse was written upon.
To begin, sign up for a MongoLab account on MongoLab.com.
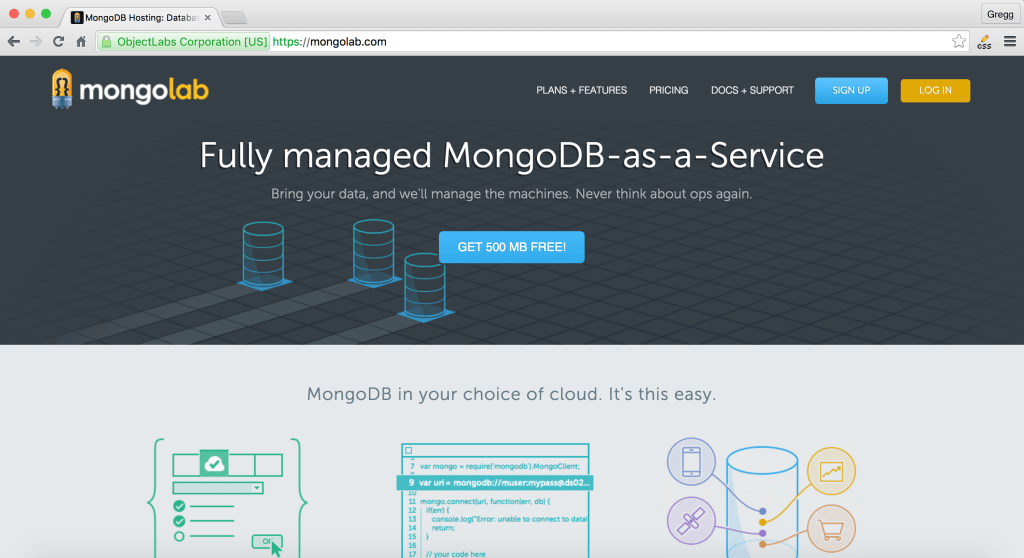
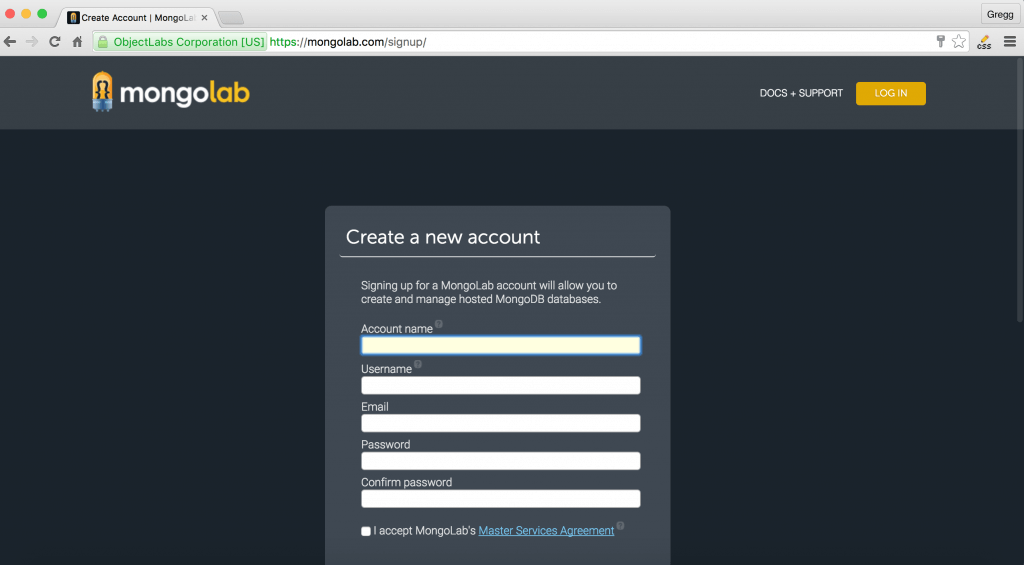
Click Sign Up and make an account. You will be expected to verify the account via email.
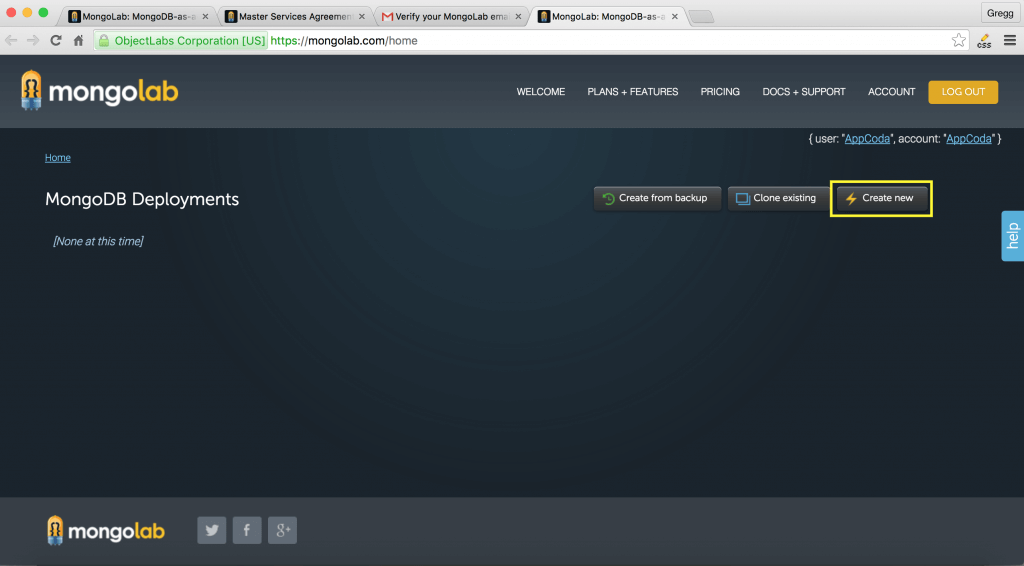
Once you’ve verified your email, click the create new button.
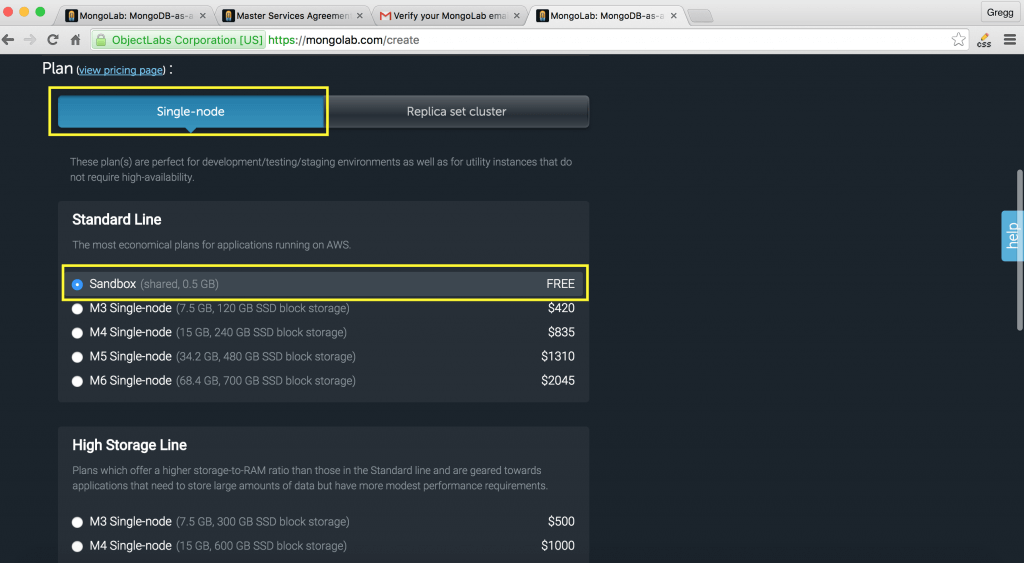
Now select Single-Node and go with the Sandbox (free tier). Keep in mind that depending on the number of assets and file size of your database, the sandbox may be insufficent for you. For the sake of this tutorial, I am using the sandbox as I am migrating a demo app, but you are strongly encouraged to research what storage plan will fit your needs best.
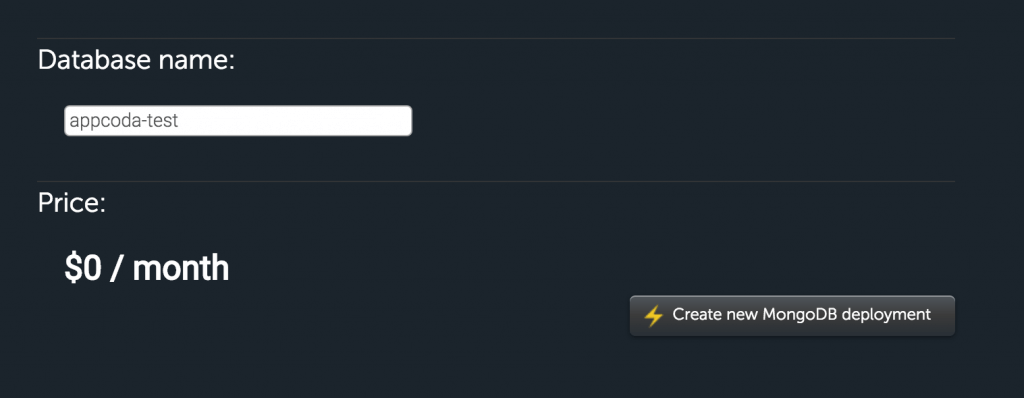
Scroll down to the bottom, add a database name. I am calling mine appcoda-test, but feel free to name it whatever you want. Then click the Create new MongoDB deployment button!
Now select your database from the MongoDB dashboard.

Next create a user so we can wire up the database. I named my user admin and set a password. Click create.
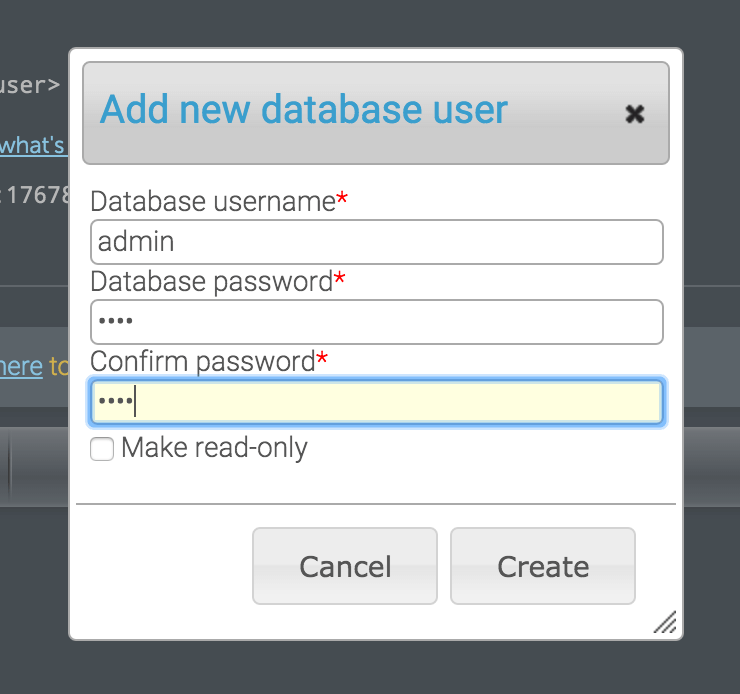
If everything works properly, you should see a new user configured! Great job!
Now notice at the top where it says “To connect using a driver via the standard MongoDB URI (what’s this?)”. Copy and paste the url, and edit it with your account username and password. As an example:
mongodb://admin:[email protected]:17678/appcoda-test
Great job! We’re now ready to move over to Parse!
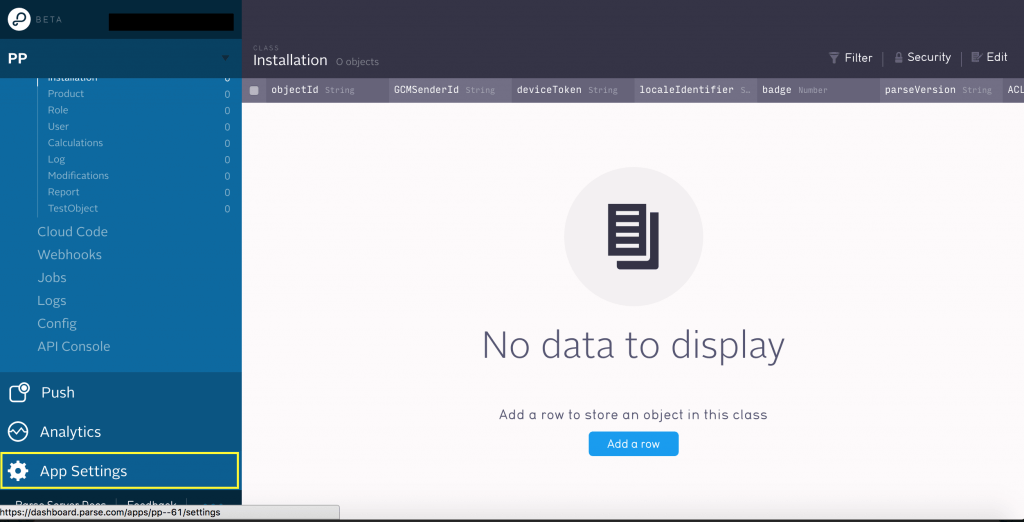
Click on this link to view the new Parse dashboard if you have not already. Then select the app you want to migrate and next click “App Settings”.
Scroll down a bit until you see a red button that says “migrate”. Click it.
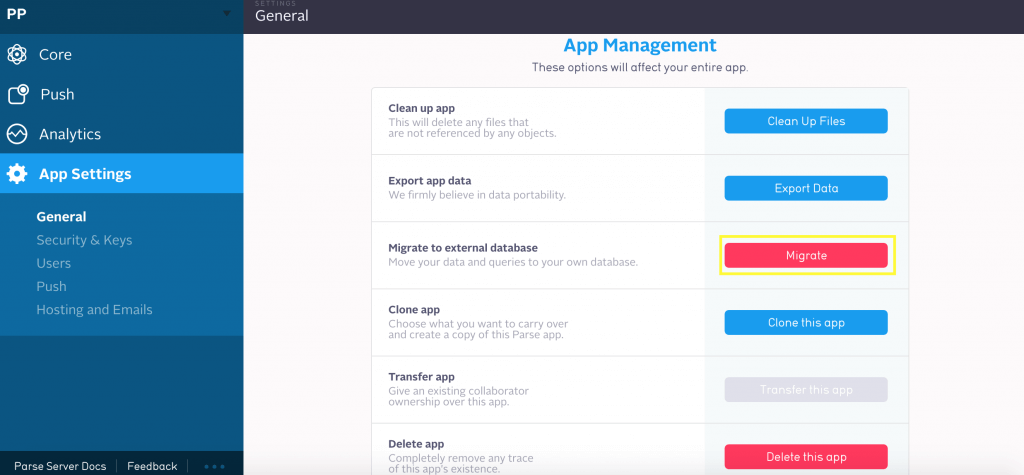
Keep in mind that you cannot undo the migration. So be 100% sure you are ready to migrate the database when you perform this step. From here on out, any database related concerns are no longer parse-related issues. You will have to manage and maintain your own database. Niether AppCoda, myself, not anyone else hereis responsible for any data loss, or issues with respect to the migration. That aside, the process should be, for the most part, a seamless one.
Replace the database url with the path to the Mongolab database we established above.

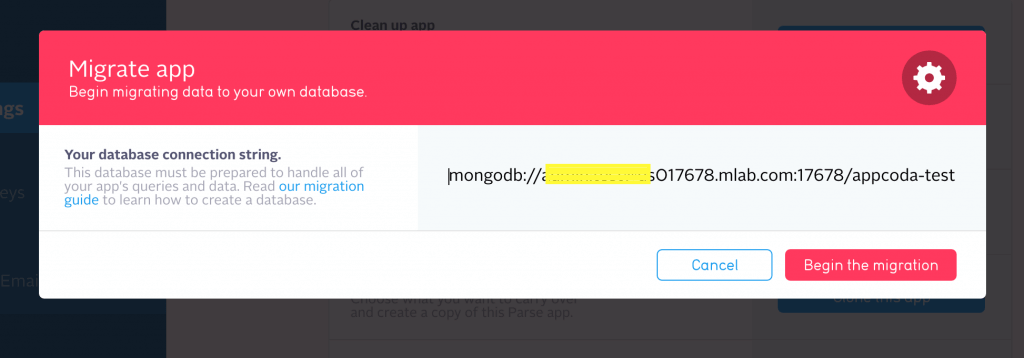
If you see a warning asking you to append SSL to the database path, I highly encourage you to do so for added security. Simply append the following parameter to the path:
?ssl=true
Click begin the migration again to proceed. Parse should begin the migration process.
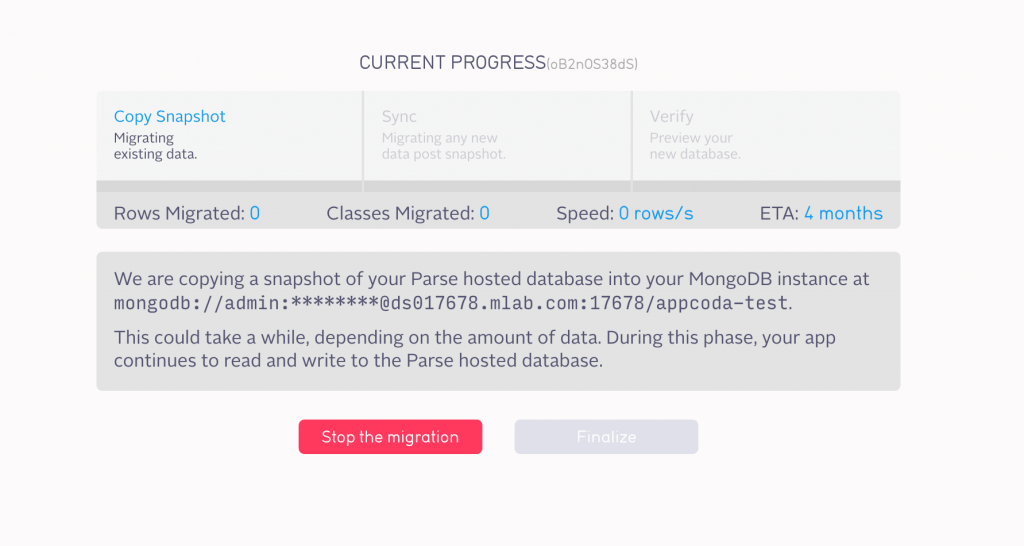
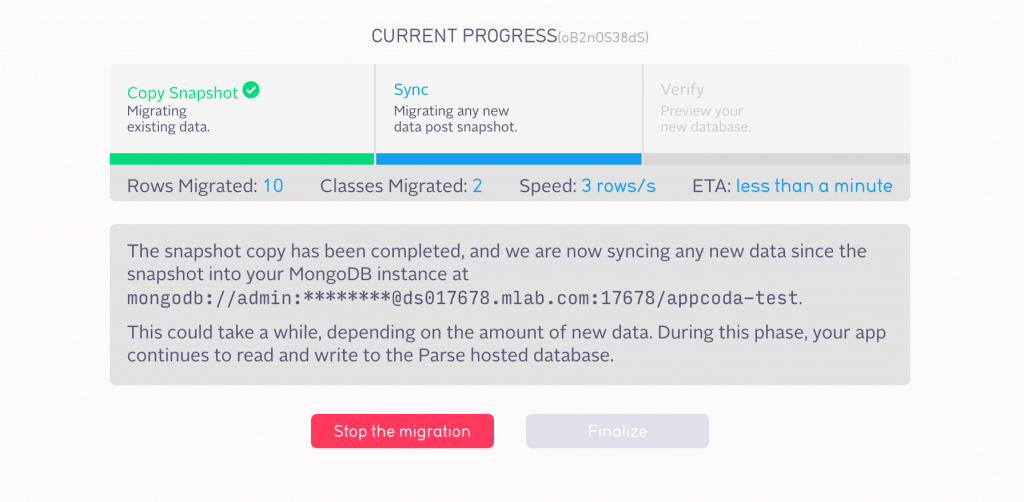
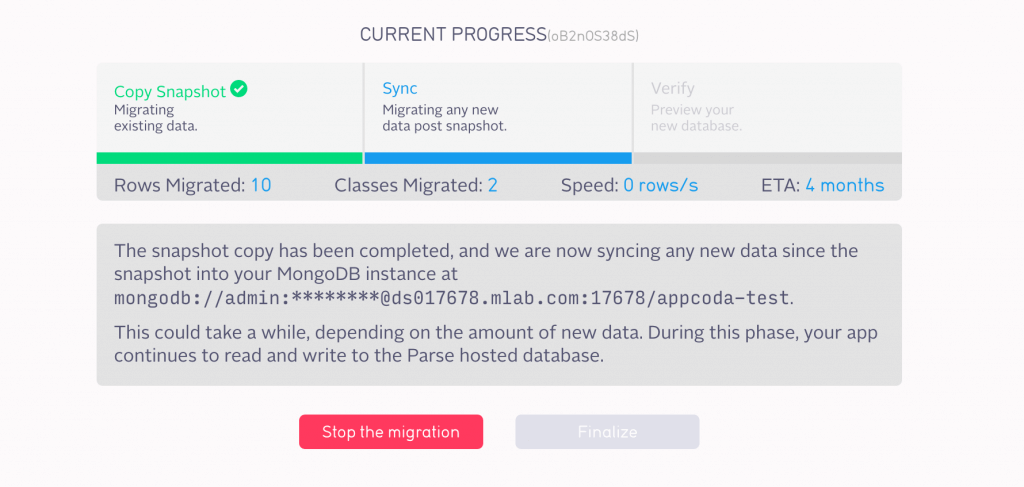
Be sure to read the notice before proceeding. By pressing finalize you agree to complete the database migration. Data will no longer be managed on the Parse database but rather on MongoLab.
After confirming that you are ready to migrate the database, click finalize.
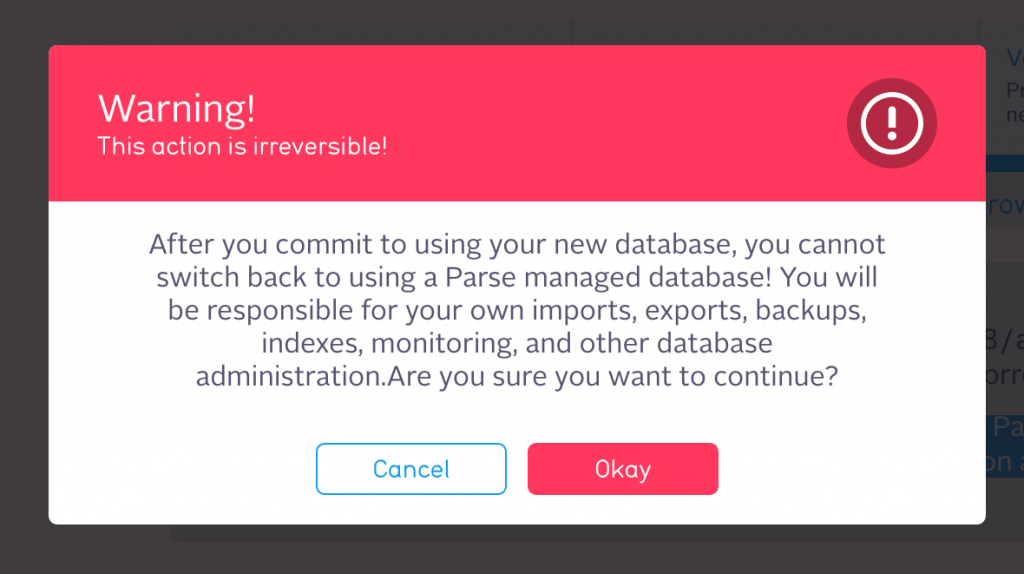
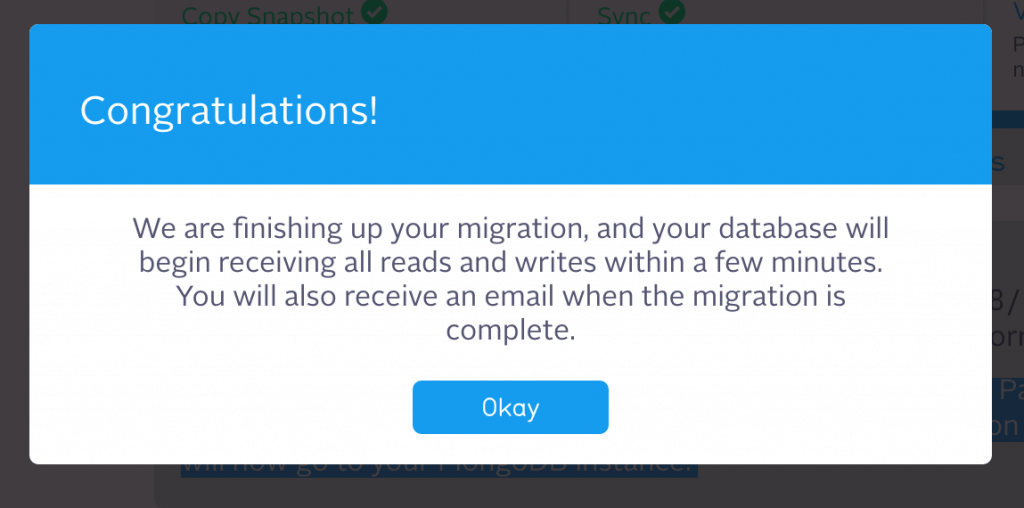
Awesome! The database is now hosted on MongoLab! Return to your MongoLab dashboard to ensure the migration was successful.

Return to Parse. Using the dashboard, add a new class to ensure the connection was successful. I named my class testClass, but feel free to name it whatever you want.
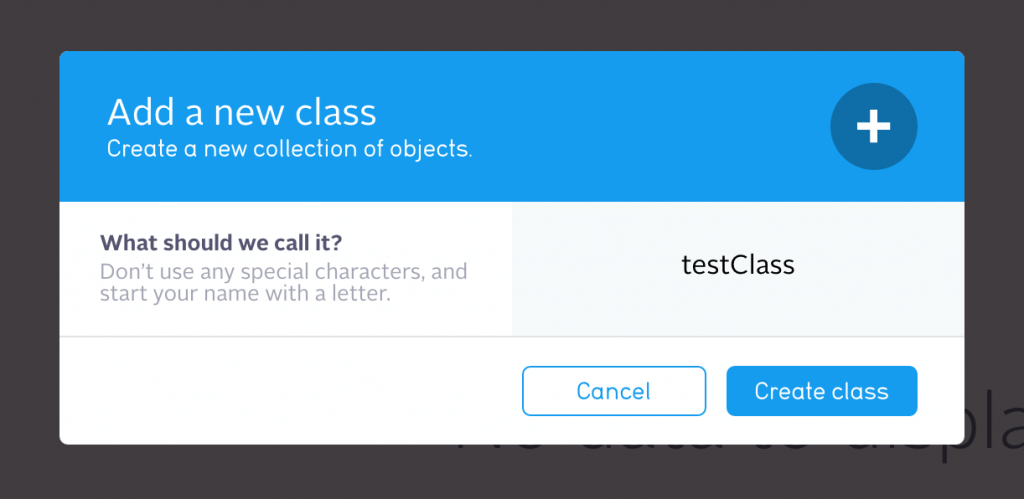
Open the MongoLab website once more, and under the SCHEMA row, scroll down. You should now see your new class added.

Congratulations! Parse is now reading and writing to your Mongo instance on MongoLab! That was pretty painless!
Stay tuned for a follow-up article on migrating the parse-server to AWS, Google App Engine, Heroku, etc!


