It is very common that you need to display web content in your apps. The iOS SDK provides three options for developers to show web content: Mobile Safari, WKWebView, and SFSafariViewController. In iOS 14 (or later), the SwiftUI framework provides a view called Link for you to open a web link in mobile Safari. The usage is very simple. You just need to specify the text of the link and the destination URL like this:
Link(destination: URL(string: "https://www.appcoda.com")!, label: {
    Text("AppCoda")
        .foregroundColor(.orange)
})
This presents a text link in orange. When a user taps the text, the app opens the link in the Safari browser. You are not limited to use a text link. In the label closure, you can change the code to present an image link using an Image view or other custom views.
However, the current version of SwiftUI doesn’t come with an embedded web view. To display web content within your applications, you will need to tap into the UIKit framework. In this tutorial, I will walk you through the procedures to adopt WKWebView in SwiftUI projects.
Adopting WKWebView Using UIViewRepresentable
Assuming you have some experience with the integration of SwiftUI and UIKit, you know we need to adopt the UIViewRepresentable protocol to use the components from UIKit.
For this demo, I will create a new file called WebView.swift to implement a custom web view for SwiftUI. In the project navigator, right click the project folder and choose New File…. Select the Swift File template and name the file WebView.swift. Replace the file content like this:
import SwiftUI
import WebKit

struct WebView: UIViewRepresentable {

    var url: URL

    func makeUIView(context: Context) -> WKWebView {
        return WKWebView()
    }

    func updateUIView(_ webView: WKWebView, context: Context) {
        let request = URLRequest(url: url)
        webView.load(request)
    }
}
To use a UIKit view in SwiftUI, you wrap the view with the UIViewRepresentable protocol. Basically, you just need to create a struct in SwiftUI that adopts the protocol to create and manage a UIView object. In the code above, we create a WebView struct adopts the UIViewRepresentable protocol and implement the required methods.
In the makeUIView method, we return an instance of WKWebView. This is how you wrap a UIKit view and make the web view available to SwiftUI.
While the makeUIView method is responsible for creating and initializing the view object, the updateUIView method is responsible for updating the state of the UIKit view. So, we load the given URL in the updateUIView method.
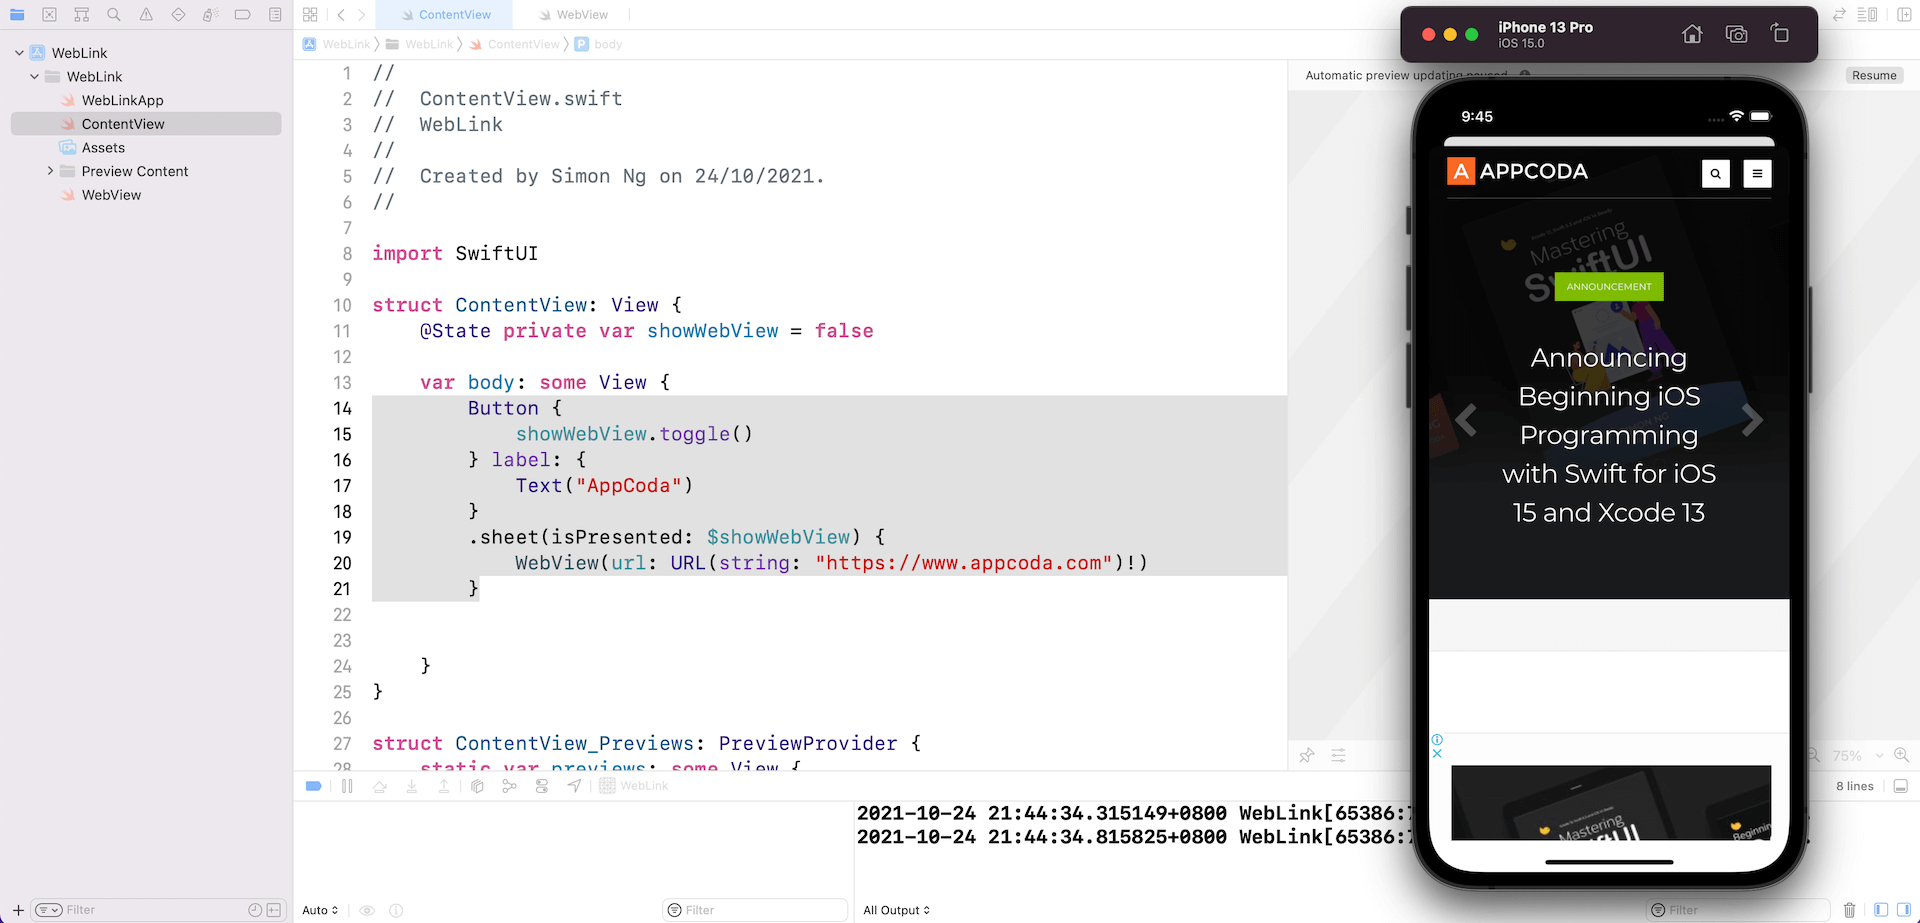
Now it is ready to use WebView in our SwiftUI project. Switch over to ContentView.swift and add a state variable to store the current link:
@State private var showWebView = falseTo bring up the web view, attach the .sheet modifier to the Button view:
Button {
    showWebView.toggle()
} label: {
    Text("AppCoda")
}
.sheet(isPresented: $showWebView) {
    WebView(url: URL(string: "https://www.appcoda.com")!)
}
We present the custom web view using a sheet. You can run the app on a simulator to have a test. When you tap the button, the app brings up a web view to load the website in a modal view.

By using the same technique, you can integrate SFSafariViewController in your SwiftUI projects. I will leave it to you as an exercise.
If you want to learn more about SwiftUI, you can check out our updated Swift course.


