With the release of Xcode 12.5, Apple finally lets developers record videos and animated GIF right from simulators. In this tutorial, I will walk you through this new feature. Please note that the latest version of Xcode requires you to run macOS Big Sur.
Prior to Xcode 12.5, you can still record videos of a simulator. However, you need to open Terminal and run the following command:
xcrun simctl io booted recordVideo filename.movIn Xcode 12.5, you can forget this command and record videos (or animated gifs) directly from simulators.
Note: Have you checked out all the new features for Xcode 12? You can refer to this tutorial which walks you through all the great features of Xcode 12 and Swift 5.3.
Recording Videos in Simulator
To record a video, open the simulator and go up to the simulator menu. Choose File > Record Screen. Alternatively, you can simply press command-R to start the recording.
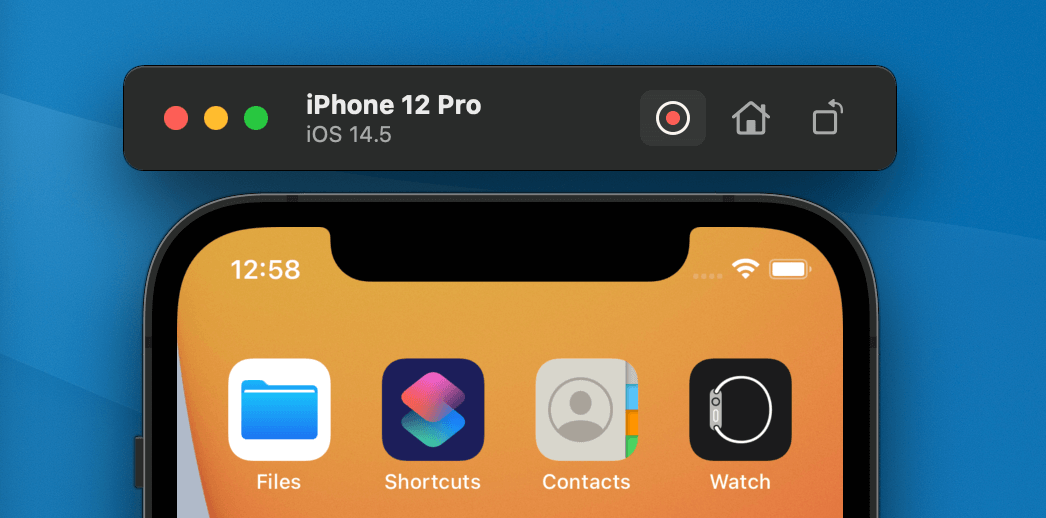
There is another way to start the video recording. In the toolbar of the simulator, hold the option key and place the cursor over the screenshot button. You will then see the Record button.

After finishing the recording, you can click the Stop button and the video preview will appear next to the simulator. By dismissing the video preview, the recording will be saved in the Desktop folder.
Recording Animated GIFs in Simulator
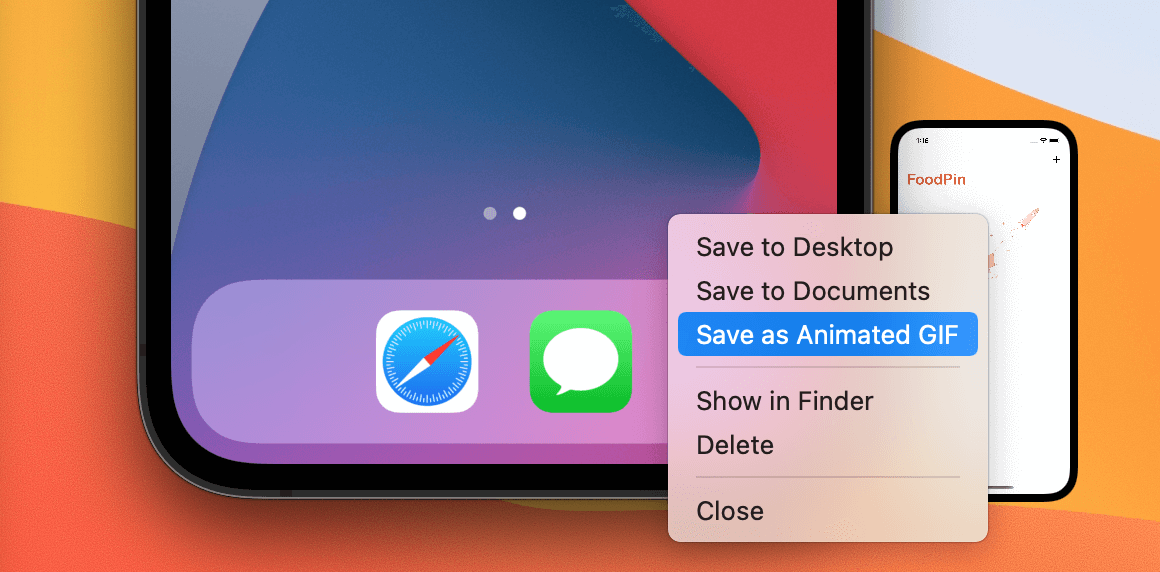
To save the recording as an animated GIF, right click the video preview and choose Save as Animated GIF.

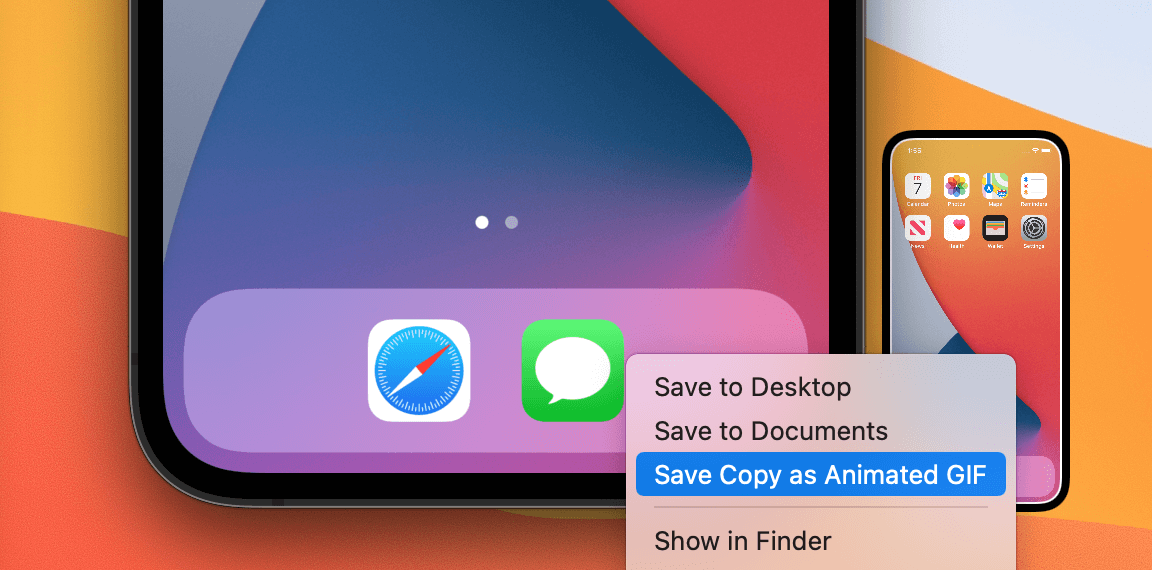
If you want to save the recording in both video and GIF formats, you can press the option key and place the cursor over the context menu. You will then see the Save Copy as Animated GIF option.

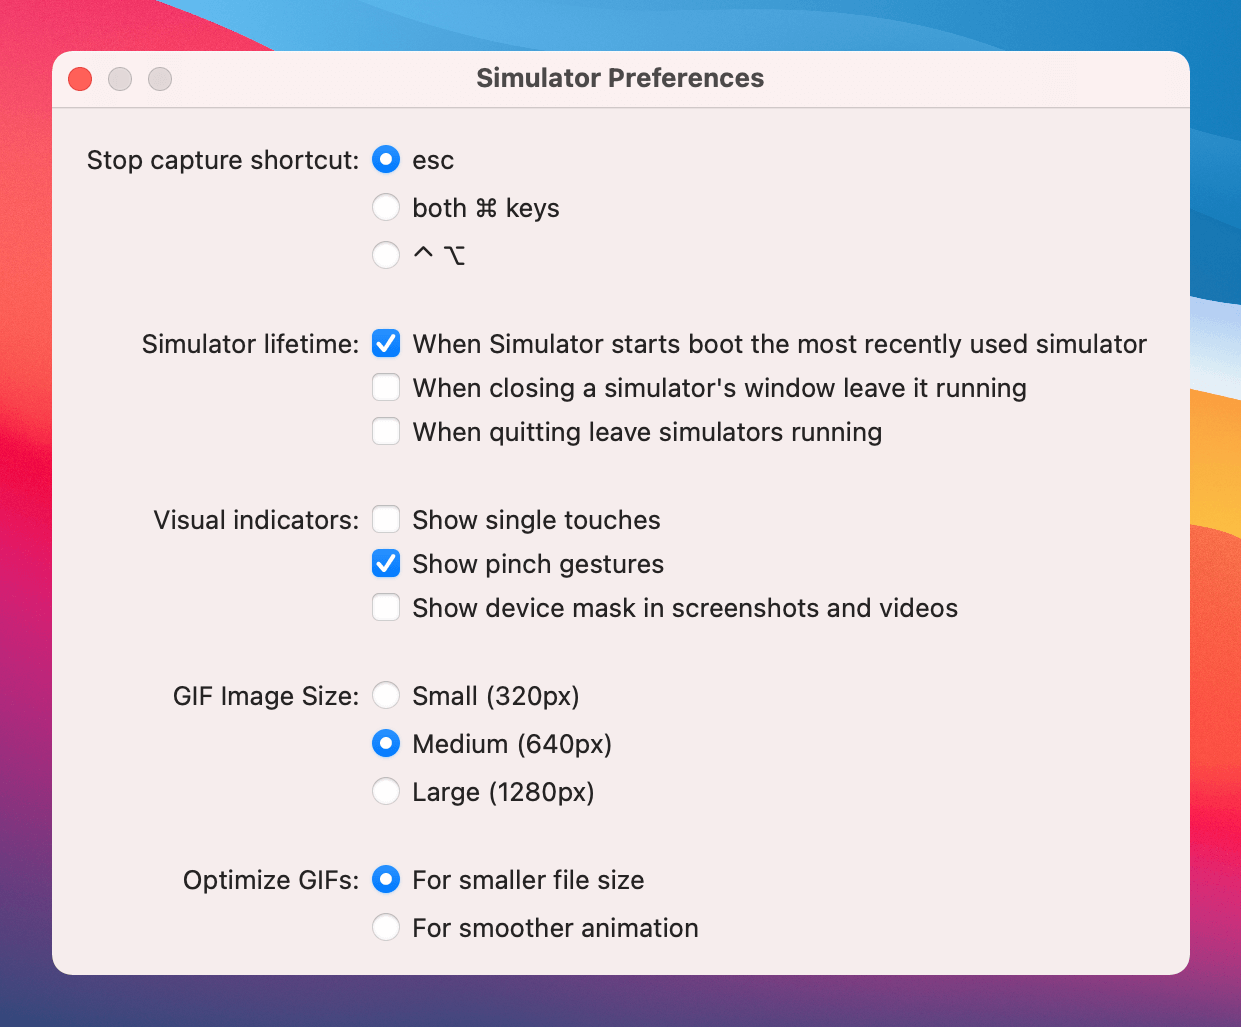
Optionally, you can go up to the simulator menu and open Preferences to configure the GIF setting.


