

Previously, we provided a brief introduction to Google Gemini APIs and demonstrated how to build a Q&A application using SwiftUI. You should realize how straightforward it is to integrate Google Gemini and enhance your apps with AI features. We have also developed a demo application to demonstrate how to construct a chatbot app using the AI APIs.
The gemini-pro model discussed in the previous tutorial is limited to generating text from text-based input. However, Google Gemini also offers a multimodal model called gemini-pro-vision, which can generate text descriptions from images. In other words, this model has the capacity to detect and describe objects in an image.
In this tutorial, we will demonstrate how to use Google Gemini APIs for image recognition. This simple app allows users to select an image from their photo library and uses Gemini to describe the contents of the photo.
Before proceeding with this tutorial, please visit Google AI Studio and create your own API key if you haven’t done so already.
Adding Google Generative AI Package in Xcode Projects
Assuming you’ve already created an app project in Xcode, the first step to using Gemini APIs is importing the SDK. To accomplish this, right-click on the project folder in the project navigator and select Add Package Dependencies. In the dialog box, input the following package URL:
https://github.com/google/generative-ai-swiftYou can then click on the Add Package button to download and incorporate the GoogleGenerativeAI package into the project.
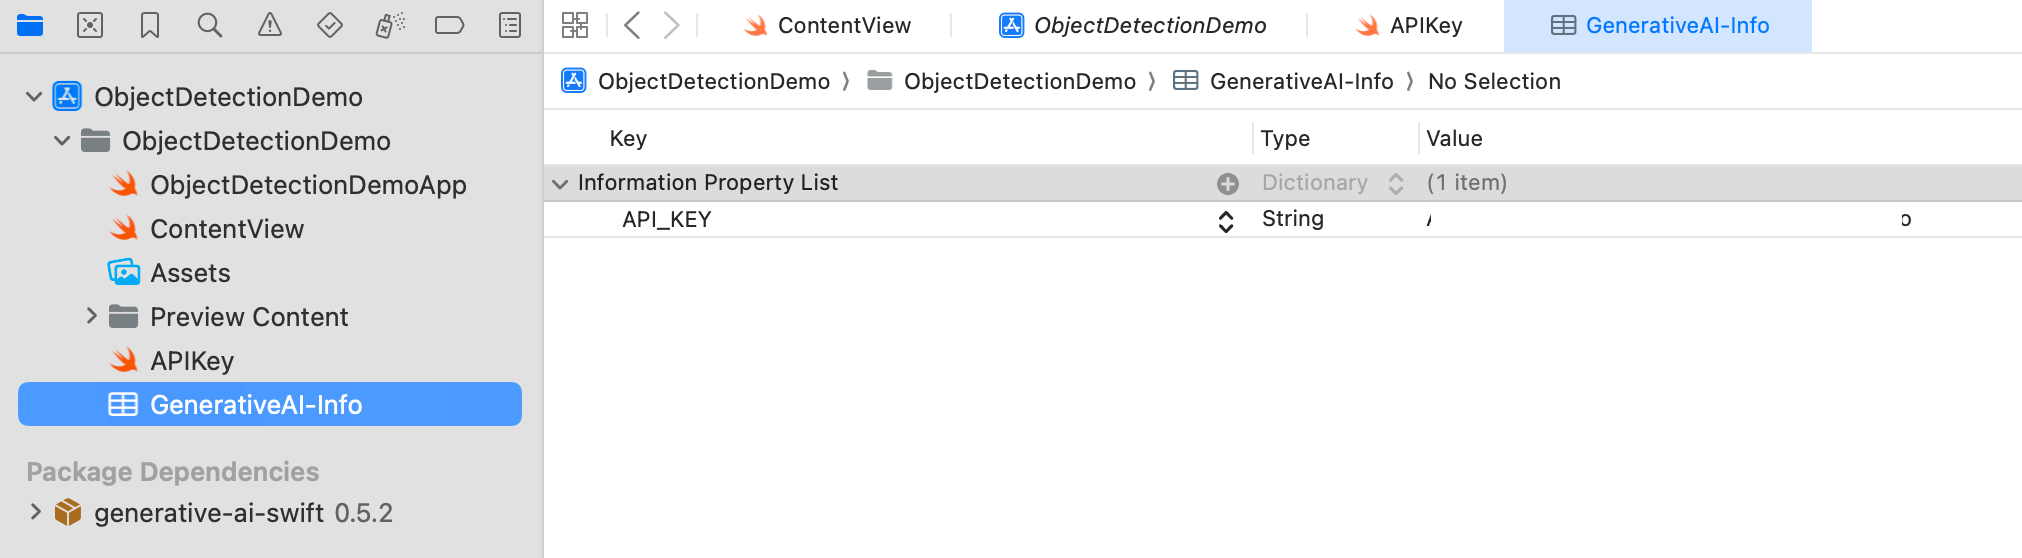
Next, to store the API key, create a property file named GeneratedAI-Info.plist. In this file, create a key named API_KEY and enter your API key as the value.
To read the API key from the property file, create another Swift file named APIKey.swift. Add the following code to this file:
enum APIKey {
  // Fetch the API key from `GenerativeAI-Info.plist`
  static var `default`: String {

    guard let filePath = Bundle.main.path(forResource: "GenerativeAI-Info", ofType: "plist")
    else {
      fatalError("Couldn't find file 'GenerativeAI-Info.plist'.")
    }

    let plist = NSDictionary(contentsOfFile: filePath)

    guard let value = plist?.object(forKey: "API_KEY") as? String else {
      fatalError("Couldn't find key 'API_KEY' in 'GenerativeAI-Info.plist'.")
    }

    if value.starts(with: "_") {
      fatalError(
        "Follow the instructions at https://ai.google.dev/tutorials/setup to get an API key."
      )
    }

    return value
  }
}
Building the App UI
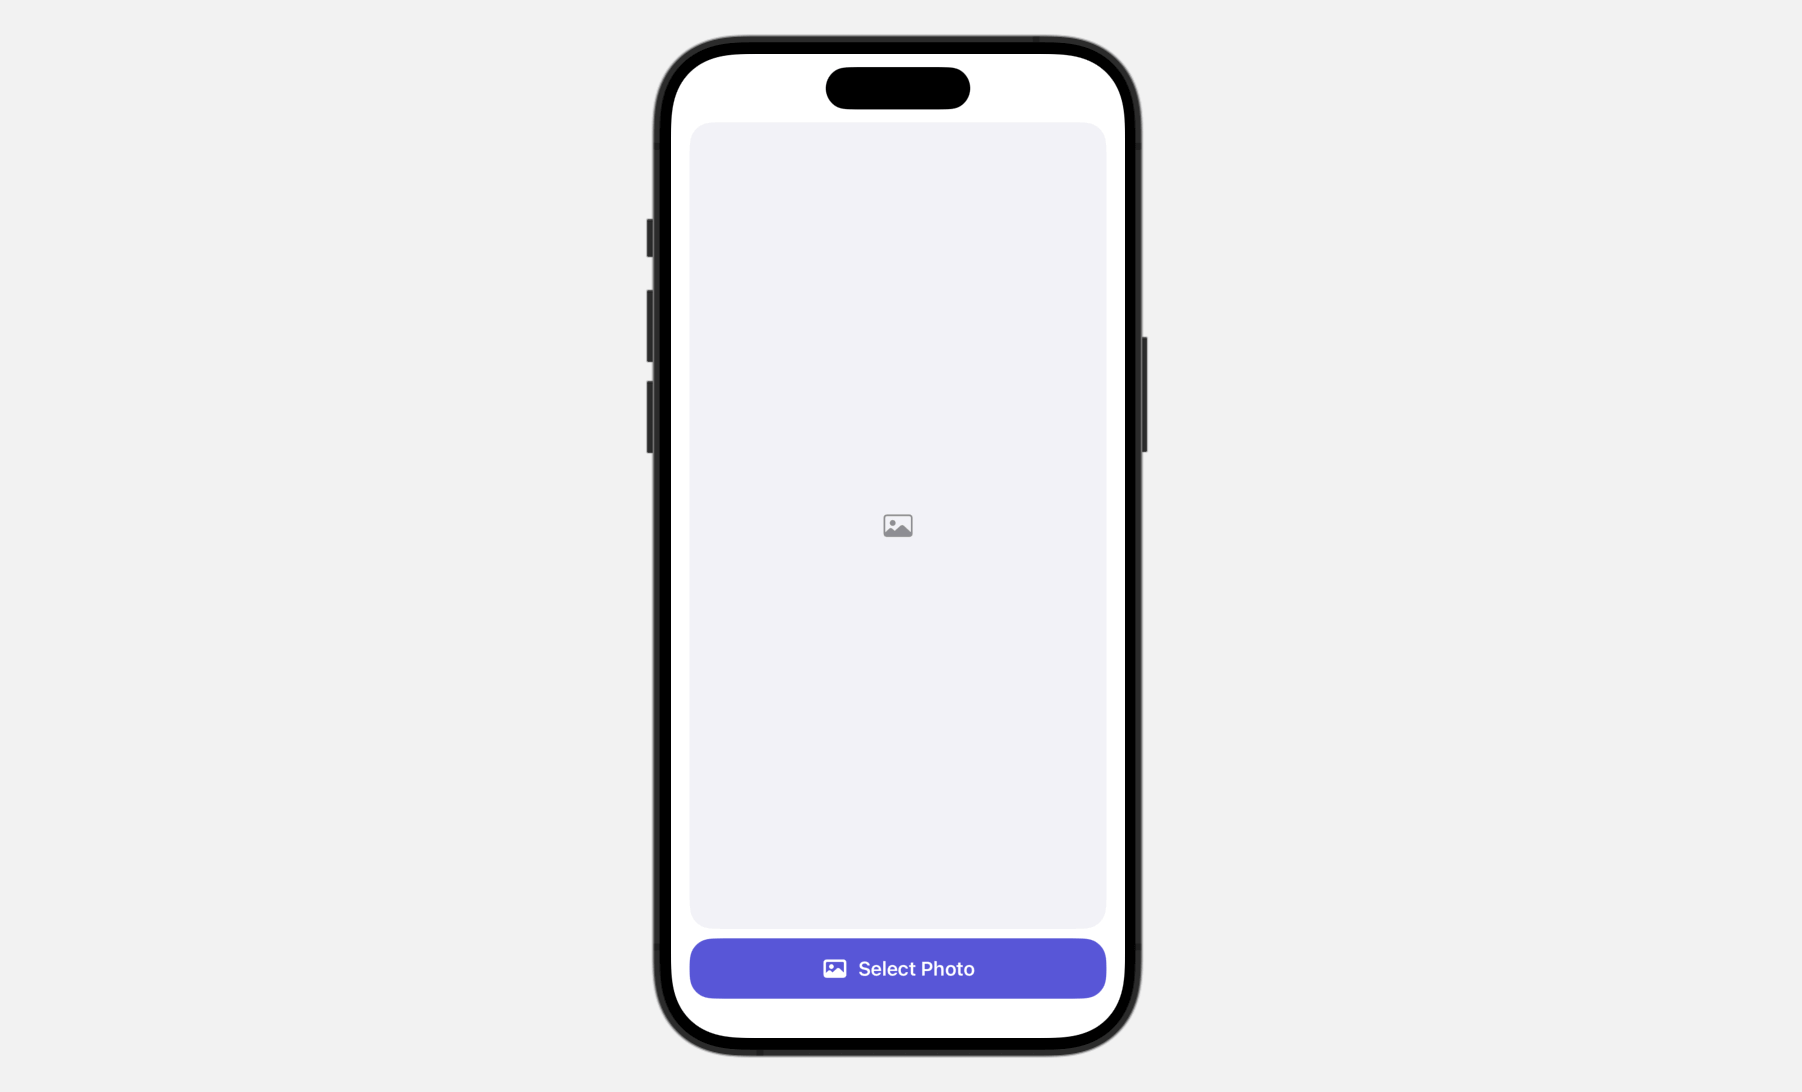
The user interface is straightforward. It features a button at the bottom of the screen, allowing users to access the built-in Photo library. After a photo is selected, it appears in the image view.
To bring up the built-in Photos library, we use PhotosPicker, which is a native photo picker view for managing photo selections. When presenting the PhotosPicker view, it showcases the photo album in a separate sheet, rendered atop your app’s interface.
First, you need to import the PhotosUI framework in order to use the photo picker view:
import PhotosUINext, update the ContentView struct like this to implement the user interface:
struct ContentView: View {

    @State private var selectedItem: PhotosPickerItem?
    @State private var selectedImage: Image?

    var body: some View {
        VStack {

            if let selectedImage {
                selectedImage
                    .resizable()
                    .scaledToFit()
                    .clipShape(RoundedRectangle(cornerRadius: 20.0))
            } else {

                Image(systemName: "photo")
                    .imageScale(.large)
                    .foregroundStyle(.gray)
                    .frame(maxWidth: .infinity, maxHeight: .infinity)
                    .background(Color(.systemGray6))
                    .clipShape(RoundedRectangle(cornerRadius: 20.0))
            }

            Spacer()

            PhotosPicker(selection: $selectedItem, matching: .images) {
                Label("Select Photo", systemImage: "photo")
                    .frame(maxWidth: .infinity)
                    .bold()
                    .padding()
                    .foregroundStyle(.white)
                    .background(.indigo)
                    .clipShape(RoundedRectangle(cornerRadius: 20.0))
            }
        }
        .padding(.horizontal)
        .onChange(of: selectedItem) { oldItem, newItem in
            Task {
                if let image = try? await newItem?.loadTransferable(type: Image.self) {
                    selectedImage = image
                }
            }
        }
    }
}
To use the PhotosPicker view, we declare a state variable to store the photo selection and then instantiate a PhotosPicker view by passing the binding to the state variable. The matching parameter allows you to specify the asset type to display.
When a photo is selected, the photo picker automatically closes, storing the chosen photo in the selectedItem variable of type PhotosPickerItem. The loadTransferable(type:completionHandler:) method can be used to load the image. By attaching the onChange modifier, you can monitor updates to the selectedItem variable. If there is a change, we invoke the loadTransferable method to load the asset data and save the image to the selectedImage variable.
Because selectedImage is a state variable, SwiftUI automatically detects when its content changes and displays the image on the screen.
Image Analysis and Object Recognition
Having selected an image, the next step is to use the Gemini APIs to perform image analysis and generate a text description from the image.
Before using the APIs, insert the following statement at the very beginning of ContentView.swift to import the framework:
import GoogleGenerativeAINext, declare a model property to hold the AI model:
let model = GenerativeModel(name: "gemini-pro-vision", apiKey: APIKey.default)For image analysis, we utilize the gemini-pro-vision model provided by Google Gemini. Then, we declare two state variables: one for storing the generated text and another for tracking the analysis status.
@State private var analyzedResult: String?
@State private var isAnalyzing: Bool = false
Next, create a new function named analyze() to perform image analysis:
@MainActor func analyze() {

    self.analyzedResult = nil
    self.isAnalyzing.toggle()

    // Convert Image to UIImage
    let imageRenderer = ImageRenderer(content: selectedImage)
    imageRenderer.scale = 1.0

    guard let uiImage = imageRenderer.uiImage else {
        return
    }

    let prompt = "Describe the image and explain what the objects found in the image"

    Task {
        do {
            let response = try await model.generateContent(prompt, uiImage)

            if let text = response.text {
                print("Response: \(text)")
                self.analyzedResult = text
                self.isAnalyzing.toggle()
            }
        } catch {
            print(error.localizedDescription)
        }
    }
}
Before using the model’s API, we need to convert the image view into an UIImage. We then invoke the generateContent method with the image and a predefined prompt, asking Google Gemini to describe the image and identify the objects within it.
When the response arrives, we extract the text description and assign it to the analyzedResult variable.
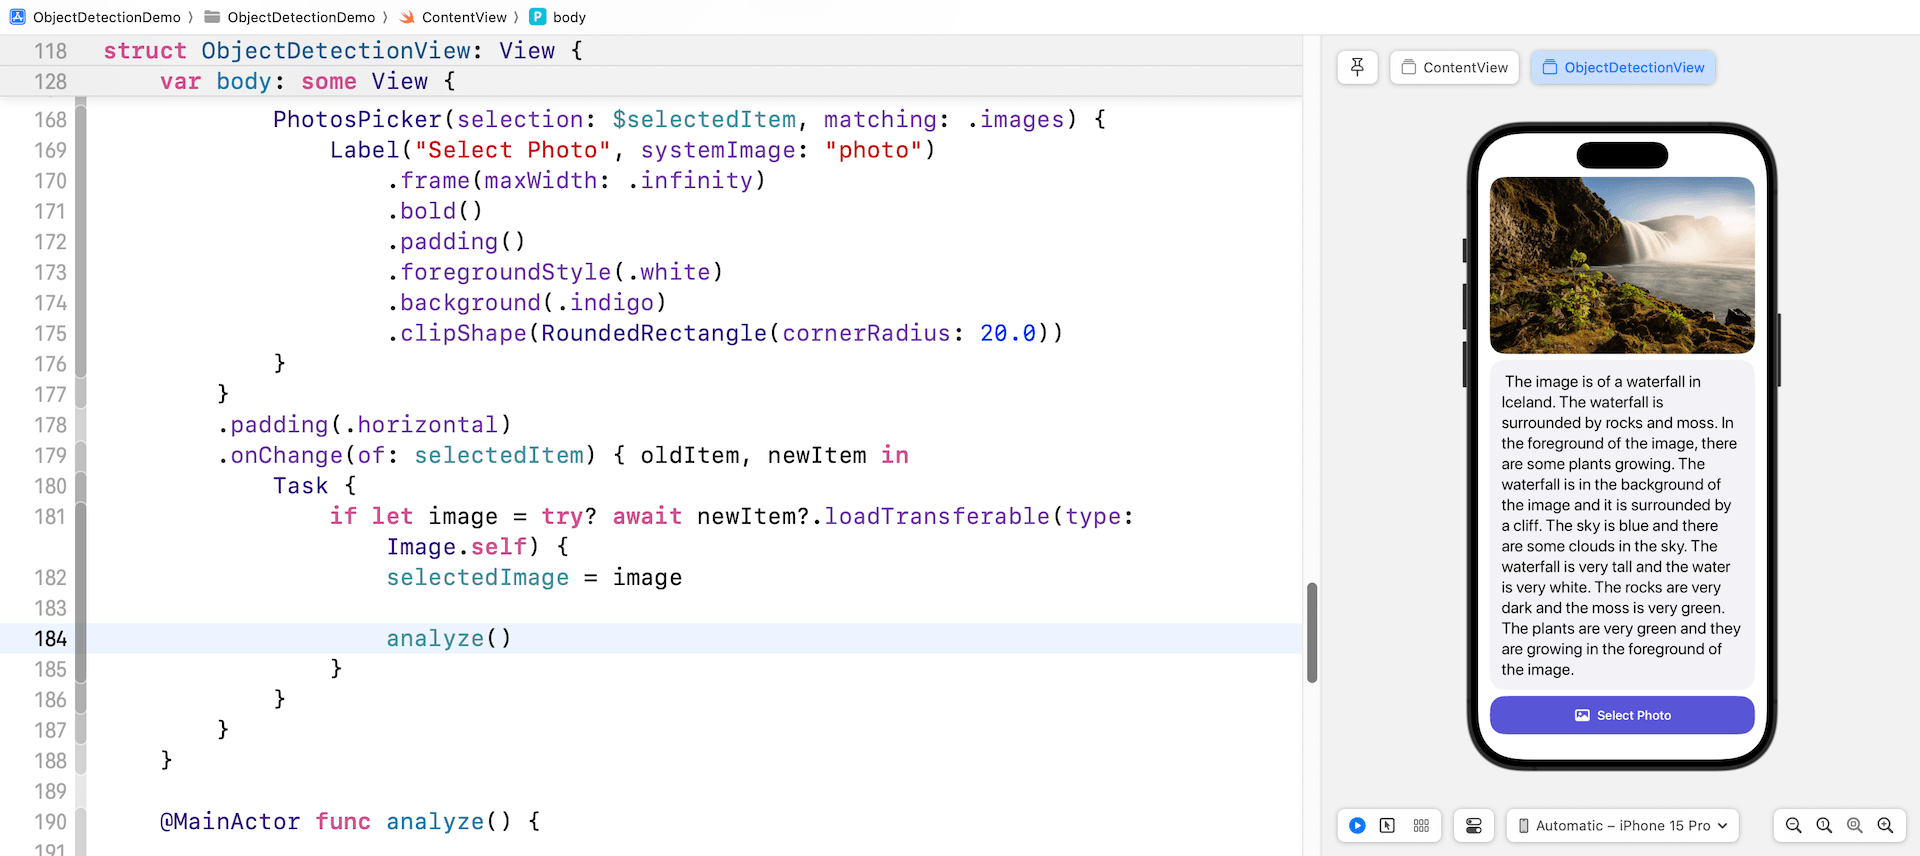
Next, insert the following code and place it above the Spacer() view:
ScrollView {
    Text(analyzedResult ?? (isAnalyzing ? "Analyzing..." : "Select a photo to get started"))
        .font(.system(.title2, design: .rounded))
}
.padding()
.frame(maxWidth: .infinity, maxHeight: .infinity, alignment: .leading)
.background(Color(.systemGray6))
.clipShape(RoundedRectangle(cornerRadius: 20.0))
This scroll view displays the text generated by Gemini. Optionally, you can add an overlay modifier to the selectedImage view. This will display a progress view while an image analysis is being performed.
.overlay {
if isAnalyzing {
RoundedRectangle(cornerRadius: 20.0)
.fill(.black)
.opacity(0.5)
ProgressView()
.tint(.white)
}
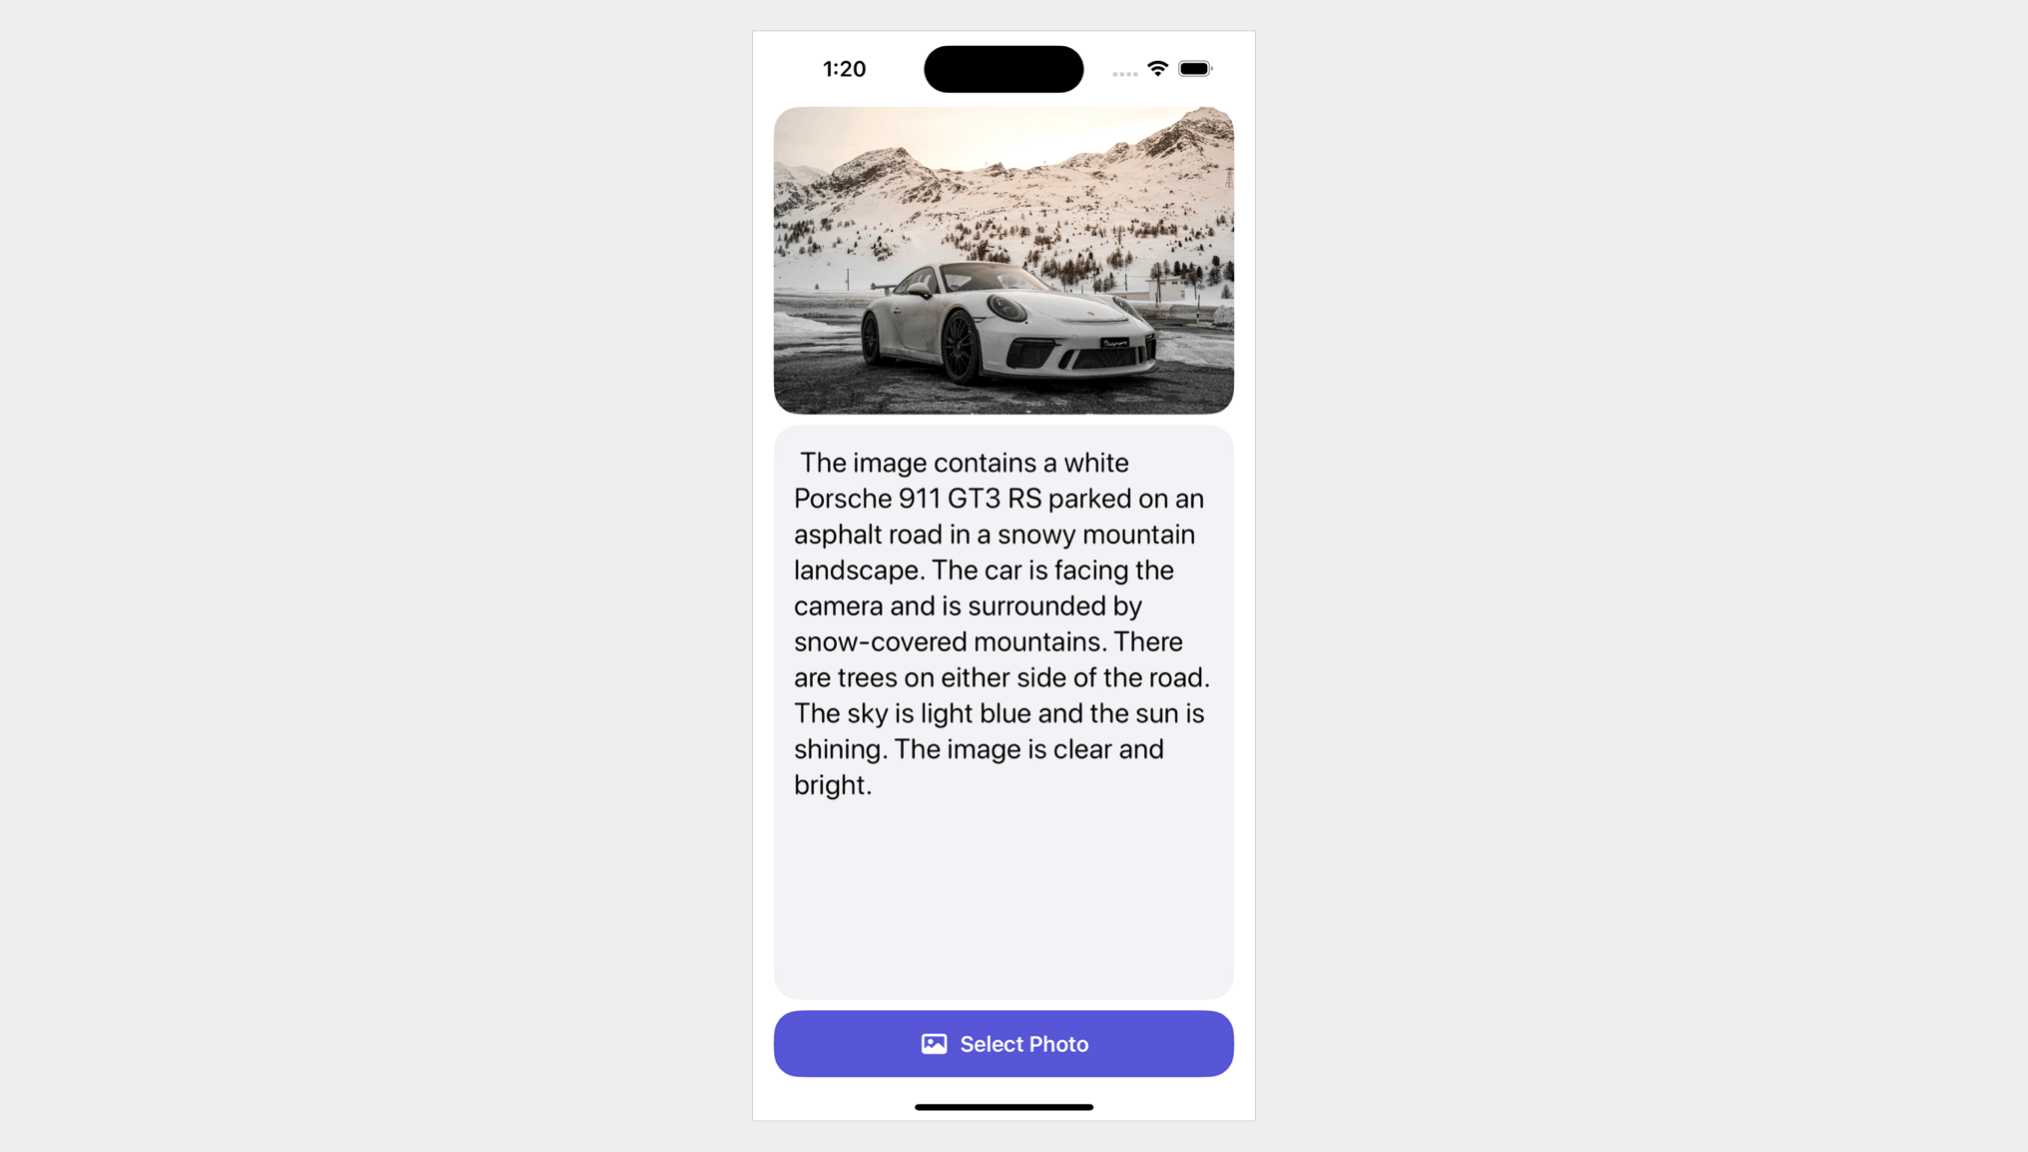
}After implementing all the changes, the preview pane should now be displaying a newly designed user interface. This interface comprises of the selected image, the image description area, and a button to select photos from the photo library. This is what you should see in your preview pane if all the steps have been followed and executed correctly.

Finally, insert a line of code in the onChange modifier to call the analyze() method after the selectedImage. That’s all! You can now test the app in the preview pane. Click on the Select Photo button and choose a photo from the library. The app will then send the selected photo to Google Gemini for analysis and display the generated text in the scroll view.
Summary
The tutorial demonstrates how to build an AI image recognition app using Google Gemini APIs and SwiftUI. The app allows users to select an image from their photo library and uses Gemini to describe the contents of the photo.
From the code we have just worked on, you can see that it only requires a few lines to prompt Google Gemini to generate text from an image. Although this demo illustrates the process using a single image, the API actually supports multiple images. For further details on how it functions, please refer to the official documentation.


