iOS already includes a system-wide translation feature that allows users to easily translate text into various languages. With the release of iOS 17.4 (and iOS 18), you can now leverage the new Translation API to integrate this powerful translation capability into your apps.
Apple provides two options for developers to utilize the Translation API. The quickest and simplest method is to use the .translationPresentation modifier, which displays a translation overlay in your app. For a more flexible solution, you can directly call the Translation API to build a custom translation feature.
In this tutorial, we will explore both approaches and guide you through their implementation using a SwiftUI demo app. Please note that you will need Xcode 16 to follow along.
Using the translationPresentation Modifier
Let's start with the straightforward approach: the .translationPresentation modifier. In Safari, users can highlight any text to access the translation option, which then displays a translation overlay with the translated text.
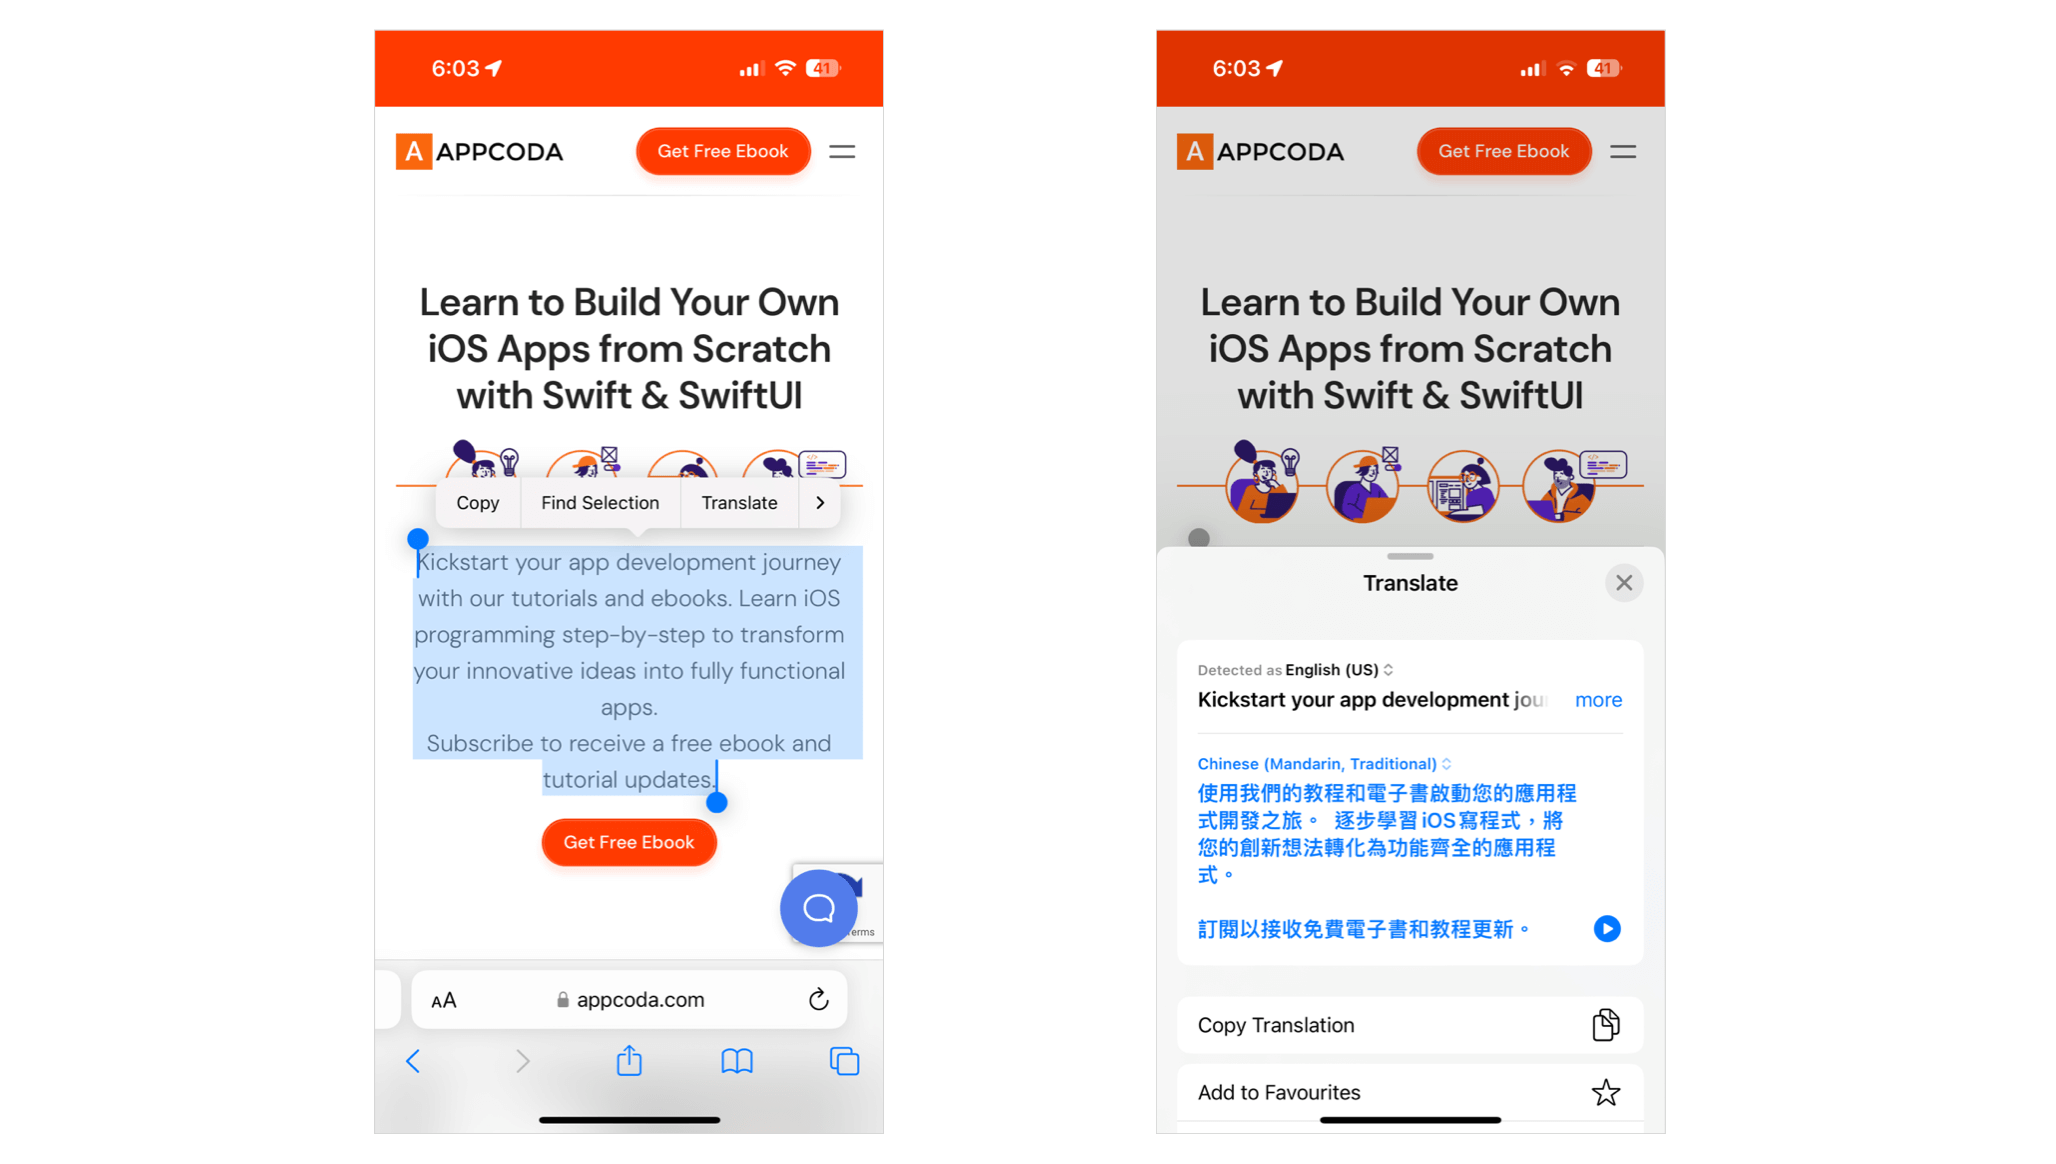
If you want to bring this translation overlay to your app, all you need is to import the Translation package and use the .translationPresentation modifier. Take a look at the following sample code:
import SwiftUI
import Translation

struct ContentView: View {

    @State private var showTranslation = false
    @State private var sampleText = article

    var body: some View {
        VStack {
            Text(sampleText)
                .font(.system(.body, design: .rounded))

            Button("Translate") {
                showTranslation.toggle()
            }
            .controlSize(.extraLarge)
            .buttonStyle(.borderedProminent)
        }
        .padding()
        .translationPresentation(isPresented: $showTranslation, text: article)
    }
}
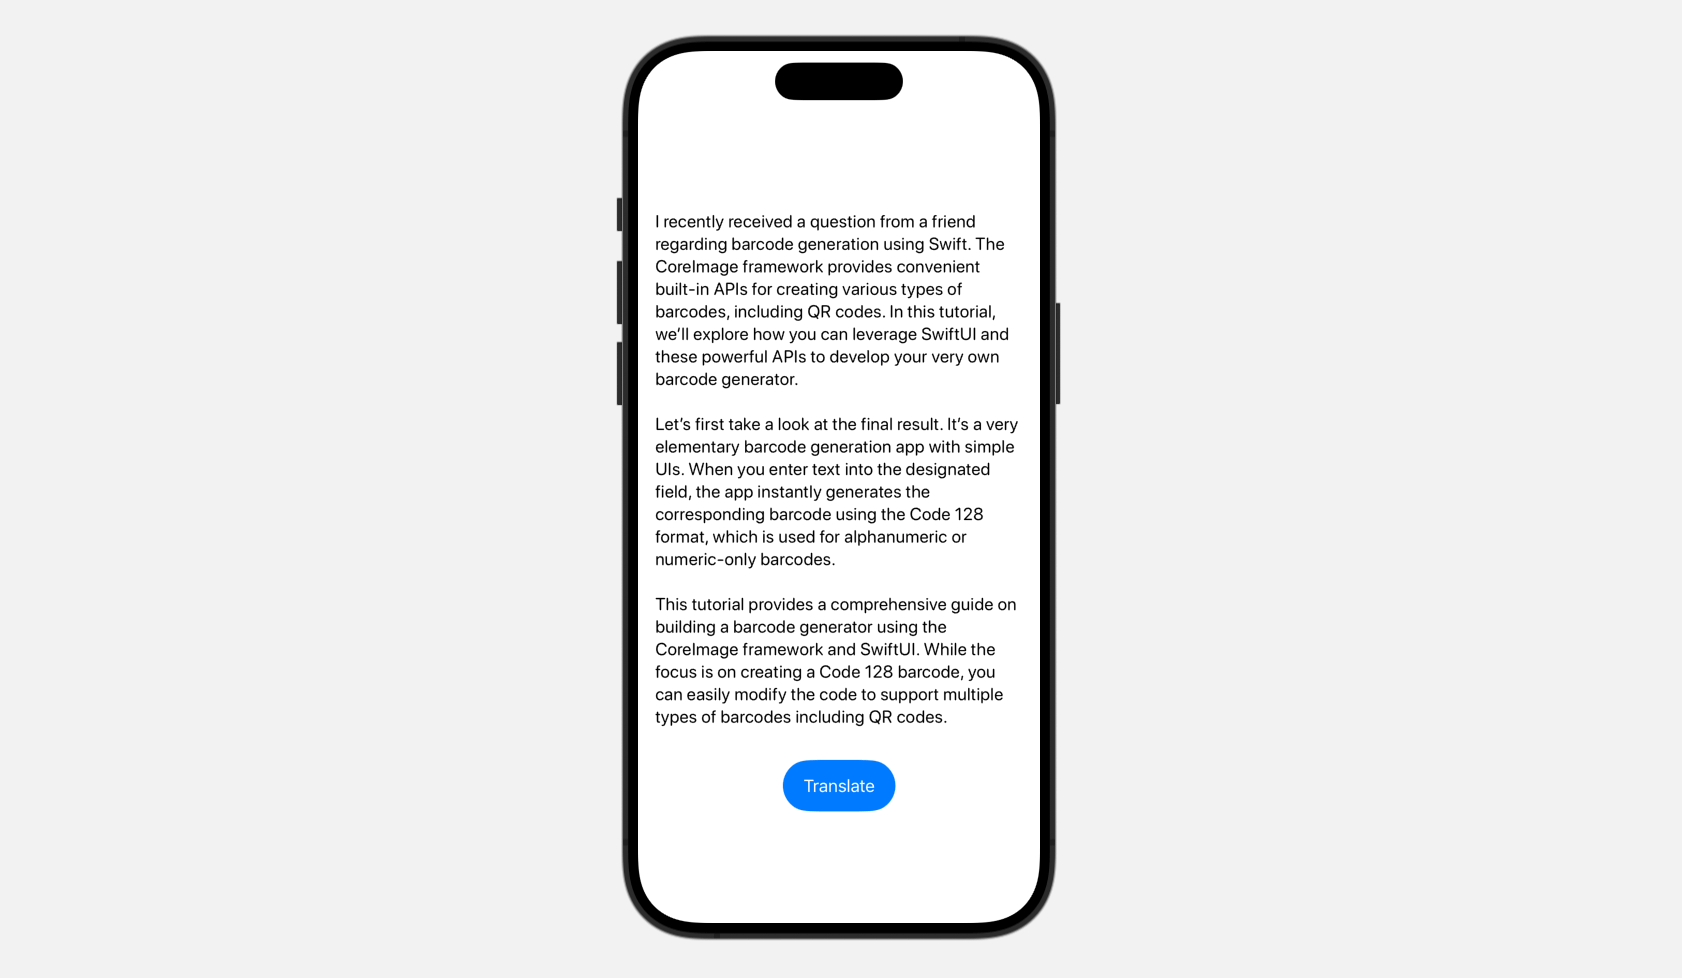
The app displays some sample text in English with a Translate button placed below it.
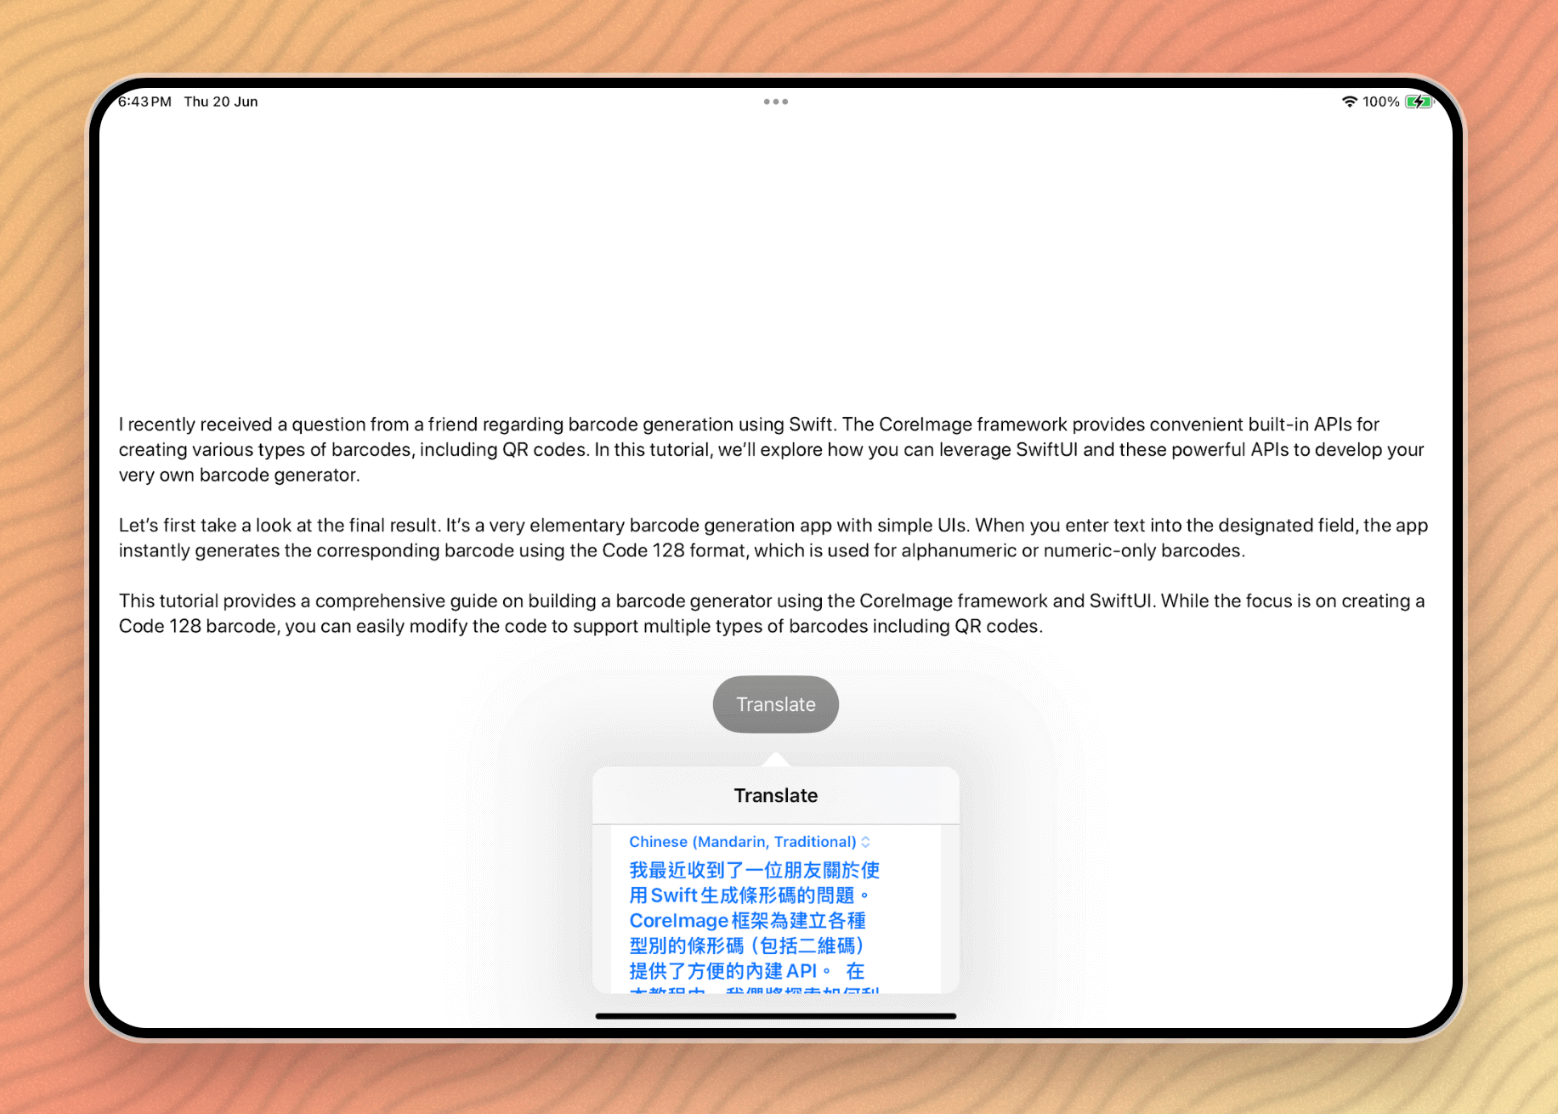
Now, when you tap the "Translate" button, a translation overlay appears, displaying the translated text in your desired language. Other than iOS, the Translation API also works on both iPadOS and macOS. Currently, this translation feature cannot be tested in Xcode Preview; you must deploy the app onto a real device for testing.
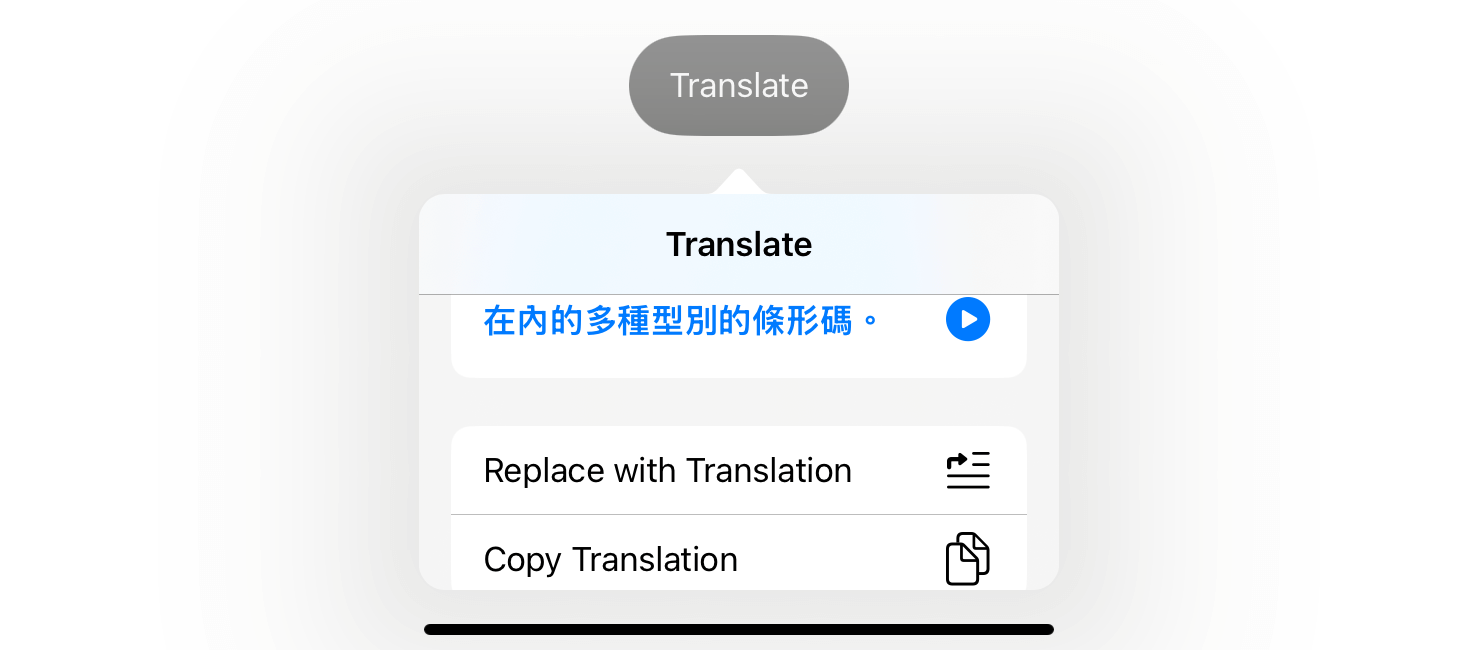
The .translationPresentation modifier allows you to specify an optional action to be performed when users tap the "Replace with Translation" button. For instance, if you want to replace the original text with the translated text when the button is tapped, you can define this action like this:
.translationPresentation(isPresented: $showTranslation, text: article) { translatedText in

    sampleText = translatedText

}
Once you specify the action in the modifier, you will see the “Replace with Translation” option in the translation overlay.
Working with the Translation API
For greater control over translations, you can use the Translation API directly instead of relying on the translation overlay. For instance, if your app displays a list of article excerpts and you want to offer translation support, the translation overlay might not be ideal because users would have to select each excerpt individually for translation.
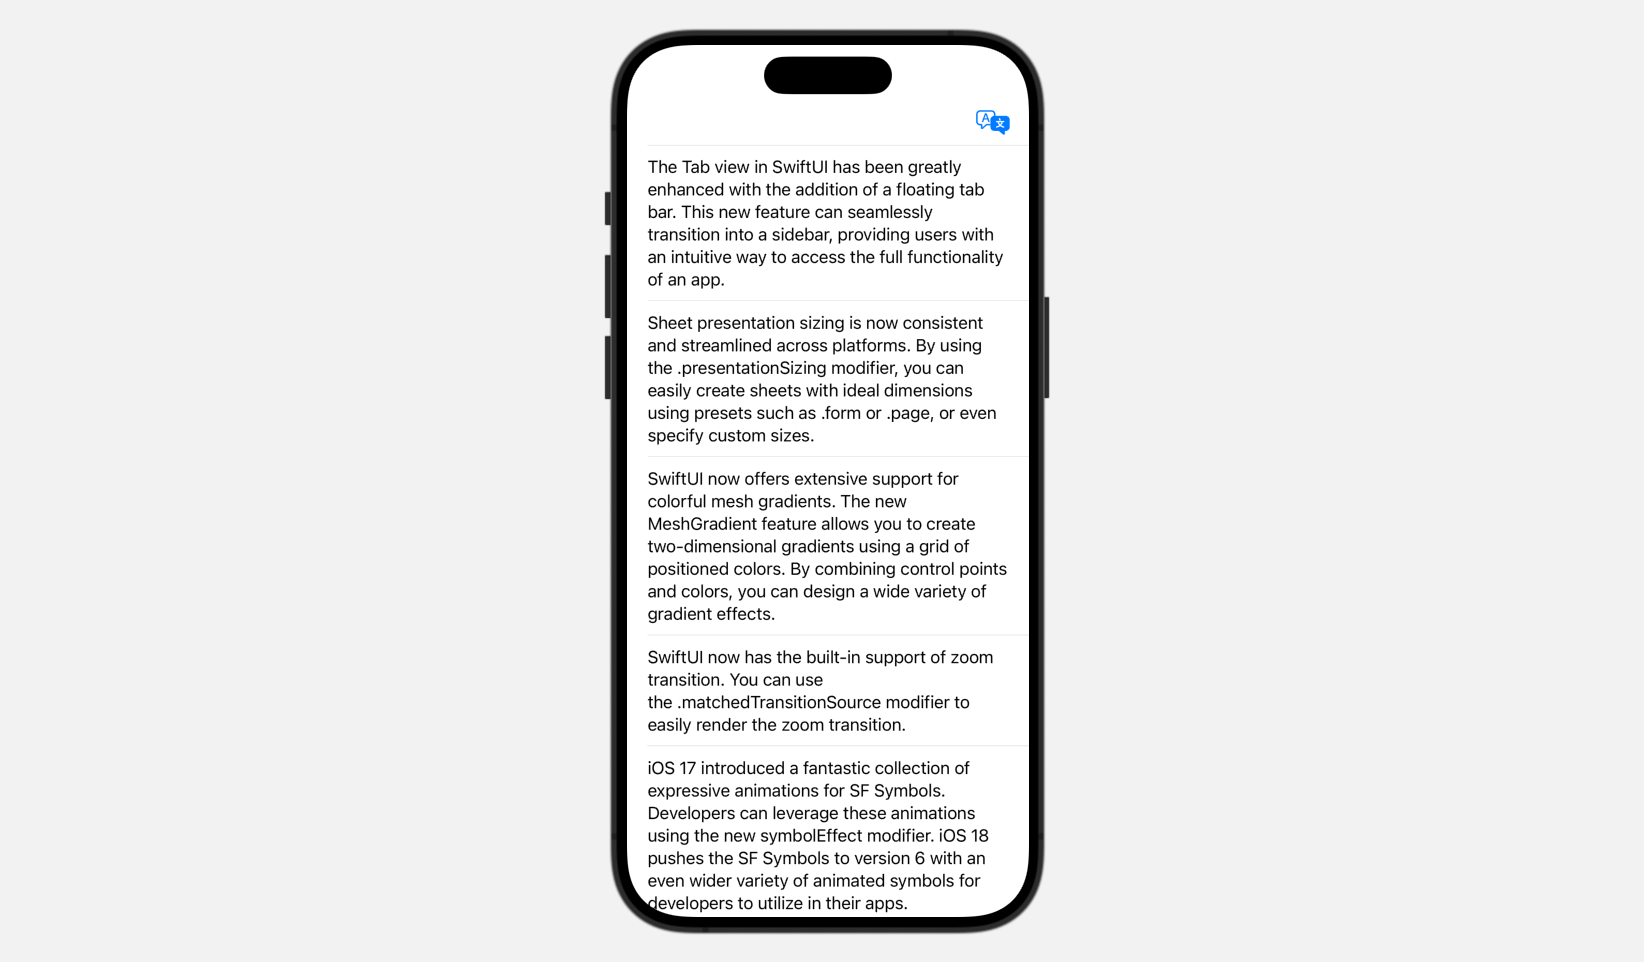
A more efficient solution is to perform a batch translation of all the article excerpts when users tap the "Translate" button. Let’s create a simple demo to see how to work with the Translation API and handle batch translations.
Below is the sample code for creating the UI above:
struct BatchTranslationDemo: View {

    @State private var articles = sampleArticles

    var body: some View {
        NavigationStack {
            List(articles) { article in

                VStack {
                    Text(article.text)

                    if article.translatedText != "" {
                        Text(article.translatedText)
                            .frame(maxWidth: .infinity, alignment: .leading)
                            .padding()
                            .background(Color(.systemGray4))
                    }
                }

            }
            .listStyle(.plain)

            .toolbar {
                Button {

                } label: {
                    Label("Translate", systemImage: "translate")
                        .labelStyle(.iconOnly)
                }

            }
        }

    }
}
To perform a batch translation, you first need to define a translation configuration that specifies both source and target languages. In the code, you can declare a state variable to hold the configuration like below:
@State private var configuration: TranslationSession.Configuration?And then, in the closure of the toolbar’s Button, we can instantiate the configuration:
Button {

    if configuration == nil {
        configuration = TranslationSession.Configuration(source: .init(identifier: "en-US"), target: .init(identifier: "zh-Hant-TW"))
        return
    }

    configuration?.invalidate()

} label: {
    Label("Translate", systemImage: "translate")
        .labelStyle(.iconOnly)
}
We specify English as the source language and Traditional Chinese as the target language. If you do not specify the languages, the Translation API will automatically create a default configuration, with iOS determining the source and target languages for you.
To perform translation, you attach the .translationTask modifier to the list view:
List(articles) { article in
	.
	.
	.
}
.translationTask(configuration) { session in

    let requests = articles.map { TranslationSession.Request(sourceText: $0.text, clientIdentifier: $0.id.uuidString) }

    if let responses = try? await session.translations(from: requests) {

        responses.forEach { response in
            updateTranslation(response: response)
        }
    }
}
This modifier initiates a translation task using the specified configuration. Whenever the configuration changes and is not nil, the translation task is executed. Within the closure, we prepare a set of translation requests and use the session's translations(from:) method to perform a batch translation.
If the translation task succeeds, it returns an array of translation responses containing the translated text. We then pass this translated text to the updateTranslation method to display it on screen.
func updateTranslation(response: TranslationSession.Response) {

    guard let index = articles.firstIndex(where: { $0.id.uuidString == response.clientIdentifier }) else {
        return
    }

    articles[index].translatedText = response.targetText

}
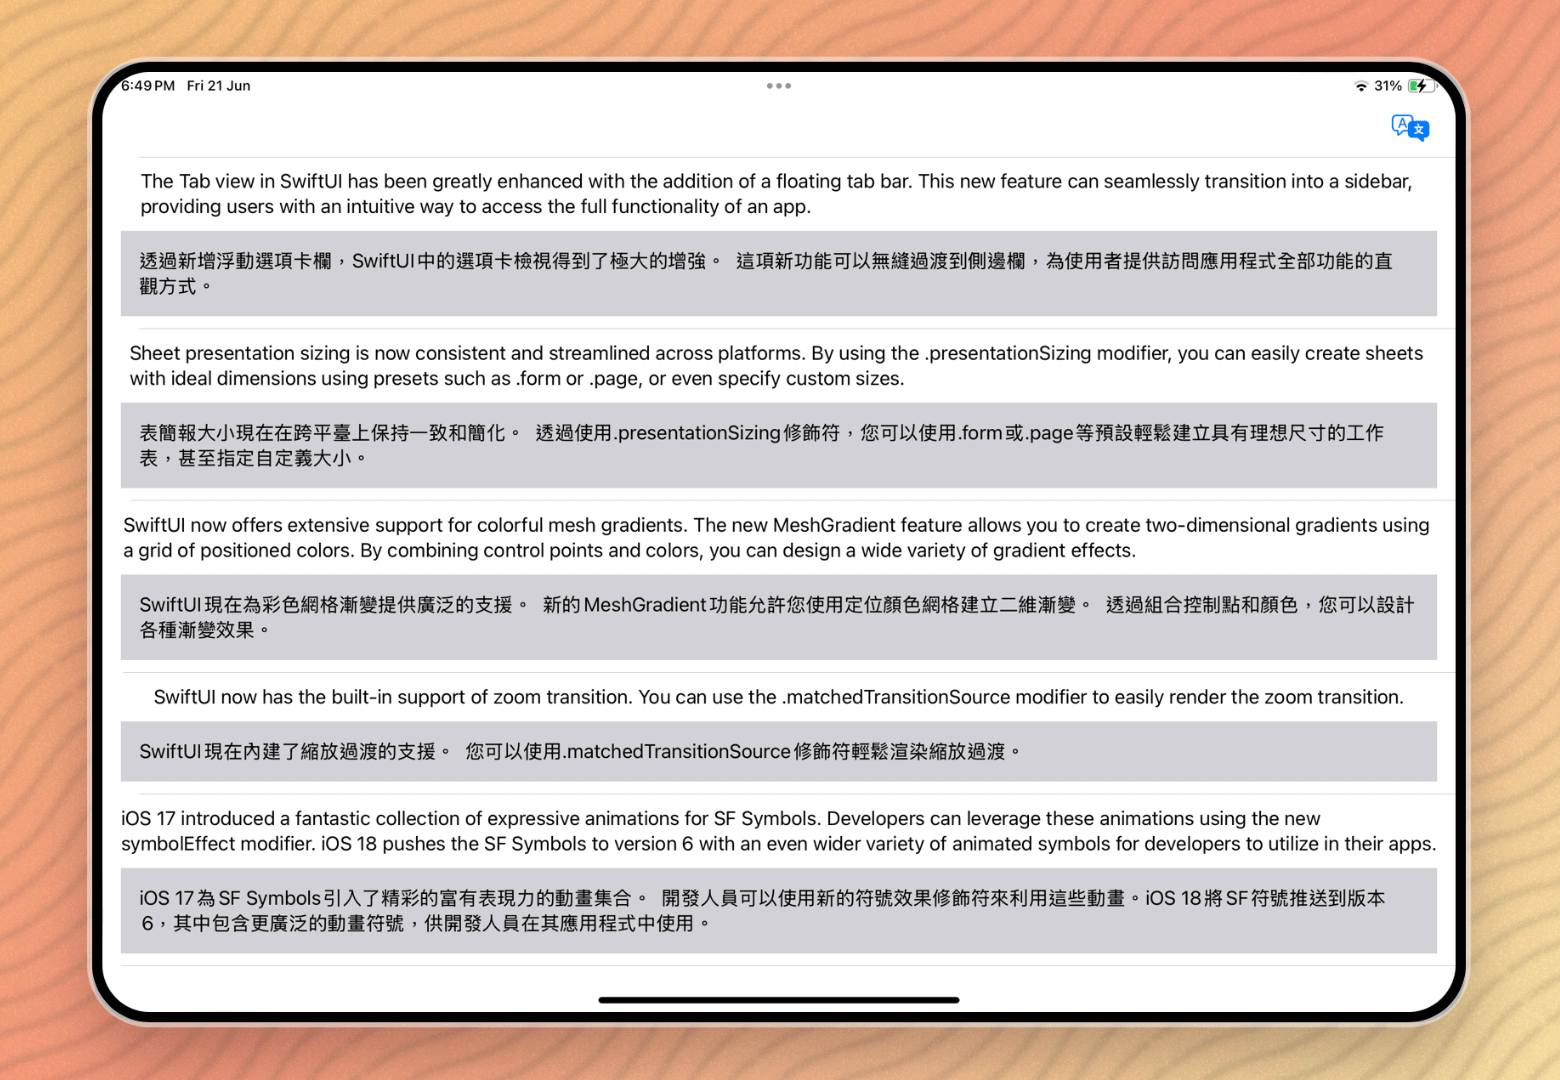
Let's deploy the app to a real device for testing. I tested the app on my iPad Air. When you tap the "Translate" button, the app should display additional article excerpts in Traditional Chinese.
Summary
With the new Translation API introduced in iOS 17.4 (and iOS 18), developers can now easily integrate powerful translation features into their apps. This tutorial covers two primary methods for utilizing the API: the simple approach using the .translationPresentation modifier for displaying a translation overlay, and a more flexible approach using the Translation API directly for custom translation solutions.
We demonstrate both approaches in this tutorial. As illustrated in the demo, you can easily add translation capabilities with just a few lines of code. Given the simplicity and power of this API, there’s no reason not to include translation functionality in your apps.


